
How to Migrate a Website from any cPanel hosting to SiteCountry Cloud hosting?
In this article, we will cover how to Migrate a Website from any cPanel hosting to SiteCountry Cloud hosting.
Here you go Step-by-step guide for migrating your website to SiteCountry
Table of Contents
- Backup the website from the cPanel hosting
- Setup website on SiteCountry hosting
- Pointing domain name to SiteCountry
Backup the website from the cPanel hosting
1) Log in to the cPanel control panel. For example - https://scncf.info/cpanel
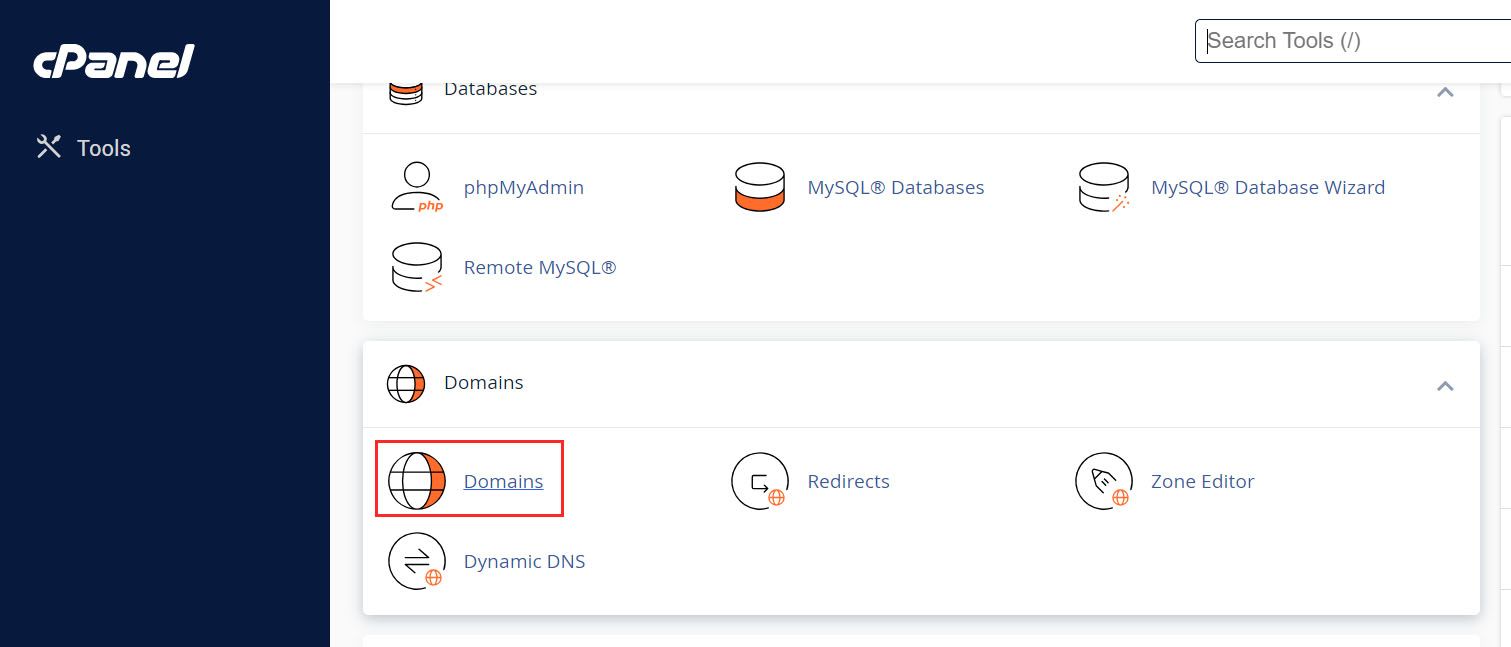
2) Click on Domains in cPanel Dashboard
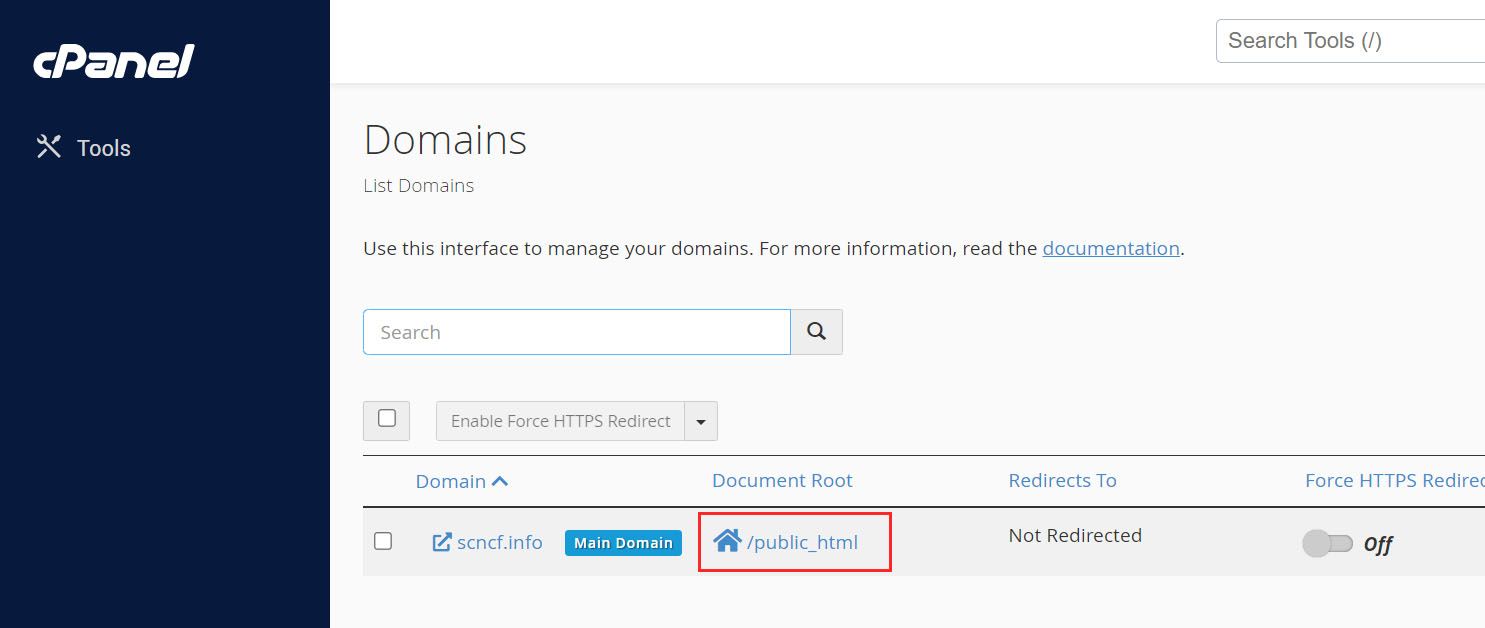
3) In Domains Manager click on the Document root directory corresponding to the domain which is needed to be migrated
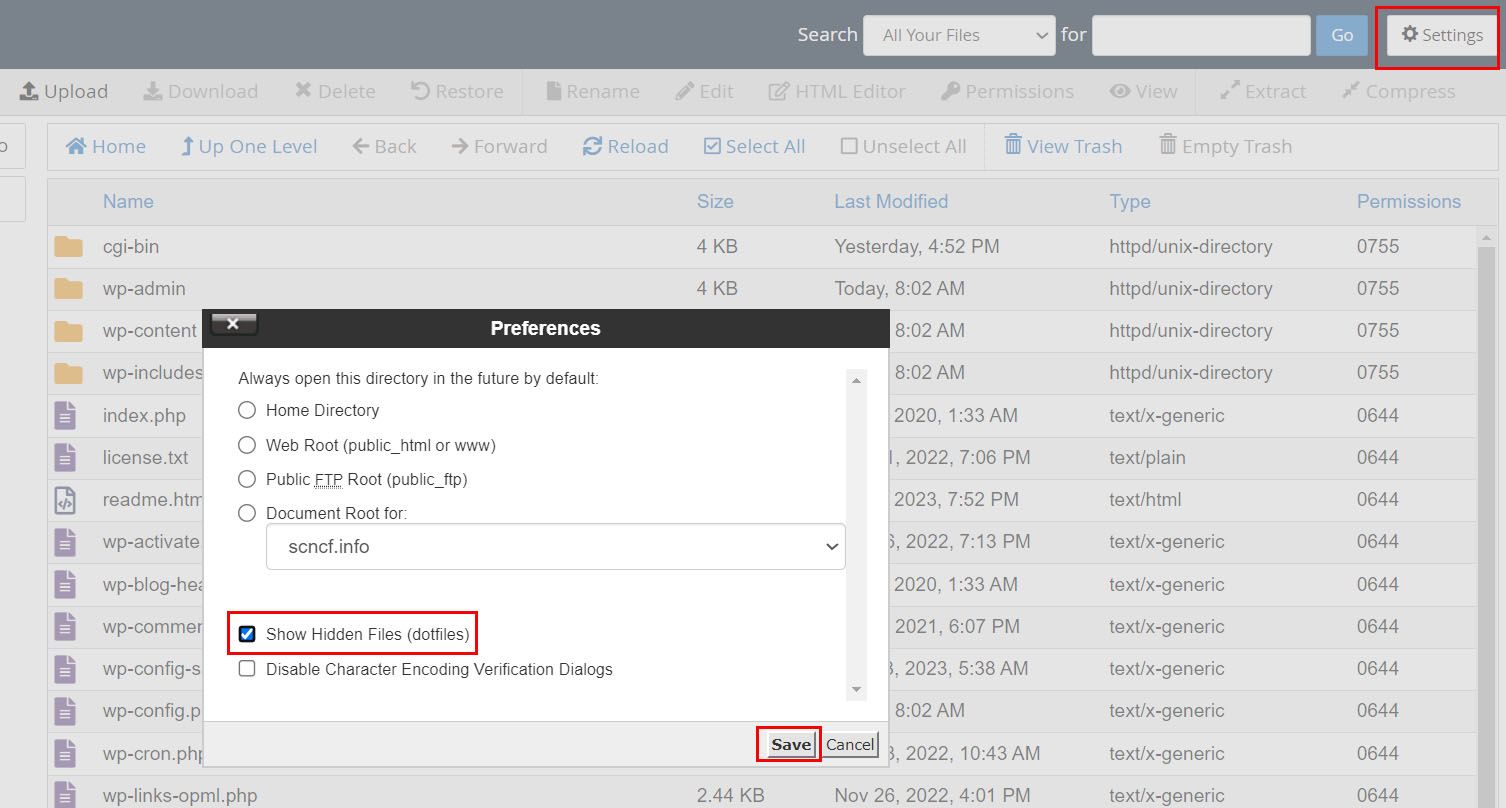
4) Click on Settings. It will show a popup window - In that check option Show Hidden Files (dotfiles) and Click Save
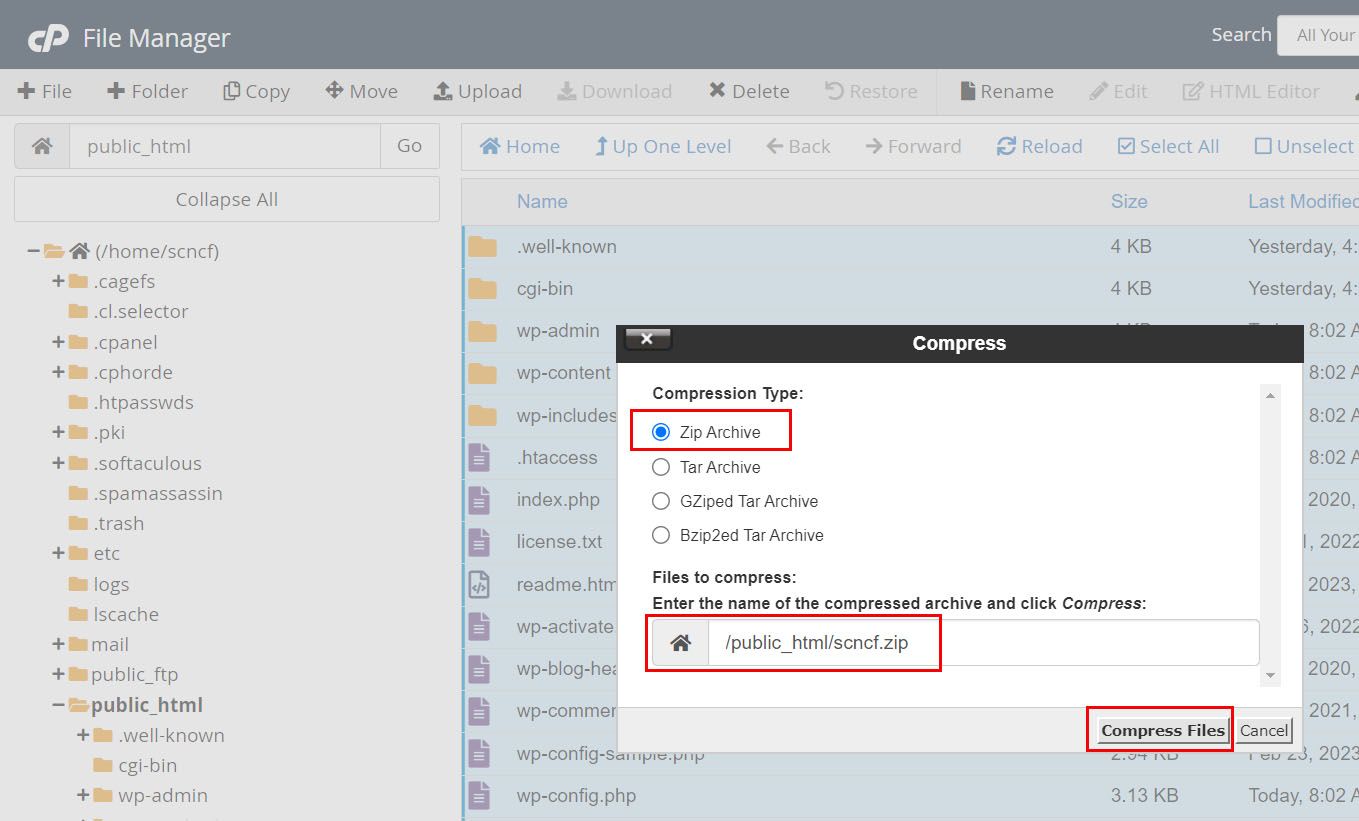
5) Click on Select All > Compress

6) Choose Zip Archive as the Compression Type, Enter the Zip file name (Example - /public_html/scncf.zip), and Click on Compress Files
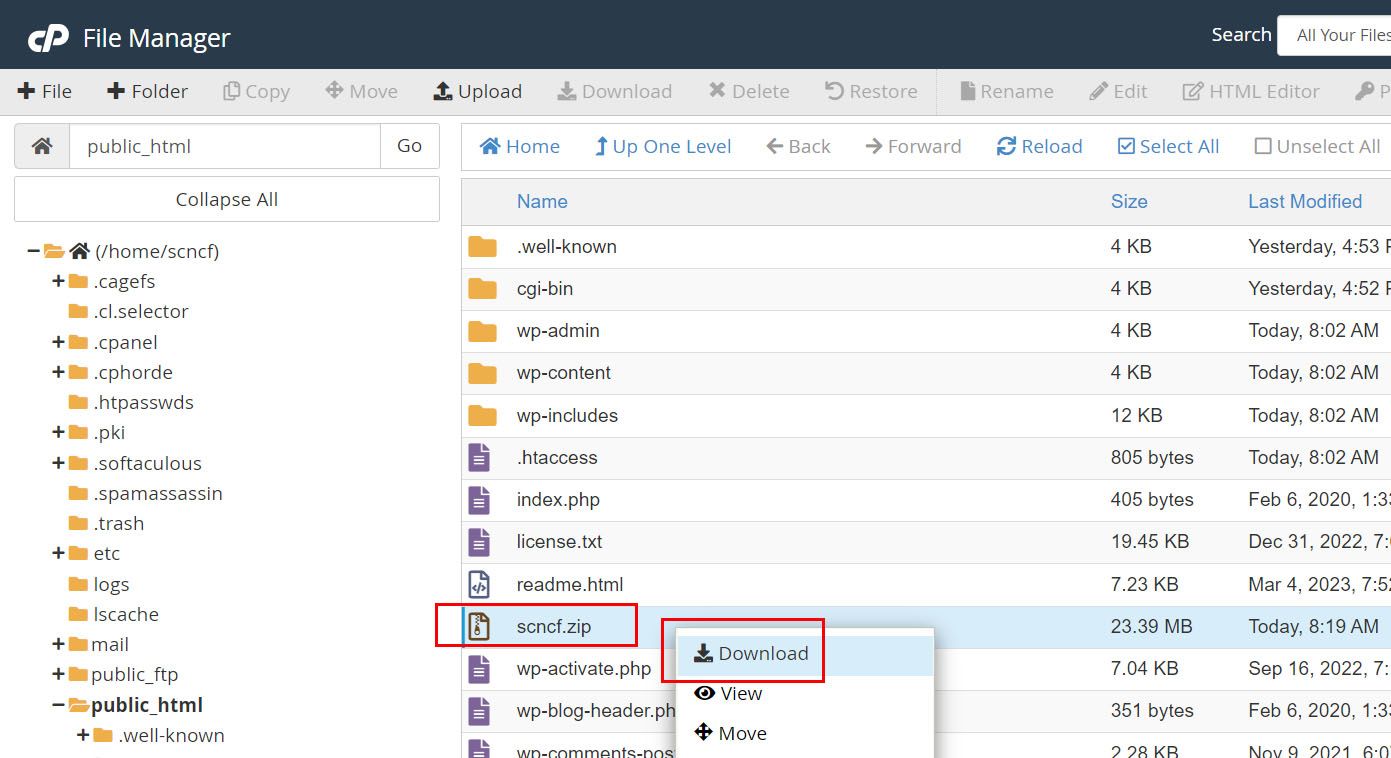
7) Once files are successfully compressed click on the Zip file right click and hit the Download option
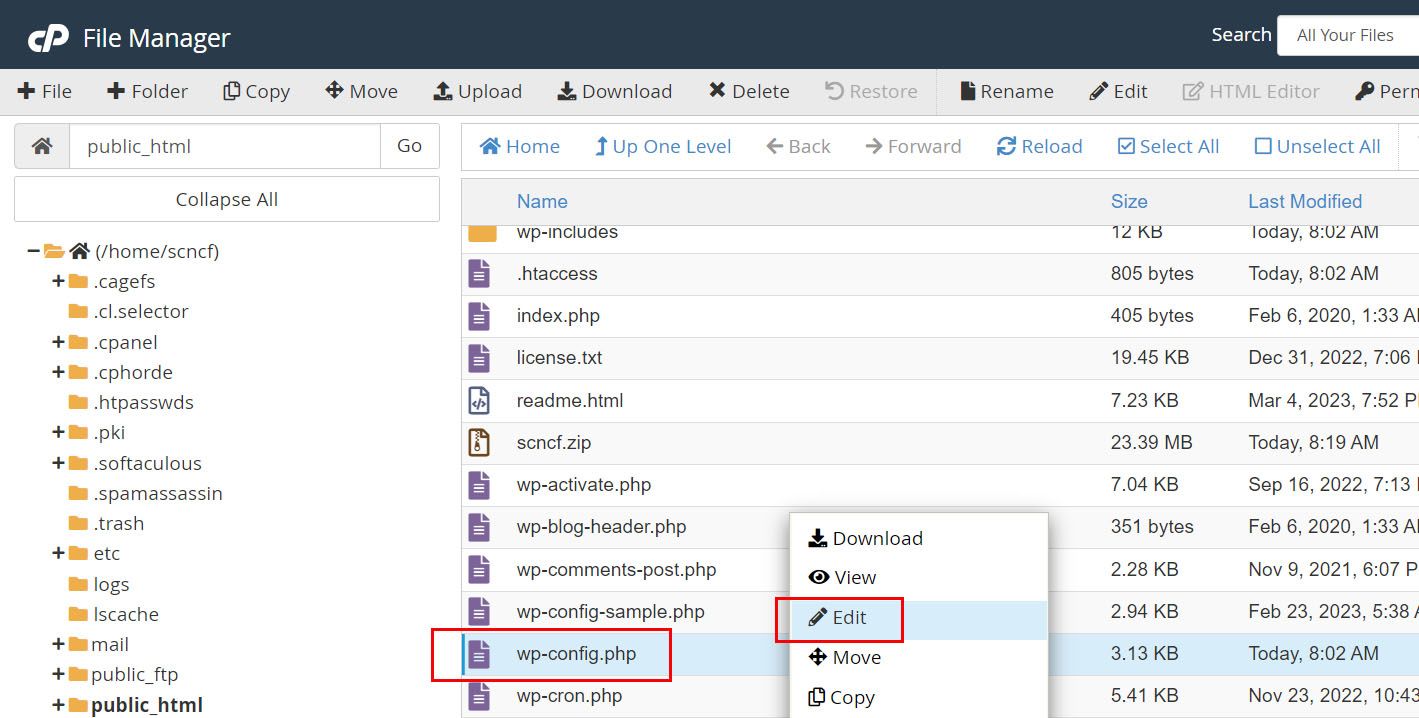
8) Next to need to find out the database connected with the website. To do this right click on wp-config.php file and hit on the Edit option
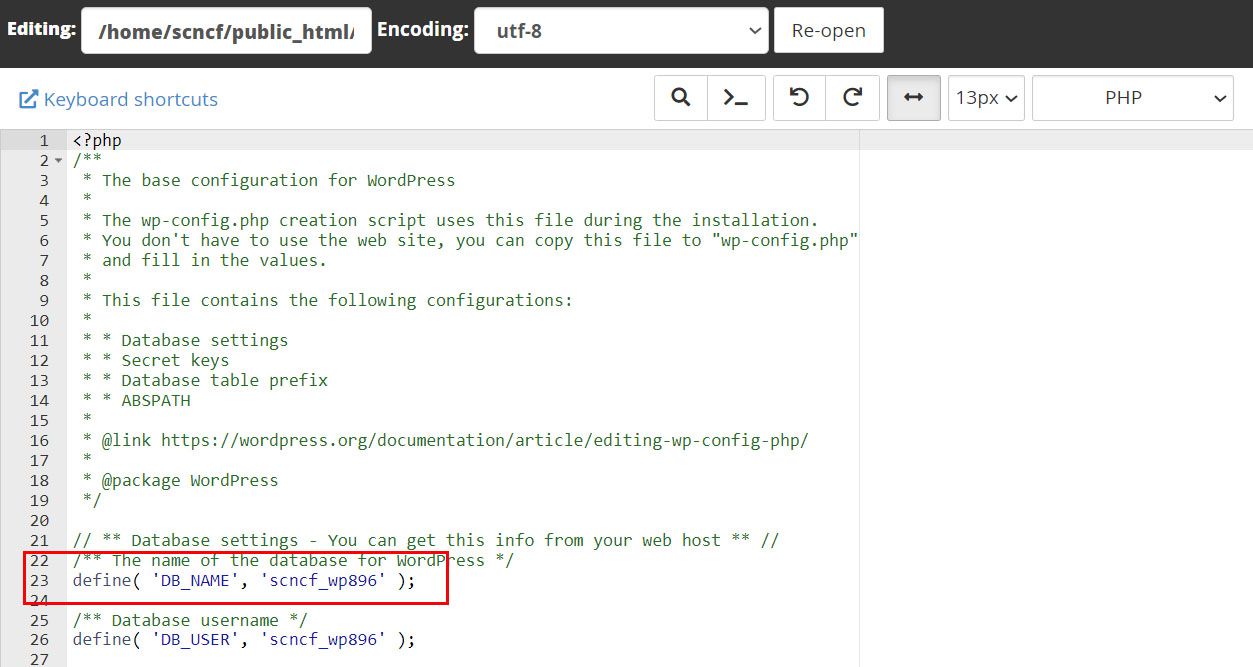
9) Note down the database name for the website
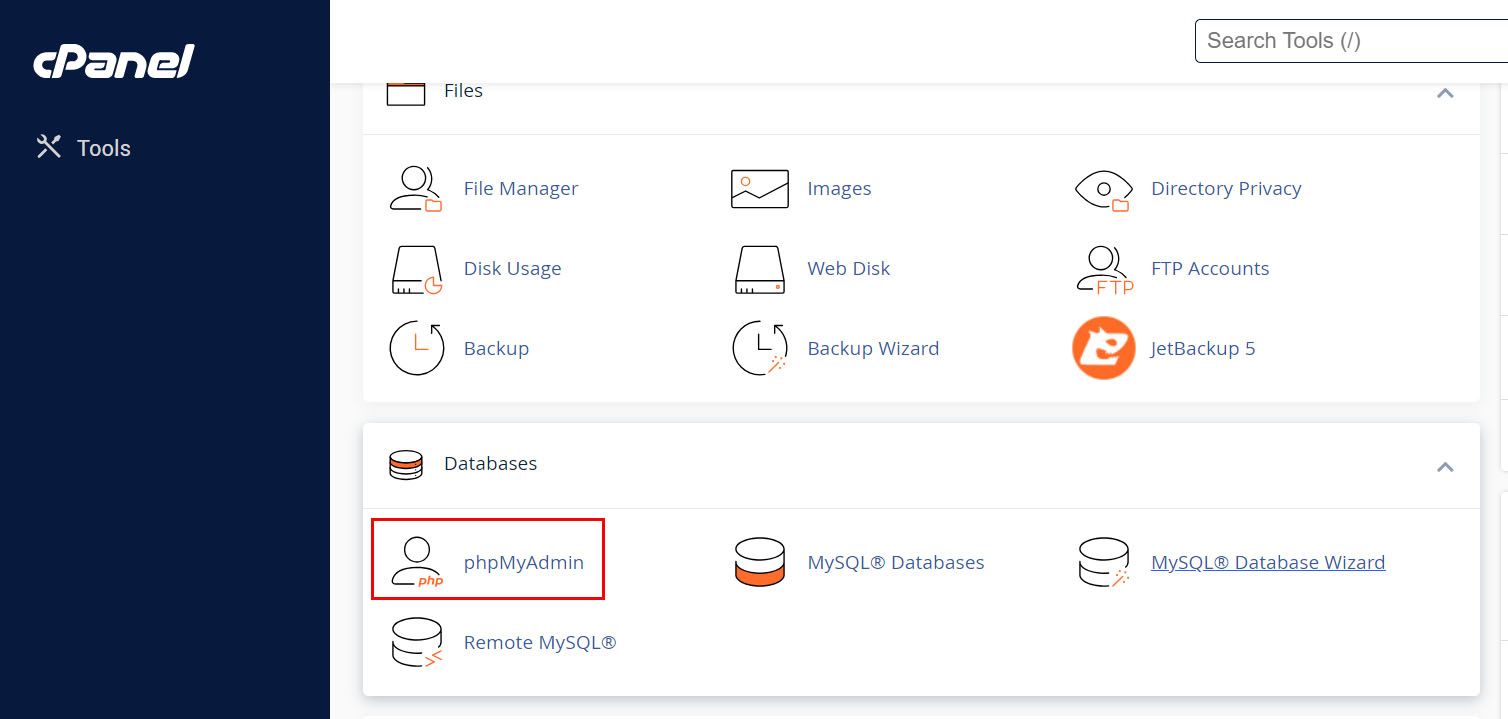
10) Navigate to cPanel Dashboard by clicking on the cPanel logo

11) Click on phpMyAdmin under the Databases section
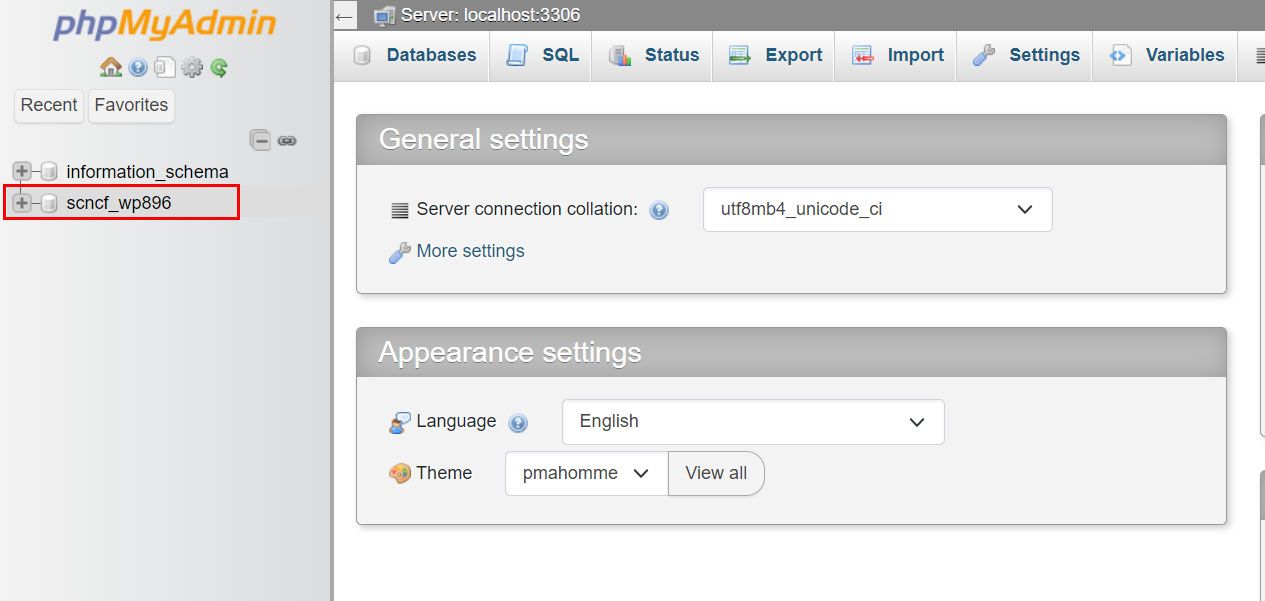
12) In the Left pane of the phpMyAdmin interface click on the database name of the website
13) Click on the Export Tab and then Hit on the Export button
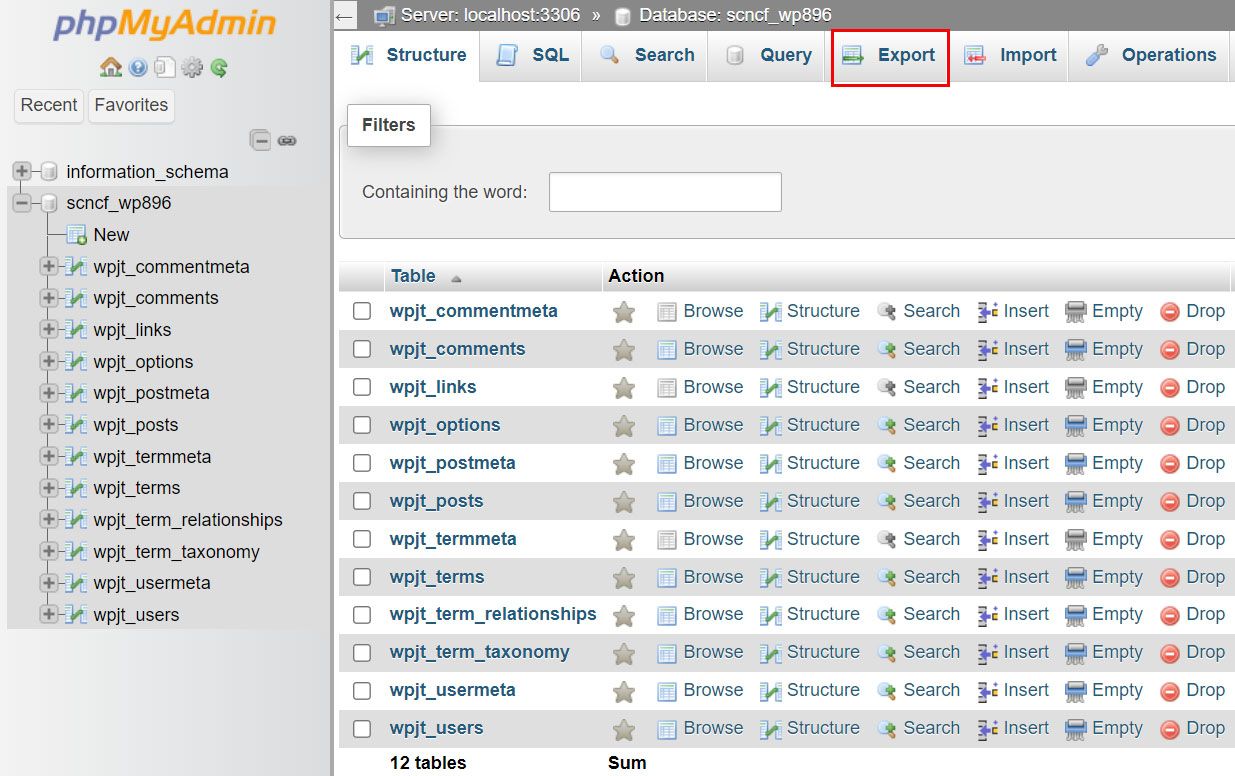
That's all the website backup part is successfully completed.
Setup website on SiteCountry hosting
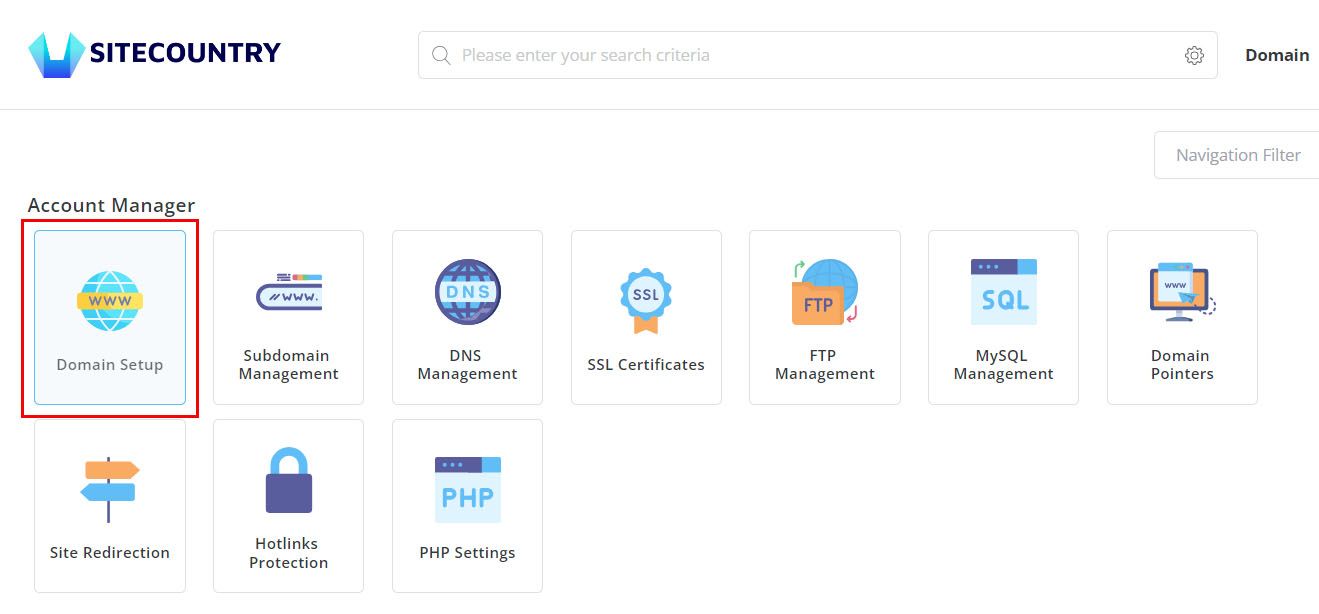
1) Log in to SiteCountry Control Panel
2) Click on Domain Setup
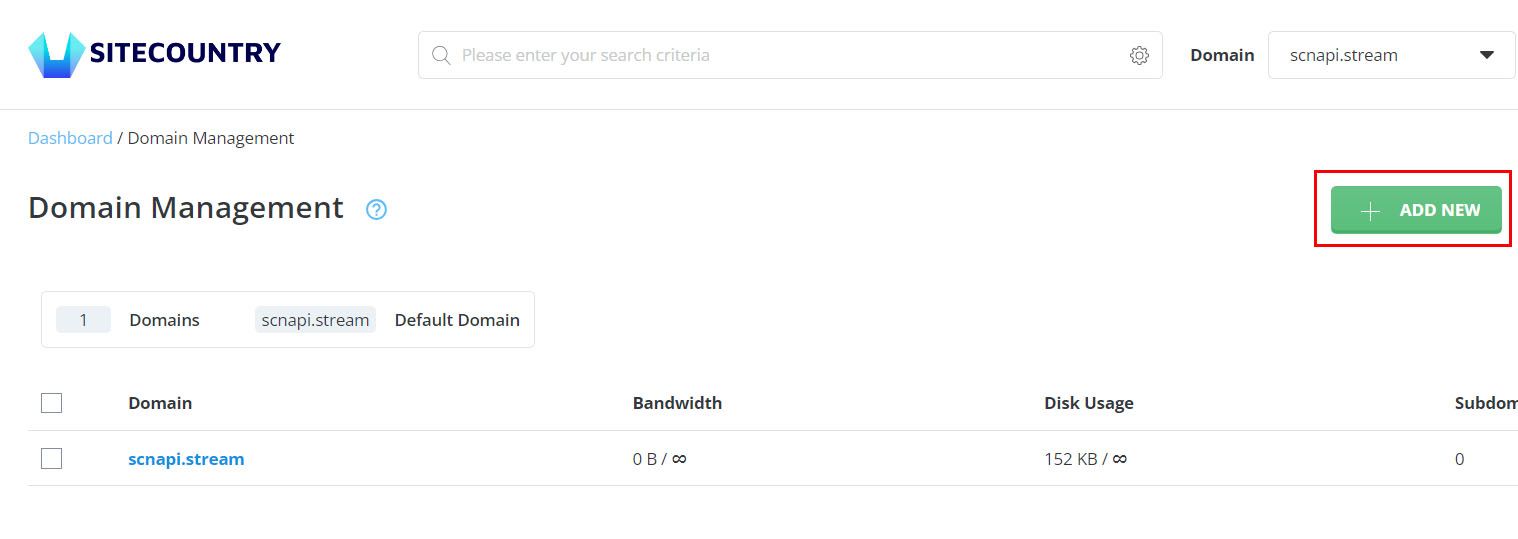
3) Click on Add New button
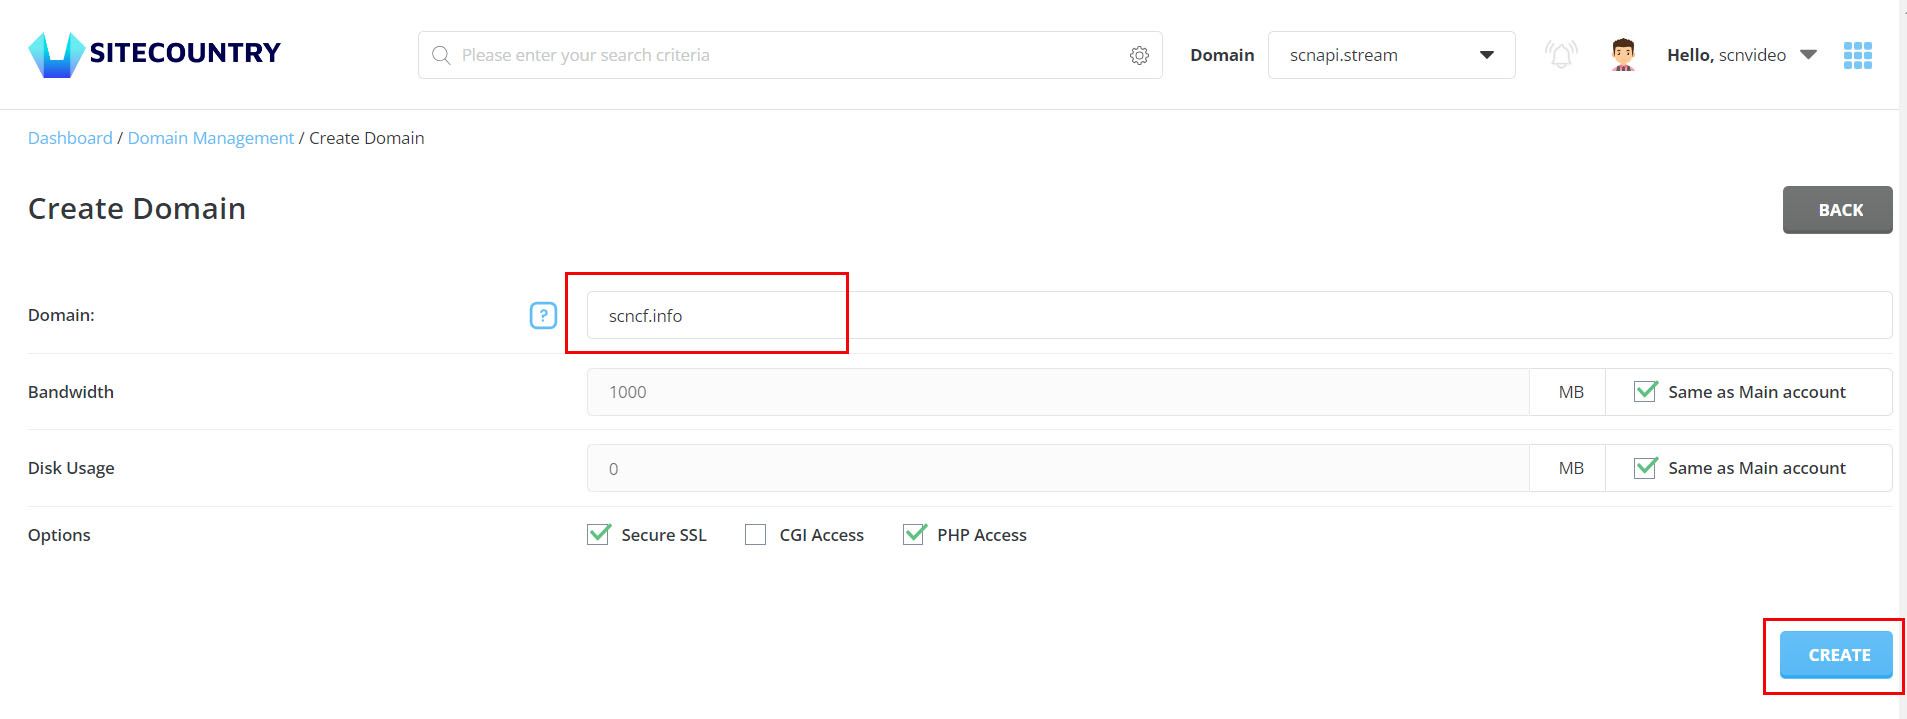
4) Enter the Domain name (Example - scncf.info) and click on Create button
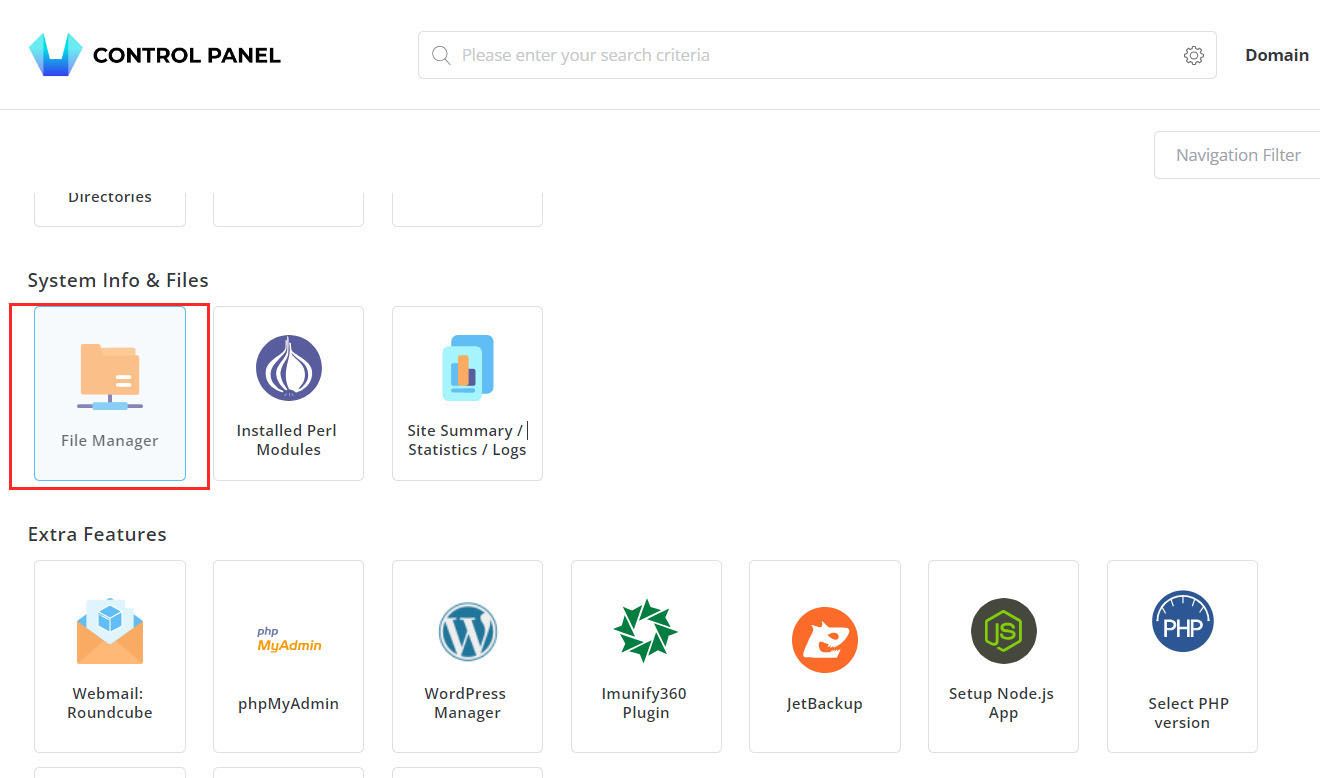
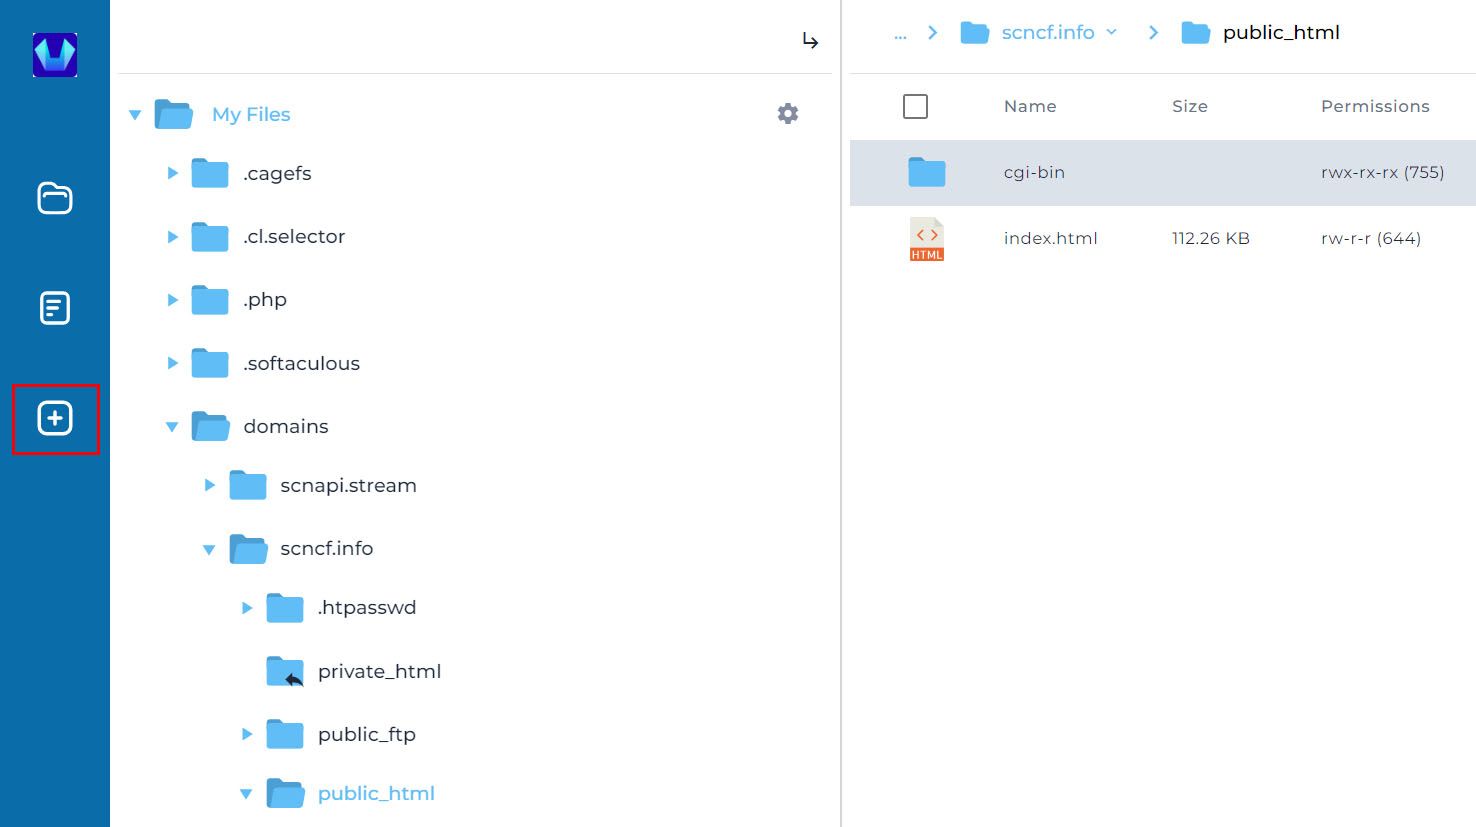
5) Go back to Control Panel Home and Click on File Manager
6) Click on the directory Domains > Domain name (Example - scncf.info) > public_html
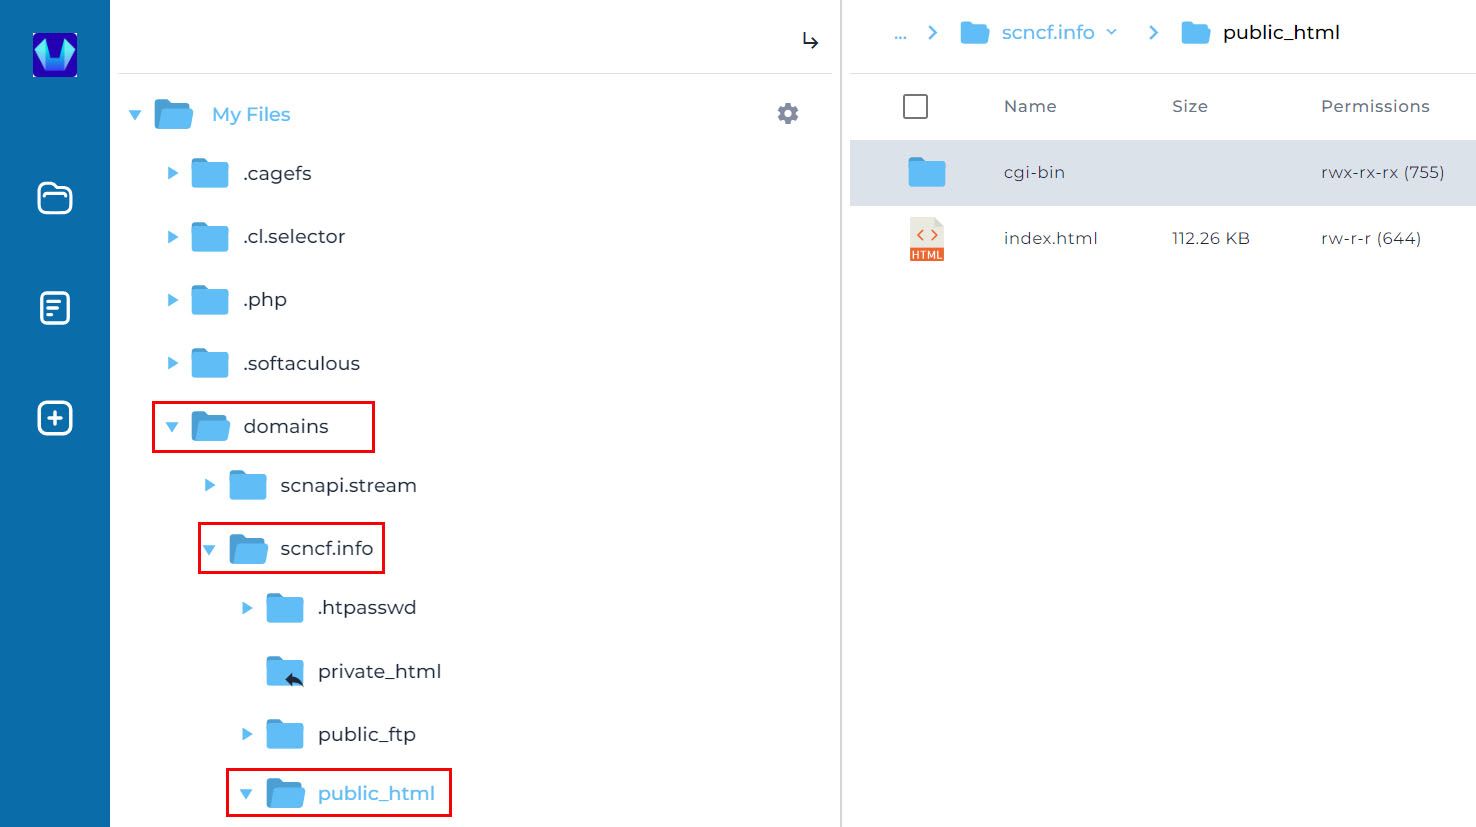
Note: Right-click on the index.html file and delete
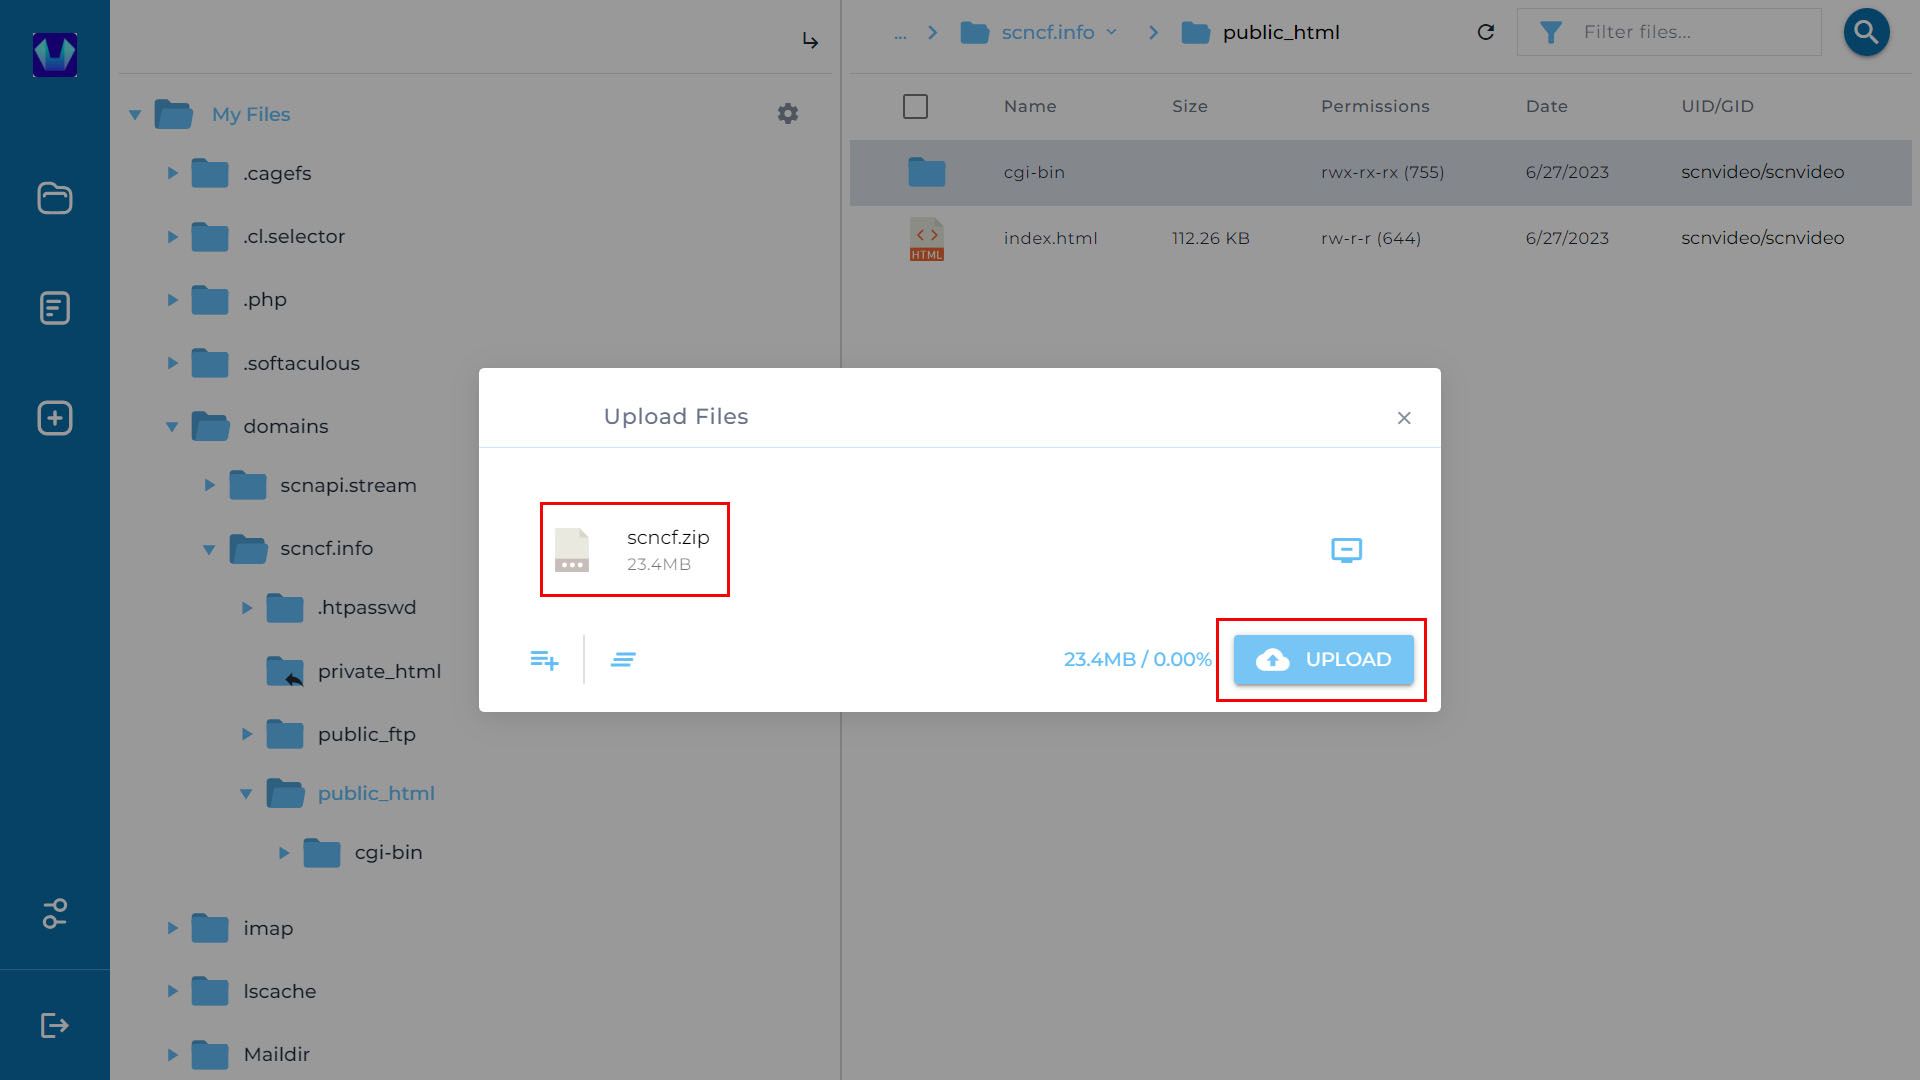
7) In the Left pane of the file manager window click on the Upload Files button
8) Choose the Website backup zip file (Example - scncf.zip) and Click on the Upload button
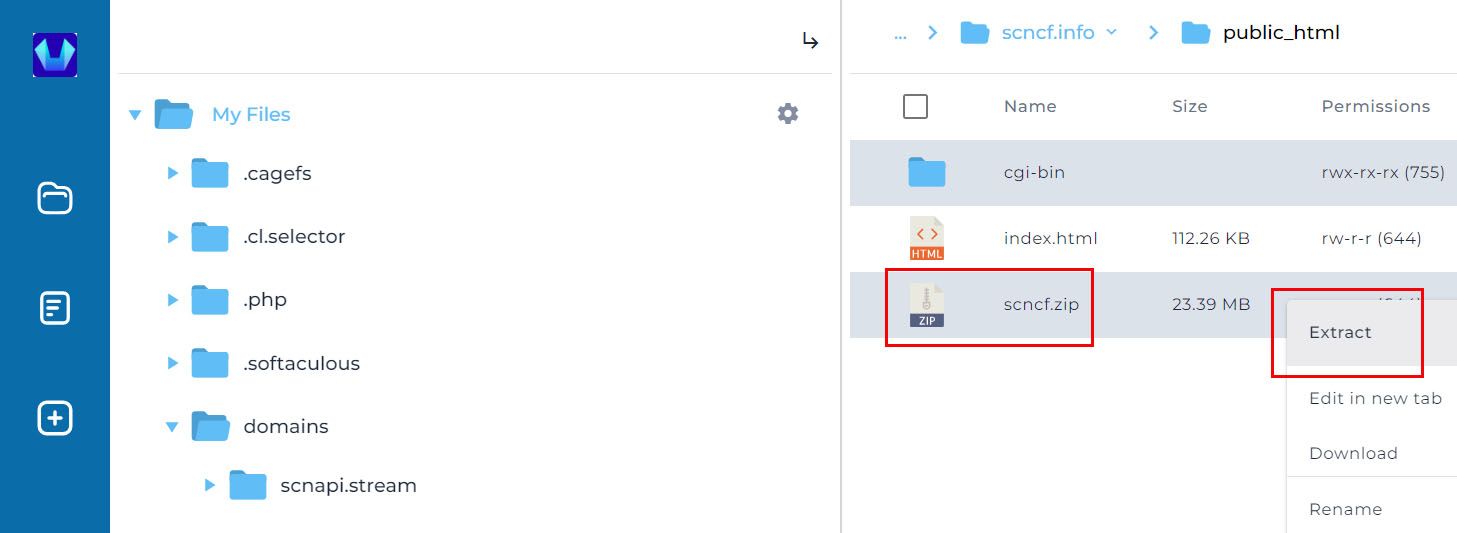
9) Once the Zip file is uploaded right click on the file and Hit the Extract option
10) Make sure the Path input has the correct Directory root path of your domain (Example - /domains/scncf.info/public_html) and Click on the Extract button

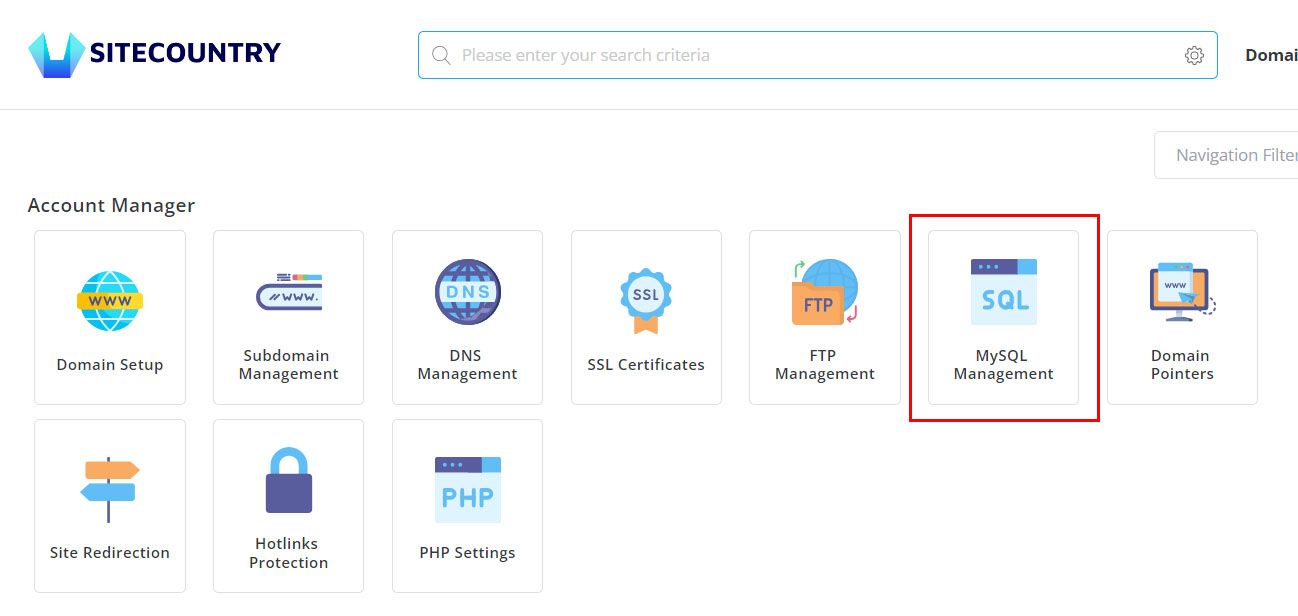
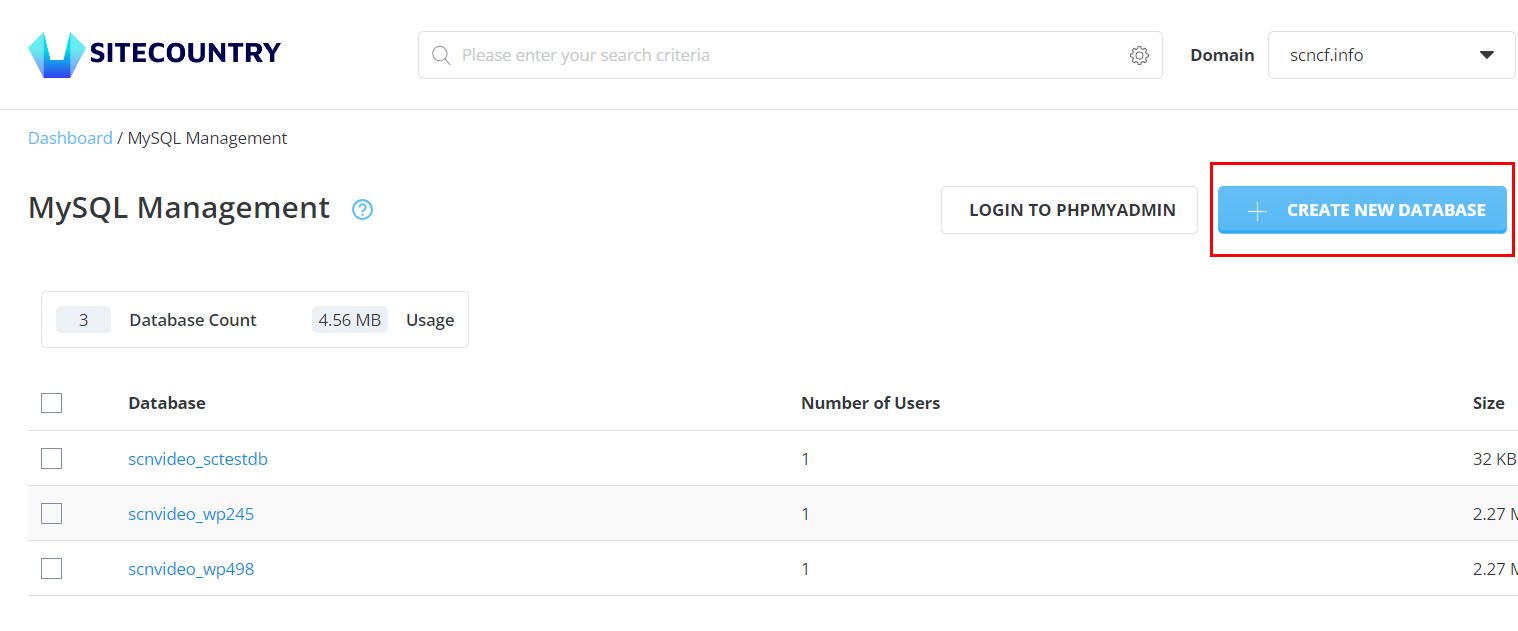
11) Go Back to Control Panel Home and Click on MySQL management
12) Click on Create New Database button
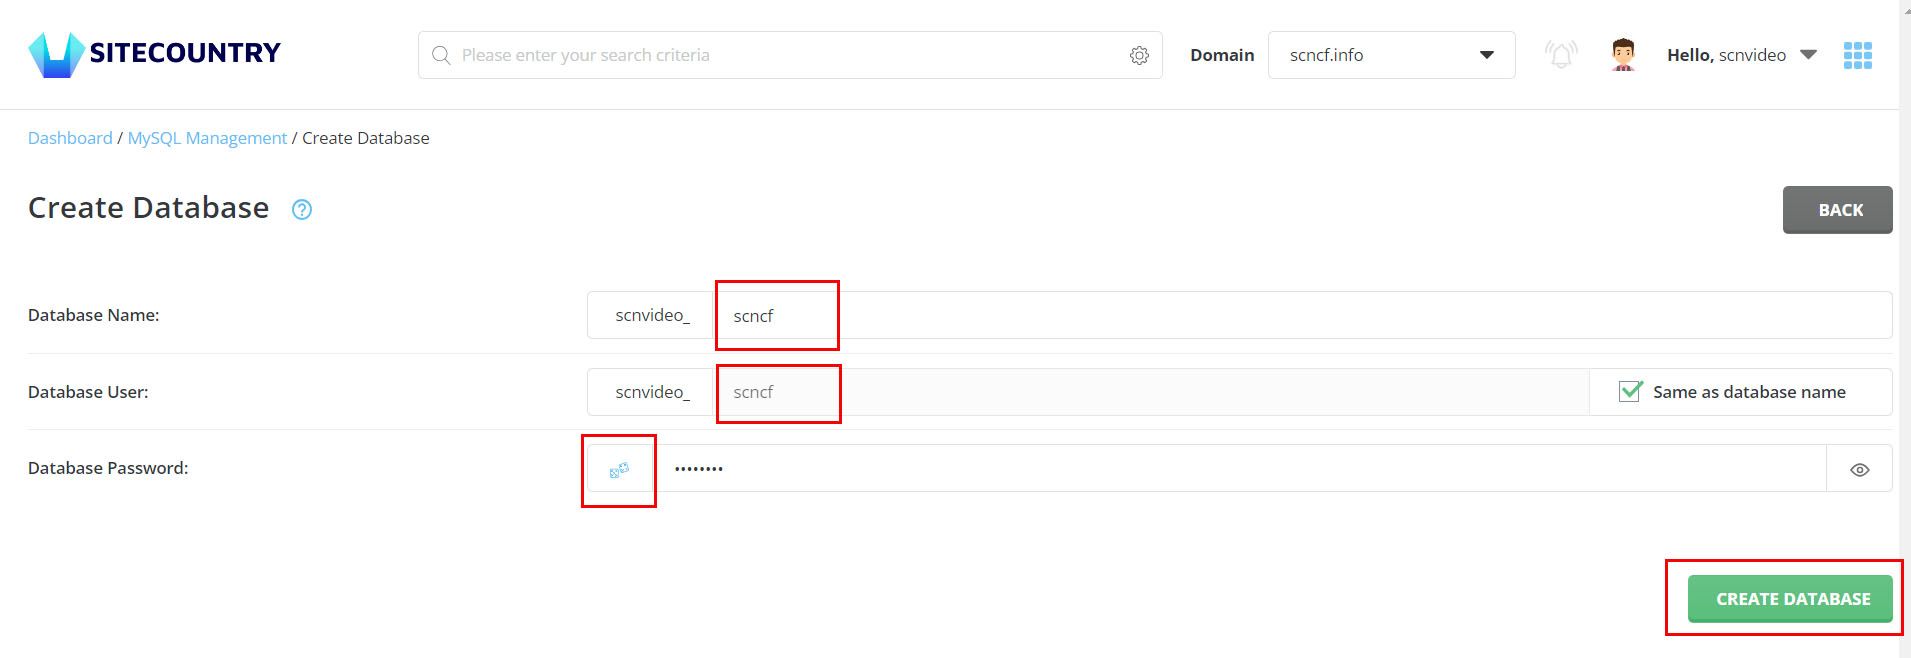
13) Enter the Database Name, Database User, and Database Password (You can also use the Blue button to generate a random password)
Then Click on Create Database button
14) Once the database is successfully created Note down the details and Click on Login to PhpMyAdmin

15) In the Left pane of the phpMyAdmin interface Click on Database created (Example - scnvideo_scncf)
Then Click on Import Tab and then Choose the Website backup database SQL file and Hit the Import button

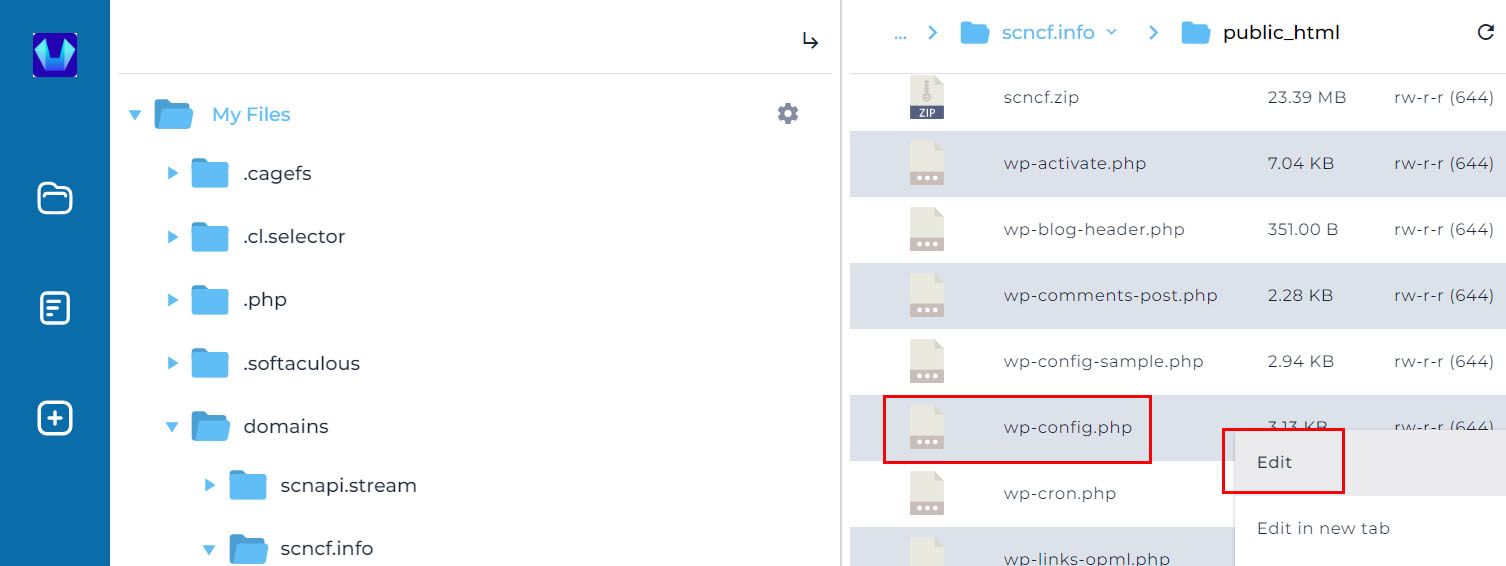
16) Once database successfully imported Go back to Filemanager > Domains > Domain name (Example - scncf.info) > public_html
Right-click on wp-config.php and hit on the Edit option
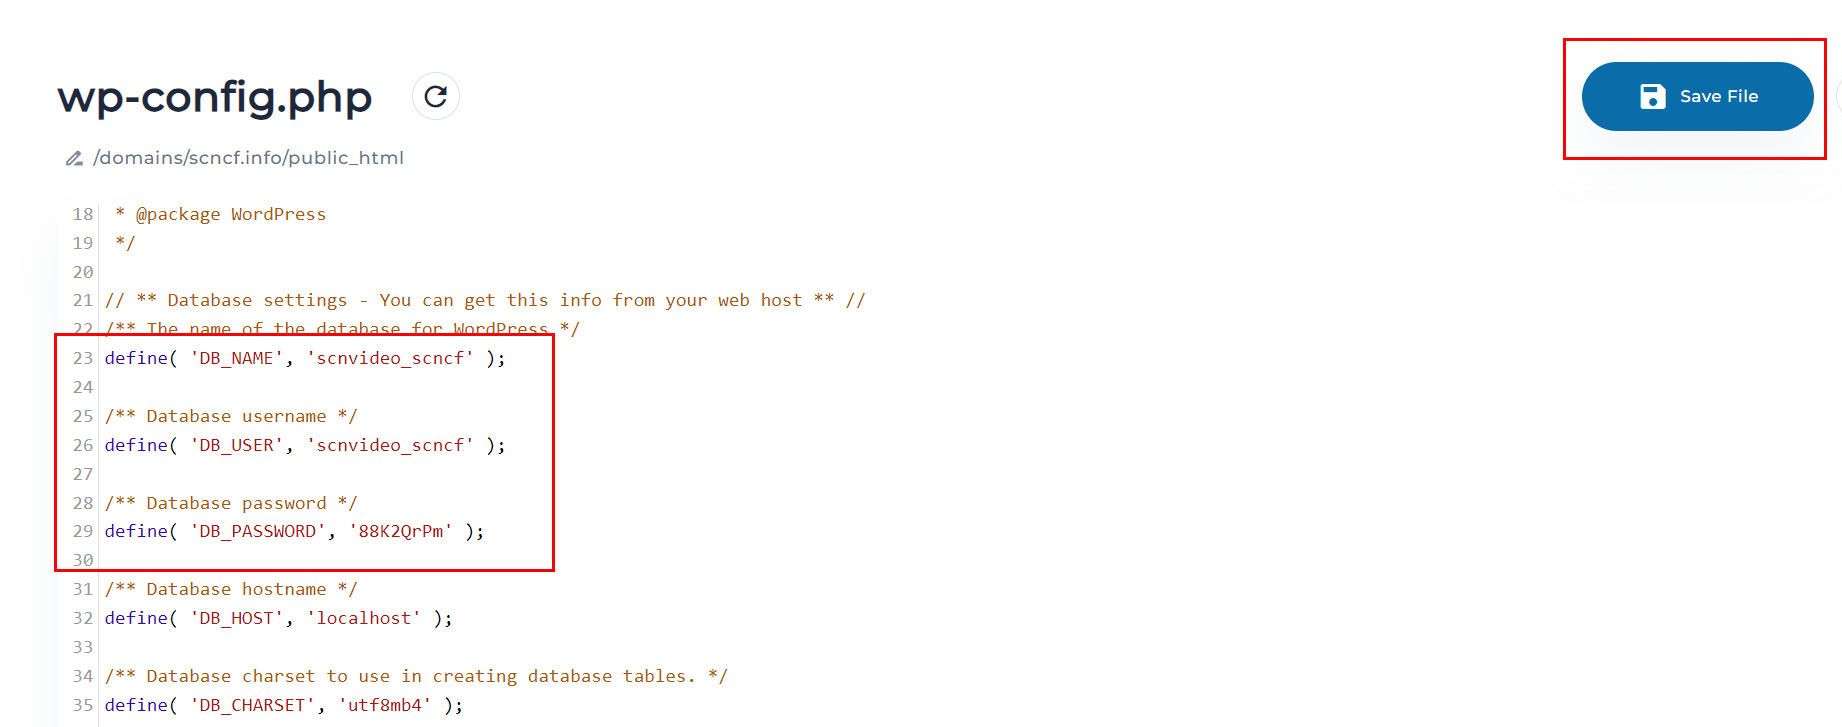
17) Replace the database details got in Step 14 and Click on the Save File button
Pointing domain name to SiteCountry
If you have your domain with SiteCountry then Follow this article to Change nameservers for your domain
Otherwise, log in to your Domain control panel with a third-party provider and update the following nameservers for your domain
Nameserver 1 - a.ns.sitecountry.net
Nameserver 2 - b.ns.sitecountry.net
That's all. Website migration to SiteCountry Cloud hosting has successfully completed.
If you need any help with Migrating your Website to SiteCountry cloud hosting, please feel free to contact our customer support team.