
How to Setup Business Email in Gmail to send and receive emails
This article will help you use Gmail to send and receive emails with the business email account for the domain hosted on SiteCountry Cloud Hosting.
1) Log into your Gmail account
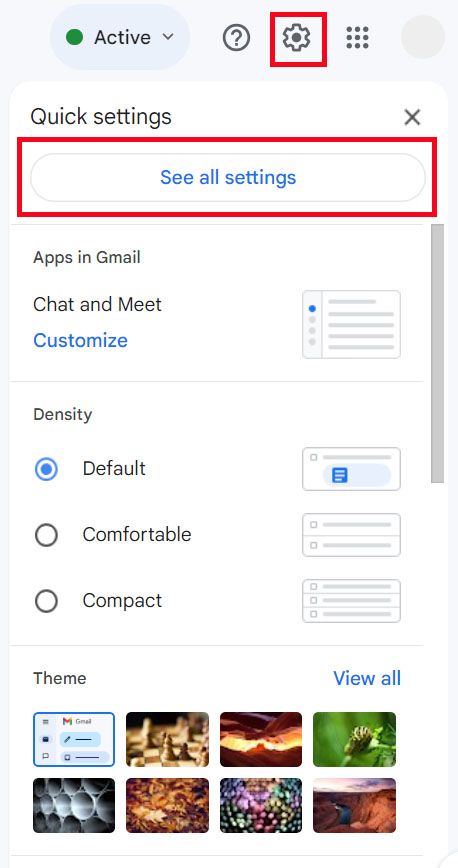
2) Click on the Gear icon in the top right corner, and then click the See all settings button.
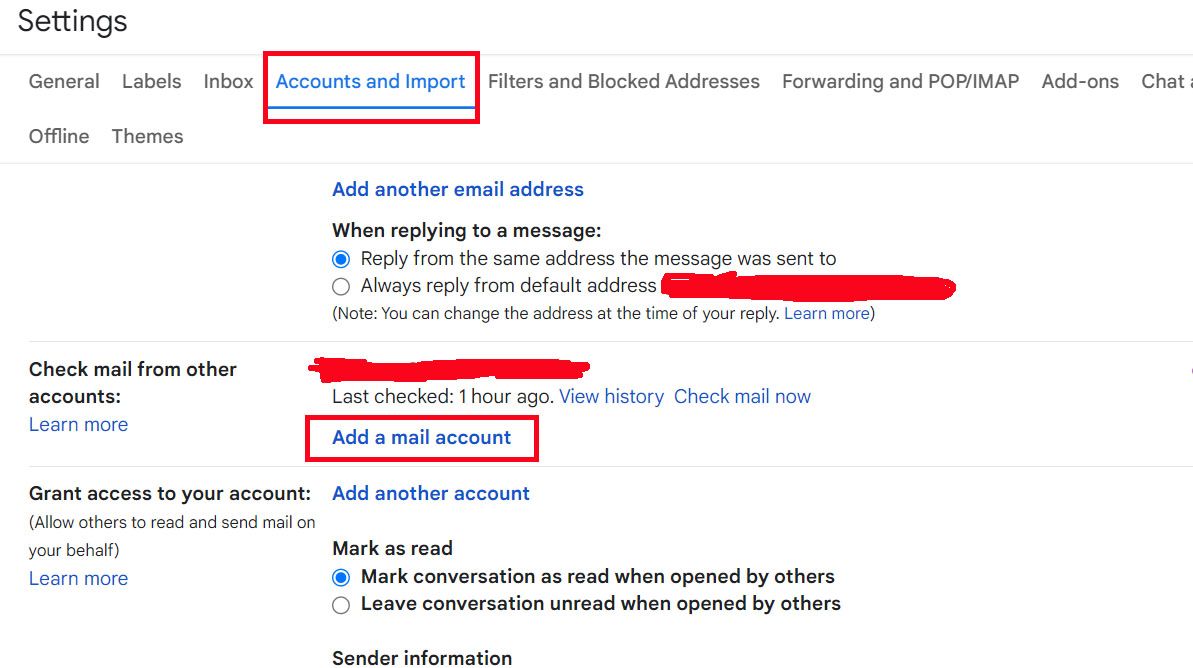
3) Click on the Account and Import tab and then Click on the Add a mail account
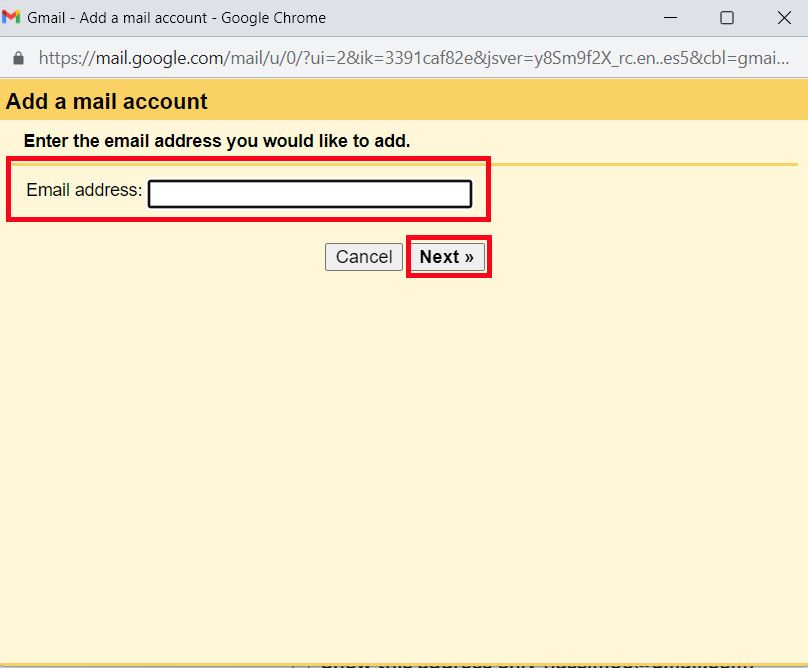
4) A new window will open. Enter your email address on it and Click on the Next button
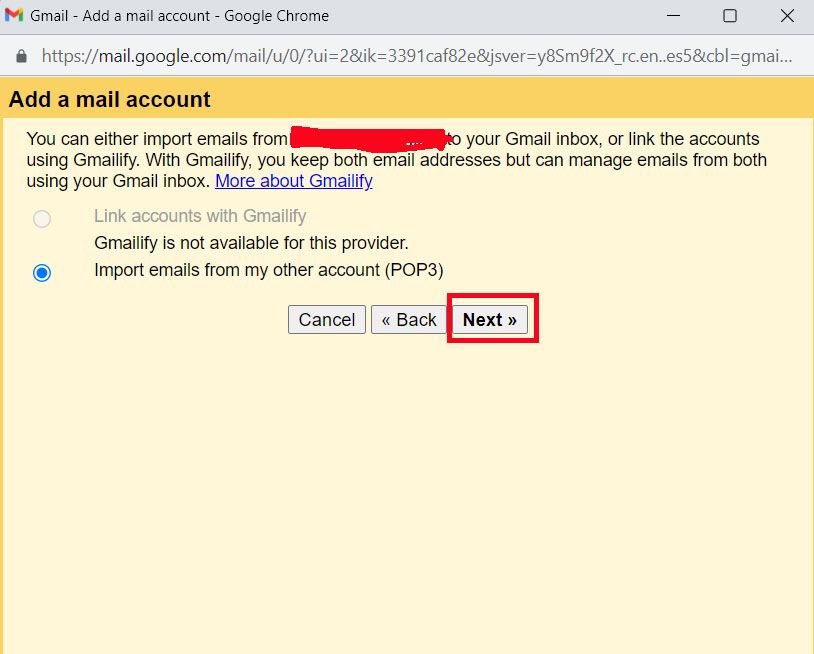
5) Select the option Import emails from my other account (POP3) and click on the Next button
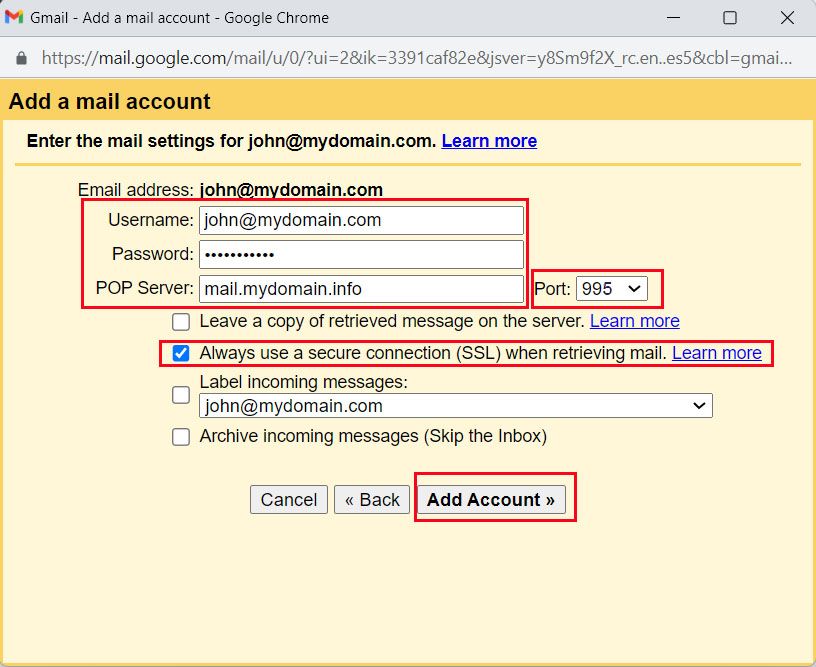
6) Then in the Next window Enter the following details and Click on the Add account button
Username - Enter Business Email Address
Password - Enter Business Email Address Password
POP Server - mail.yourdomain.com
Port - 995 (Default - 110)
Additional Options - Check only box Always use a secure connection (SSL) when retrieving mail and the remaining ones should be Unchecked
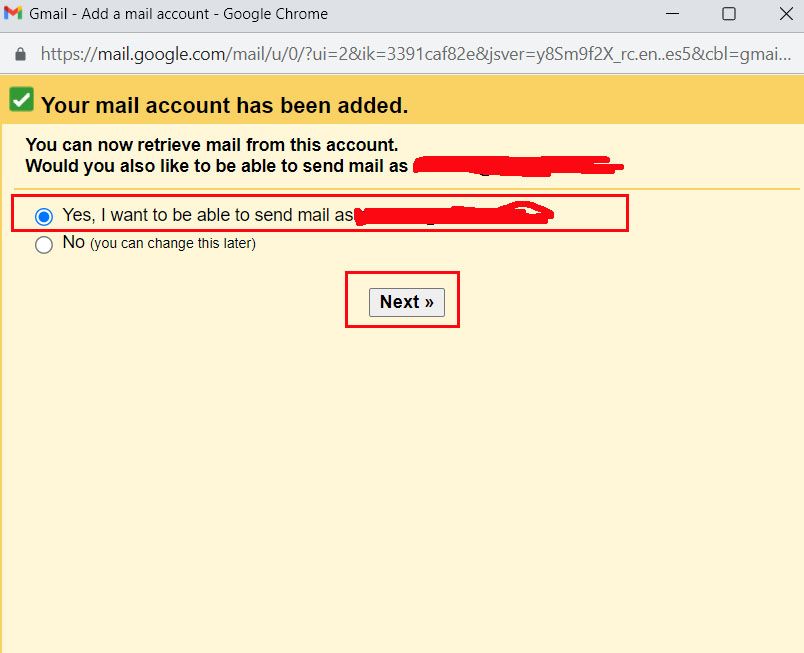
7) Select the option,the Yes, I want to be able to send mail as john@mydomain.com and Click on the Next button
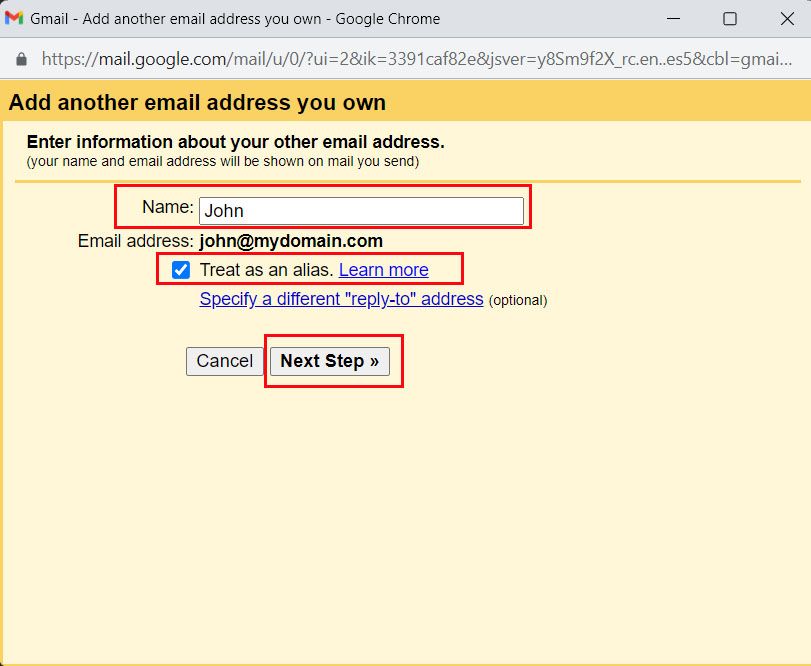
8) Enter your Name and Check Treat as an alias option and Click the Next Step button
9) Then in the Next window Enter the following details and Click on the Add account button
SMTP Server - mail.yourdomain.com
Username - Enter Business Email Address
Password - Enter Business Email Address Password
Port - 465 (Default - 587)
Additional Options - Check Secured connection using TLS

Now, you will receive a verification link from Gmail to the business email address you have just added. You need to click on the link in the email to Verify.
Once verified you will see your business email address in the Send mail as and the Check mail from other accounts sections under Accounts and Imports Tab under Settings
That's all, you are now ready to send and receive emails for your business email through your Gmail account.
If you need any help with configuring the Business email in Gmail, please feel free to contact our customer support team.