
How to Manage the DNS zone in the control panel?
In this article, we will cover How to Manage the DNS zone in the SiteCountry Cloud Hosting control panel.
Adding DNS Records
1) Log in to your SiteCountry Hosting Control Panel
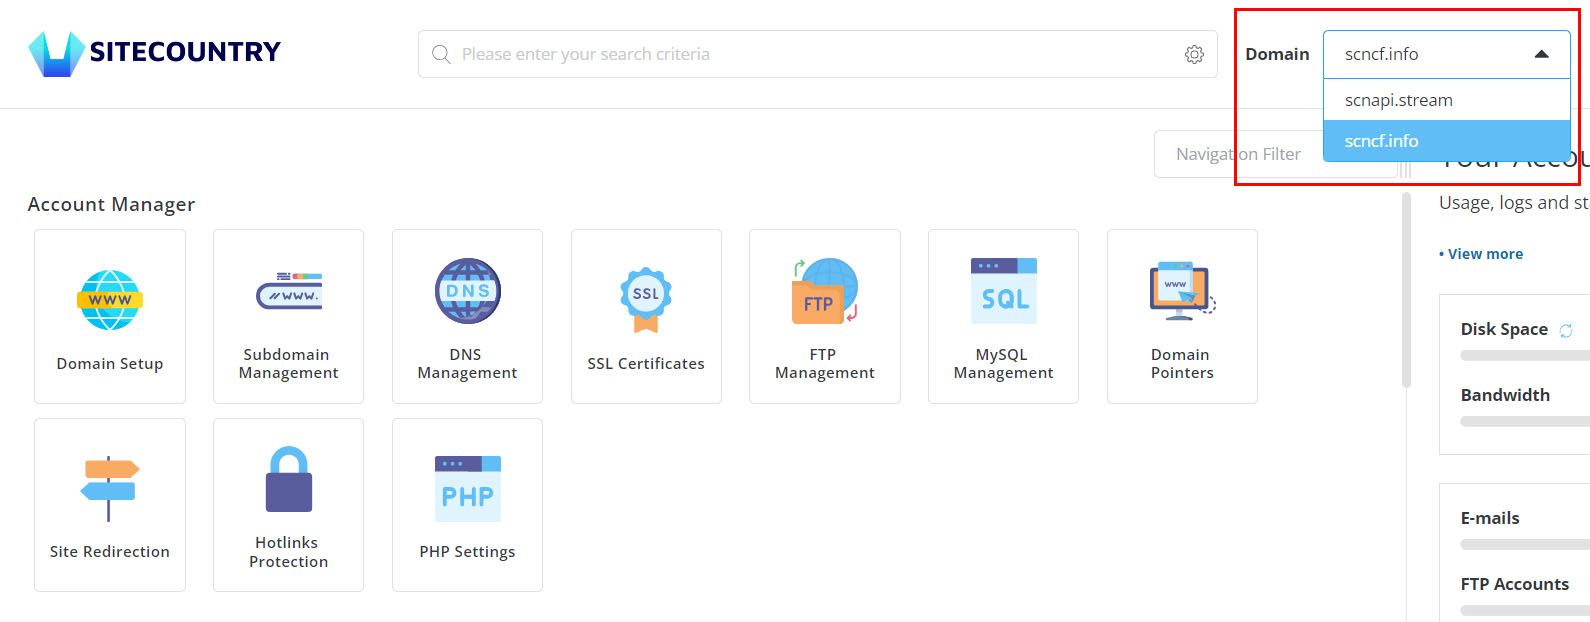
2) Choose the Domain to Manage
If you have hosted multiple Websites on your hosting plan then Select a domain o manage the DNS zone as in the below image
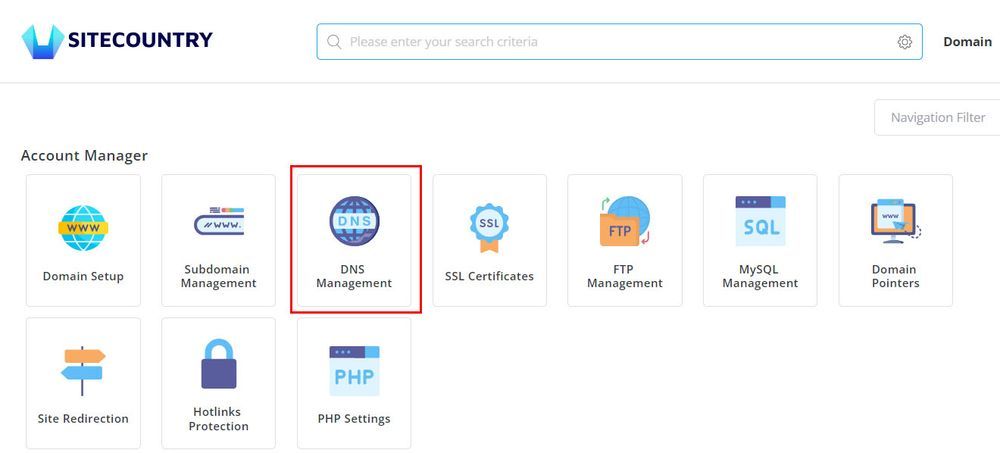
3) Click on DNS Management
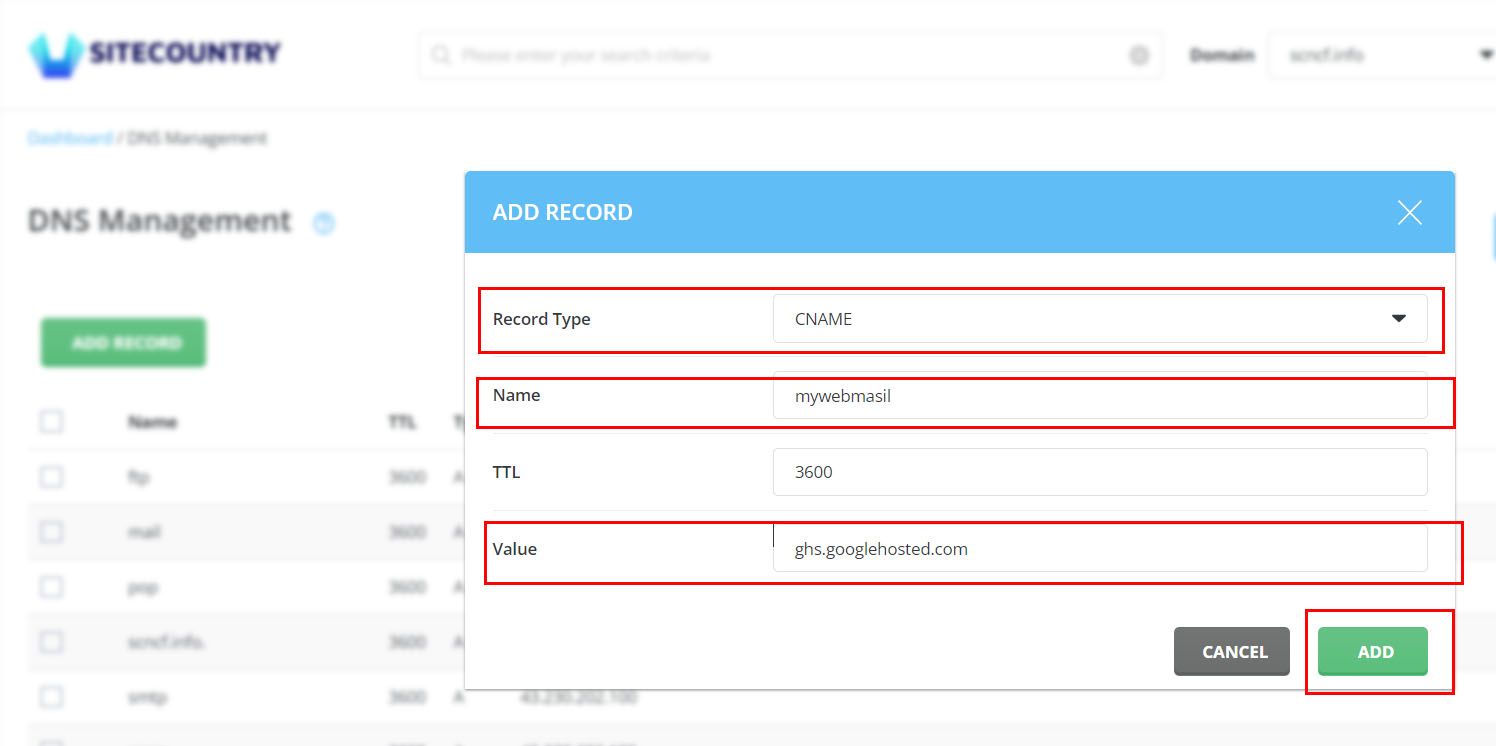
4) Click on Add Record button

5) Enter the necessary details and Click on ADD button to Add New DNS Record
Example:
Record Type (Select one): CNAME
Name: mywebmail
TTL: leave the default one
Value: ghs.googlehosted.com
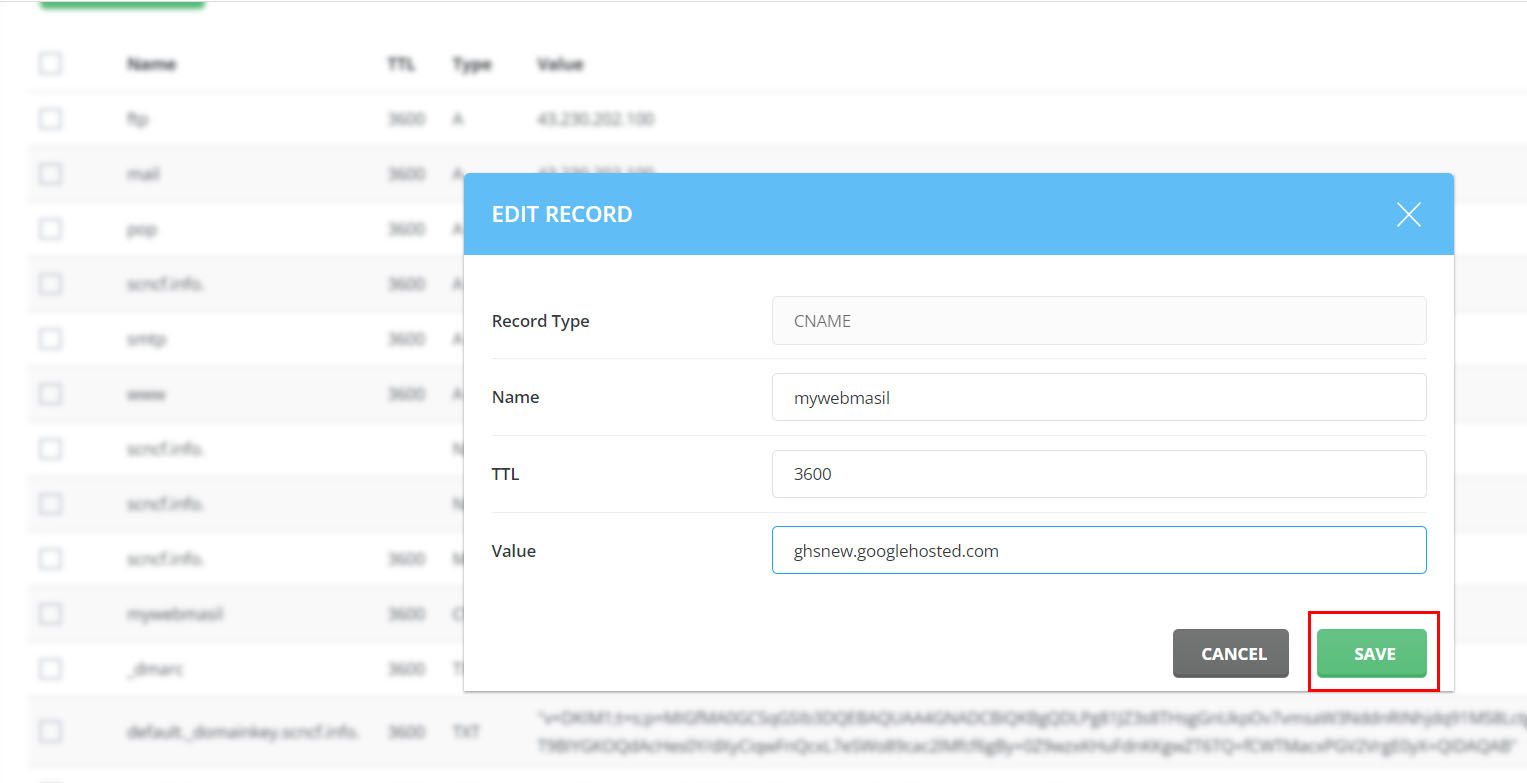
Editing DNS Records
1) In the DNS Management section click on the Edit button corresponding to the DNS record which you want to edit
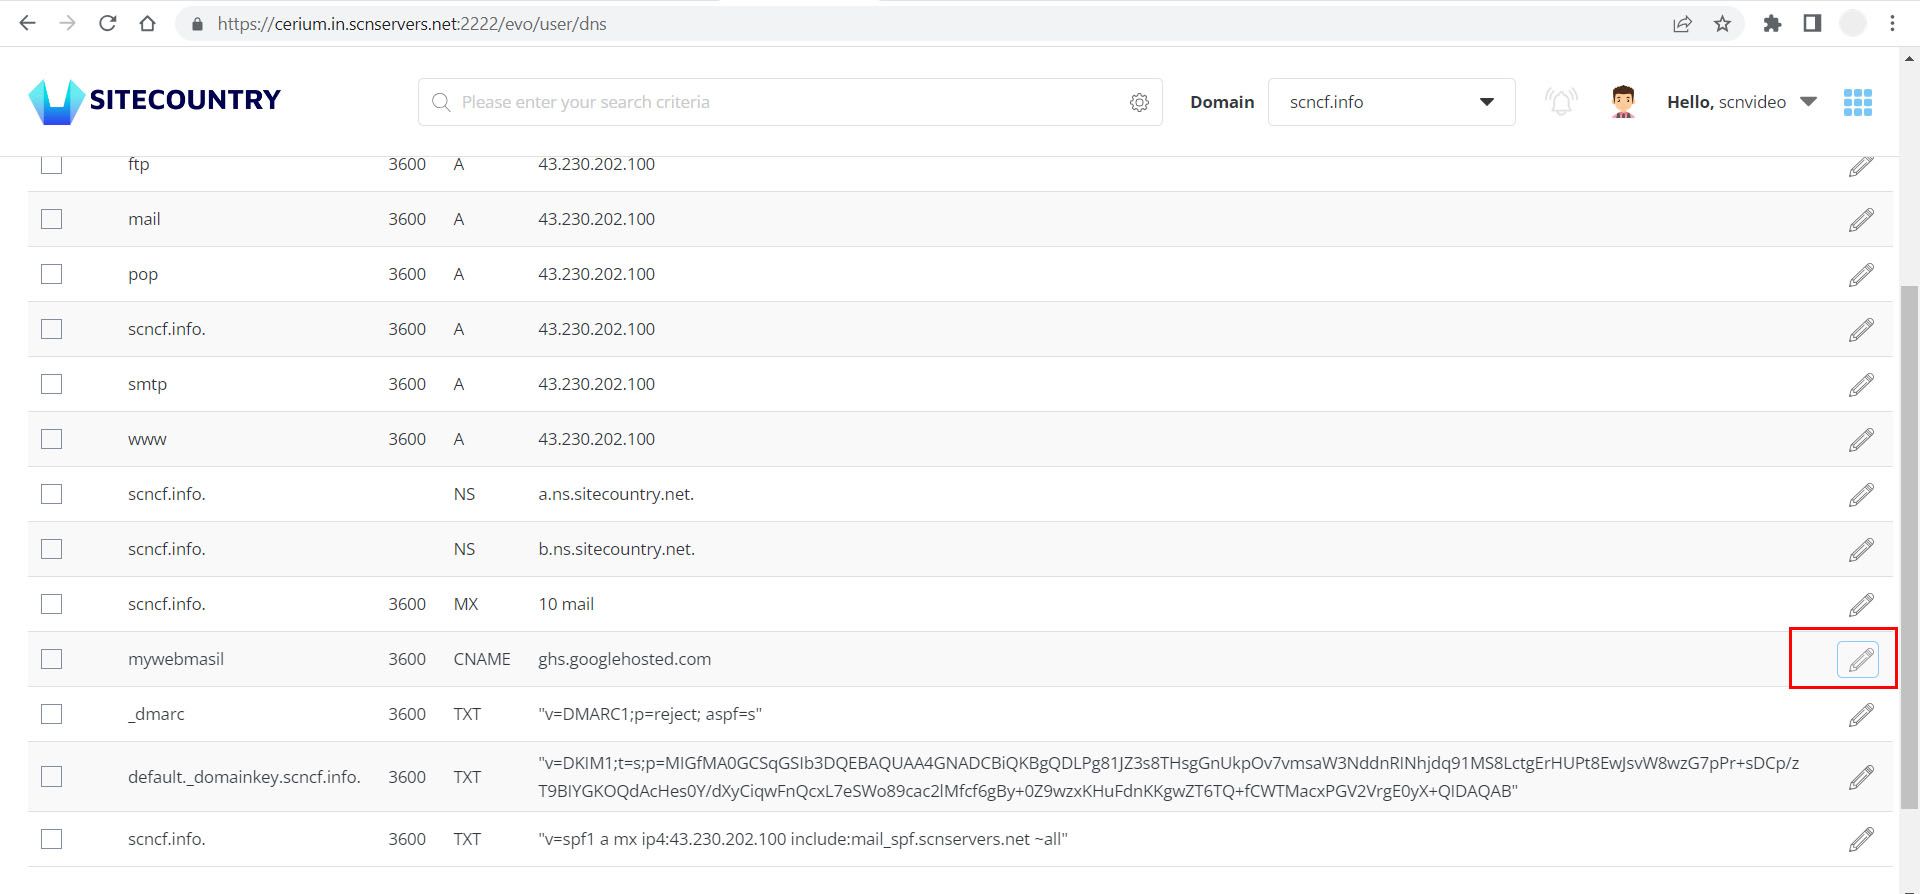
2) Then make the changes you want and Click on the SAVE button to update the DNS record
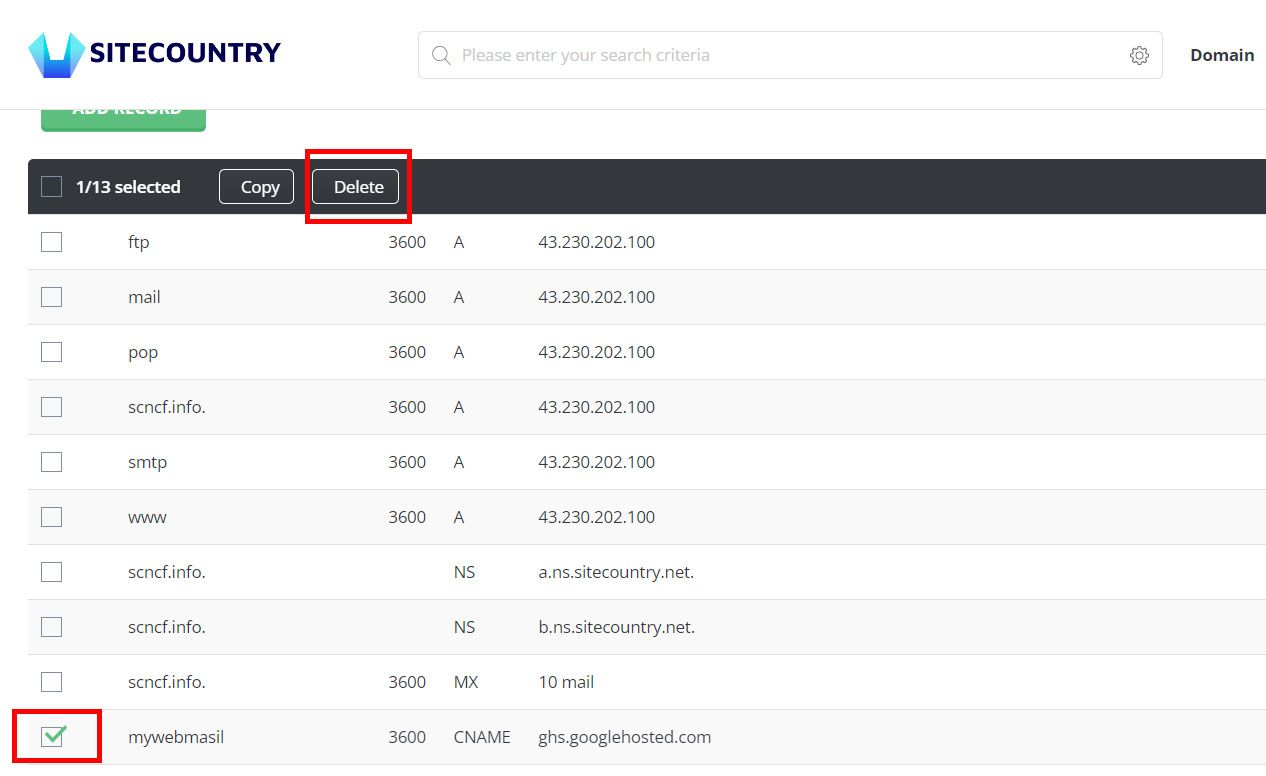
Deleting DNS Records
In the DNS Management section select the DNS record which you want to delete and click on the Delete button to remove the DNS record
This is how you can manage the DNS zone in your SiteCountry Cloud Hosting.
If you need any help with managing DNS Zones for your Websites, please feel free to contact our customer support team.