How to migrate a website from Wordpress to Wordpress via Plugin

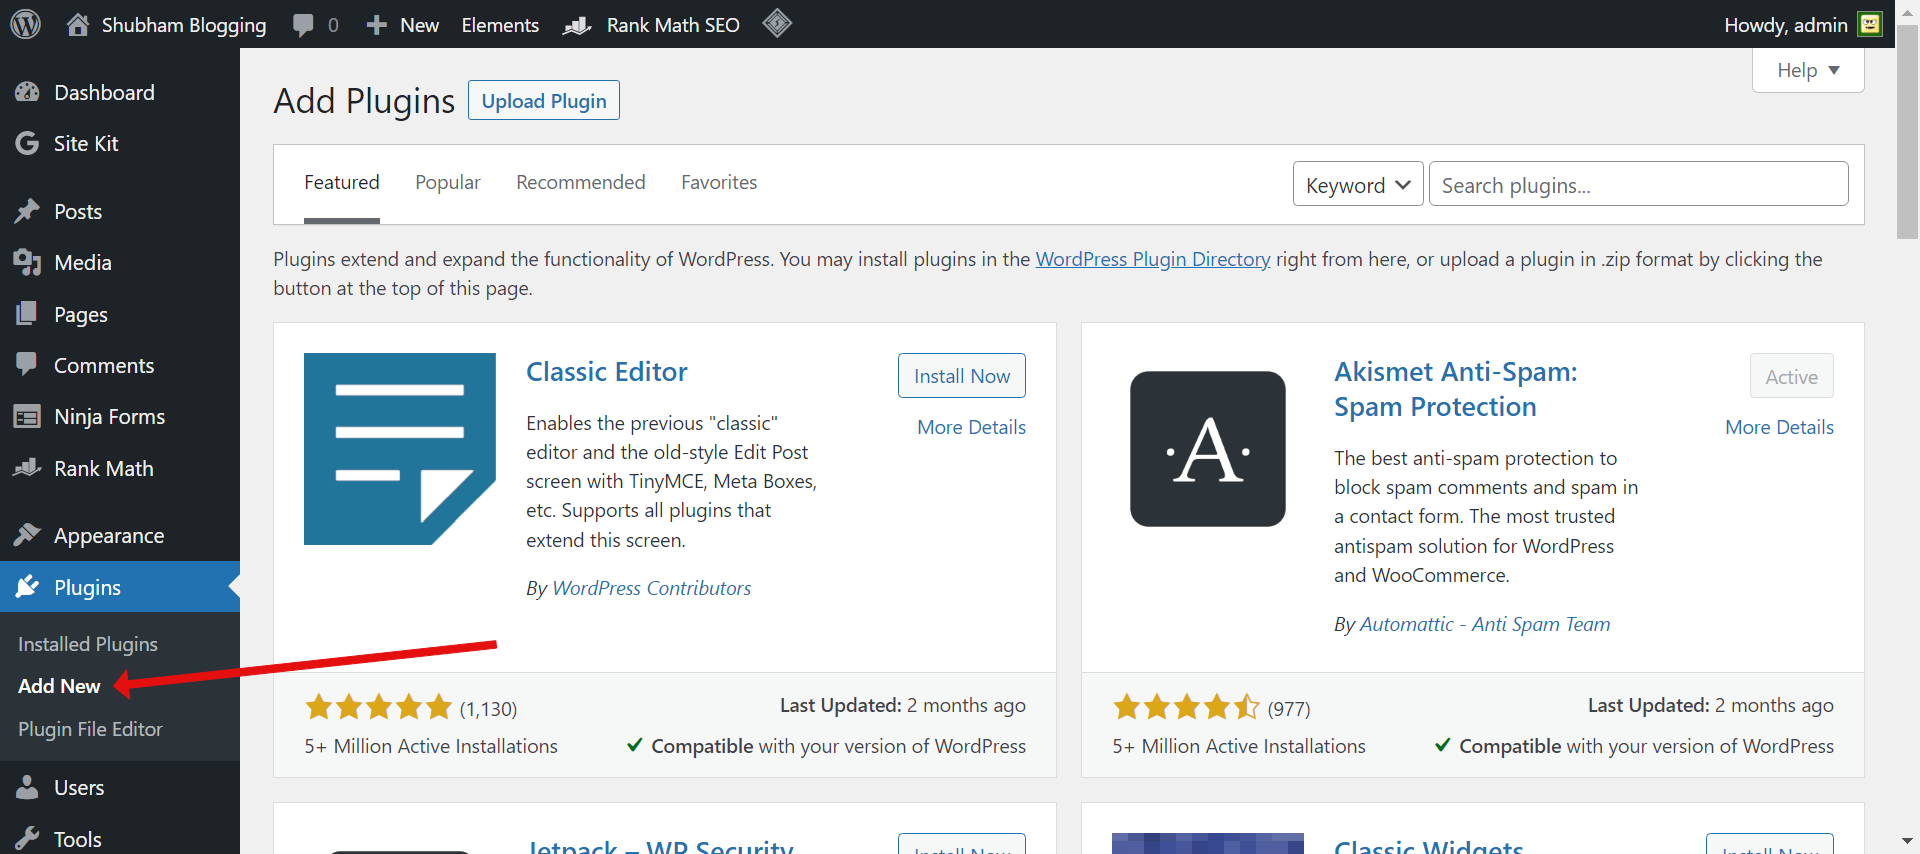
Step 1 : Login to your Wordpress dashboard and Go to plugins > Add new.
Step 2 ) Click on the Upload Plugin Option and upload the All in one WP migration plugin, which can be found here :
After uploading, activate the plugin.
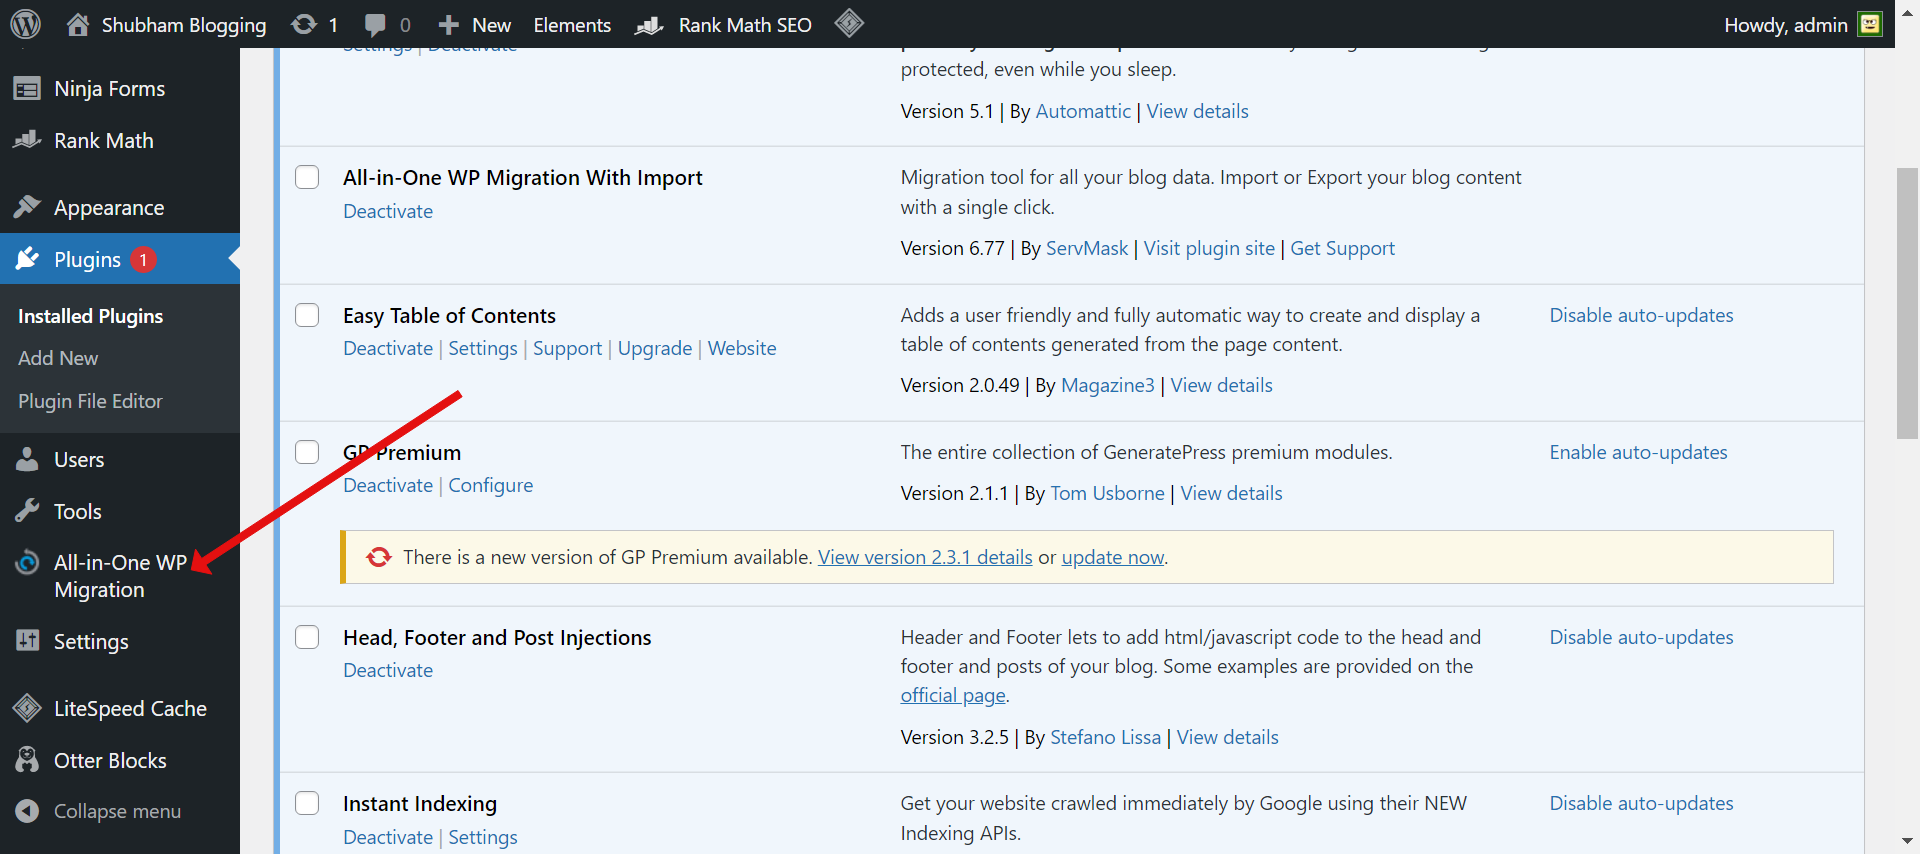
Once activated you should see an option like this appear on the WP dashboard :
Click on Export and select the "File"
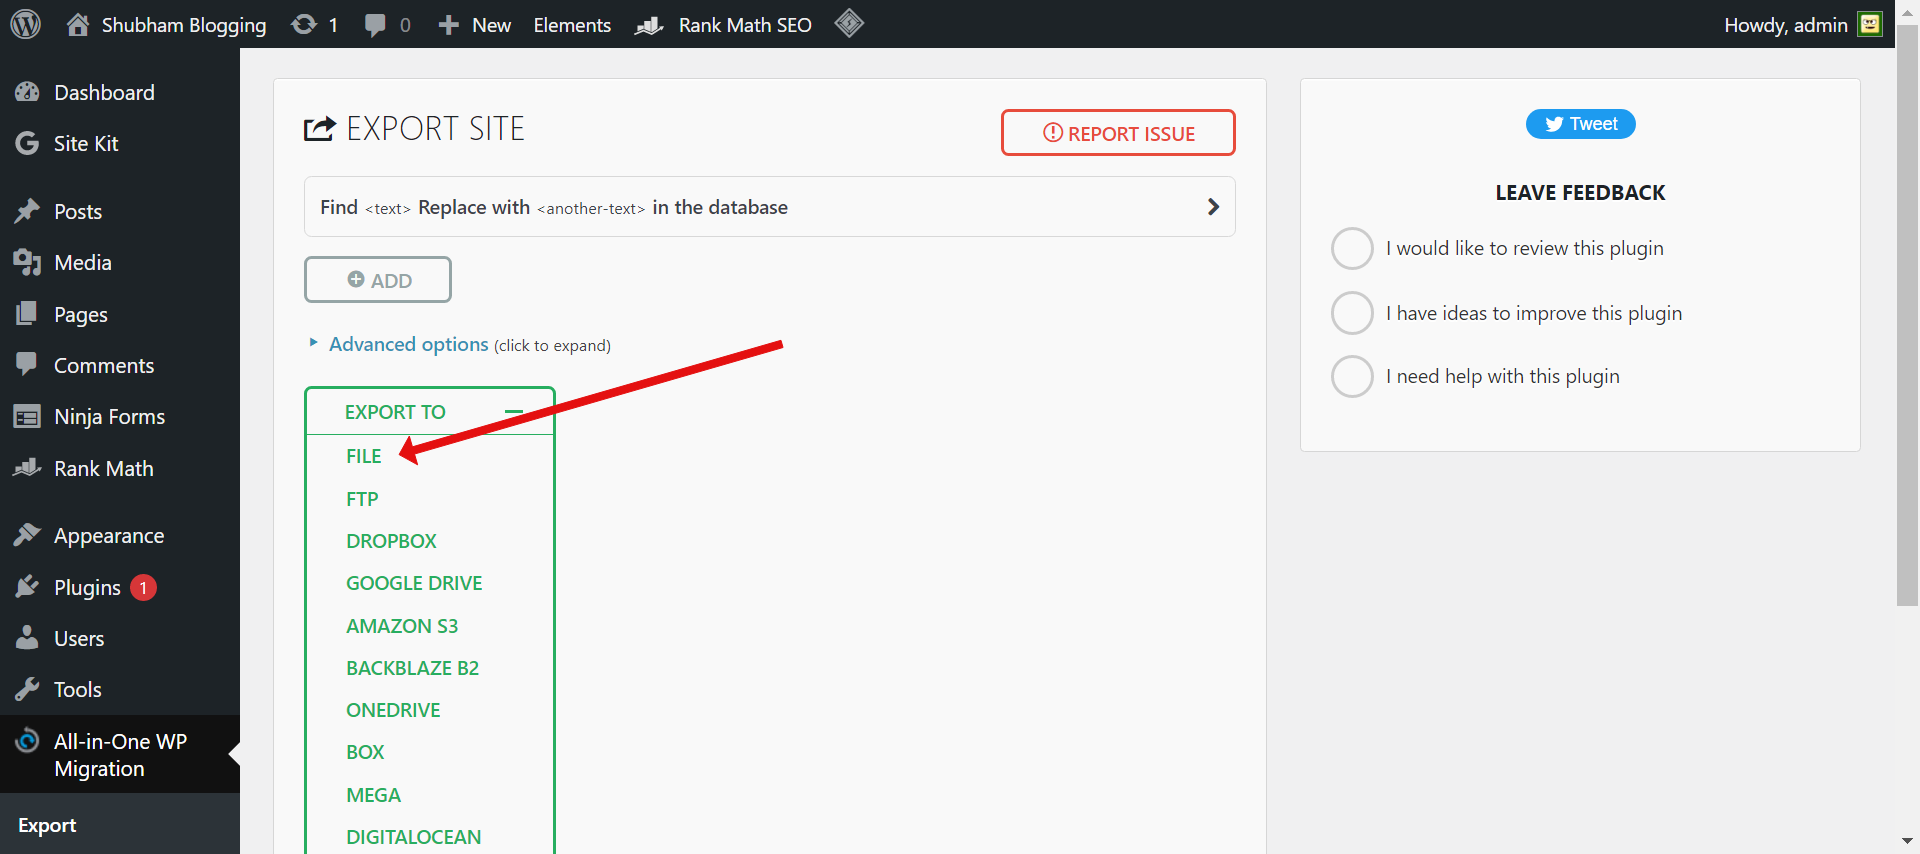
Export will start
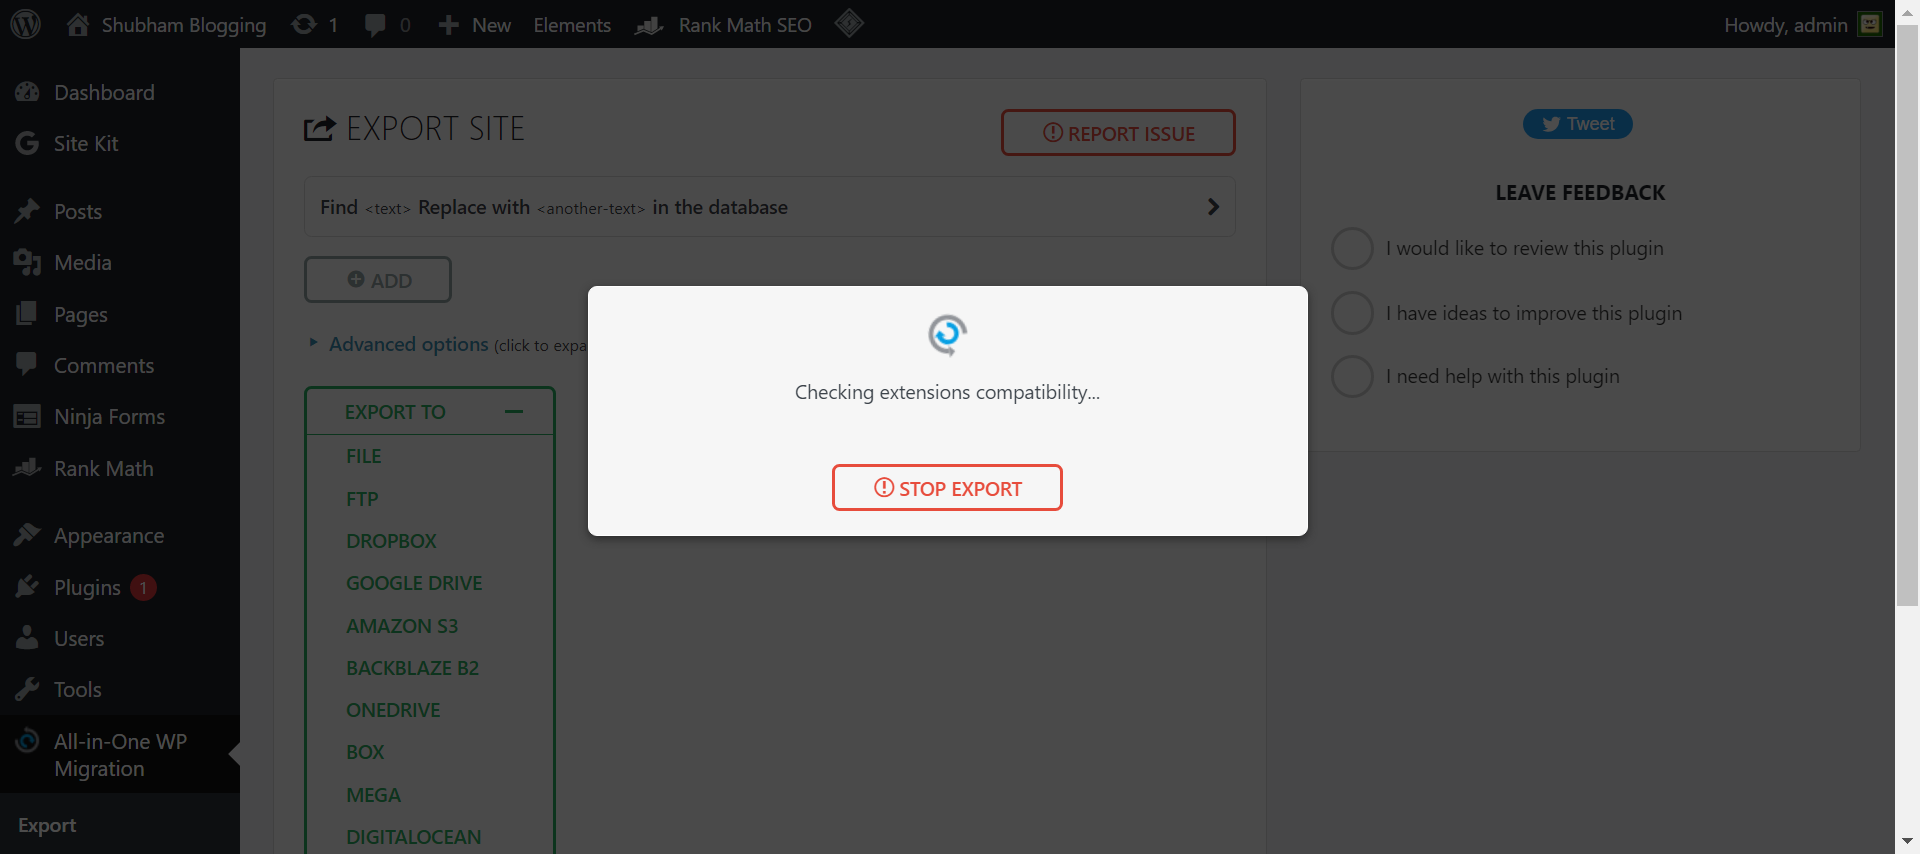
It will take some time to export depending on the old hosting's server speed, and other factors.
After its done, then download the file.
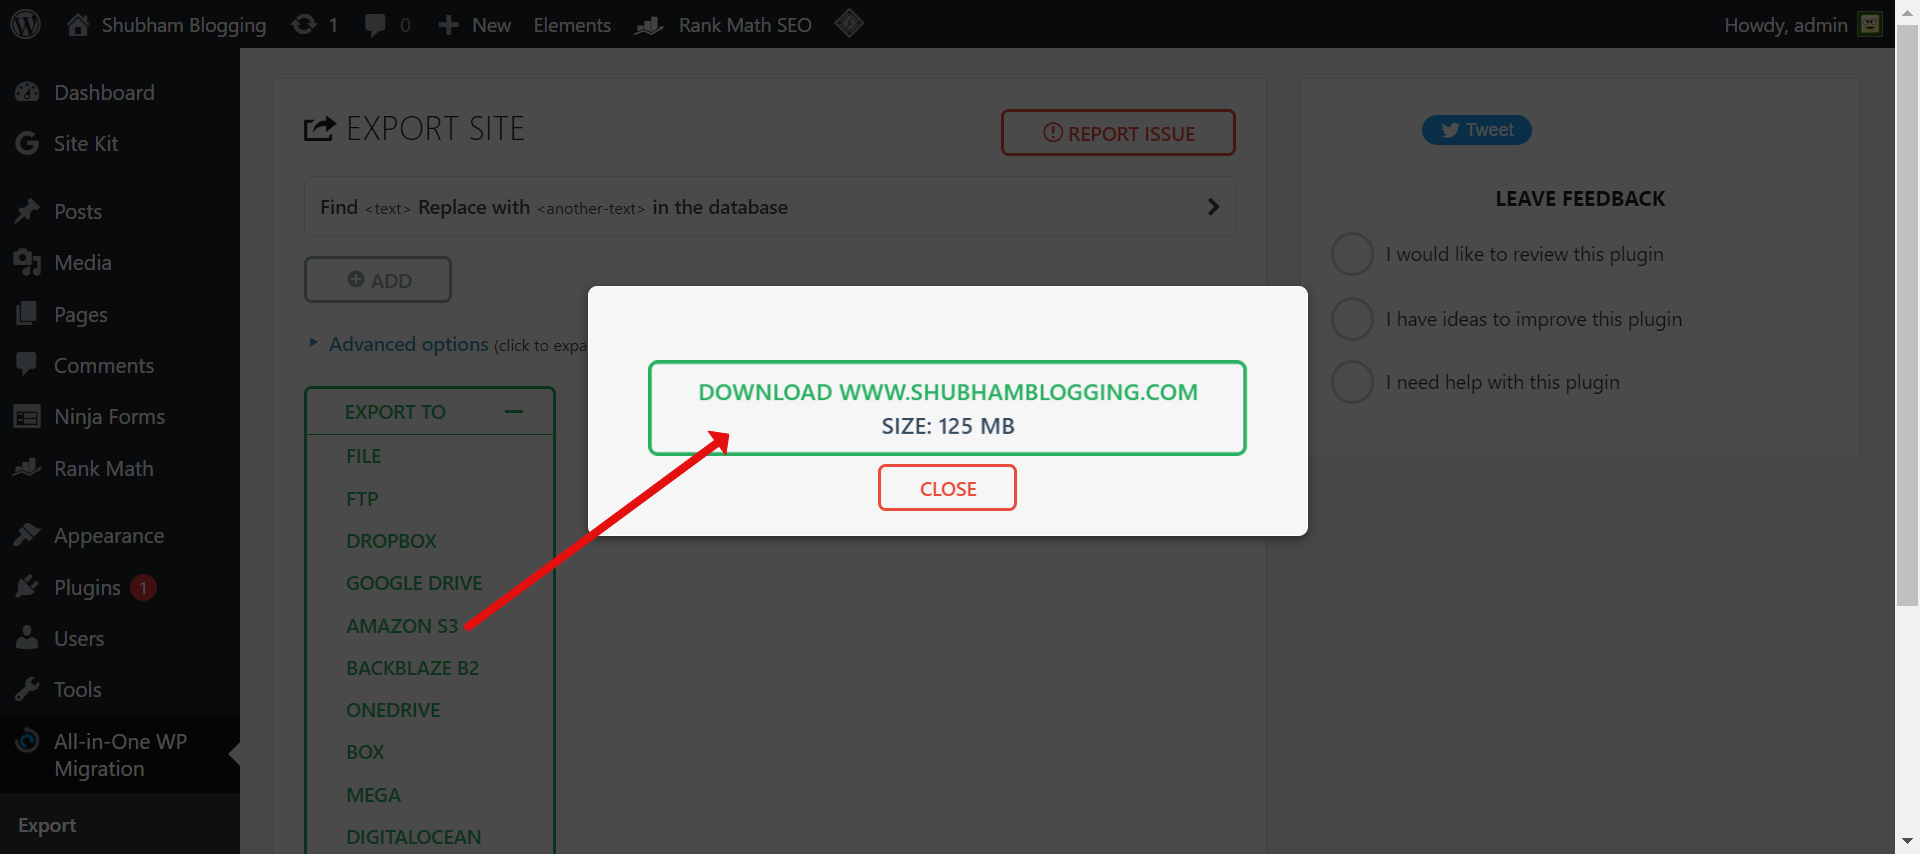
Part 1 of migration is done now where you have the backup of the old website.
Part 2 includes installing wordpress on the domain, changing hosts file and then restoring it.
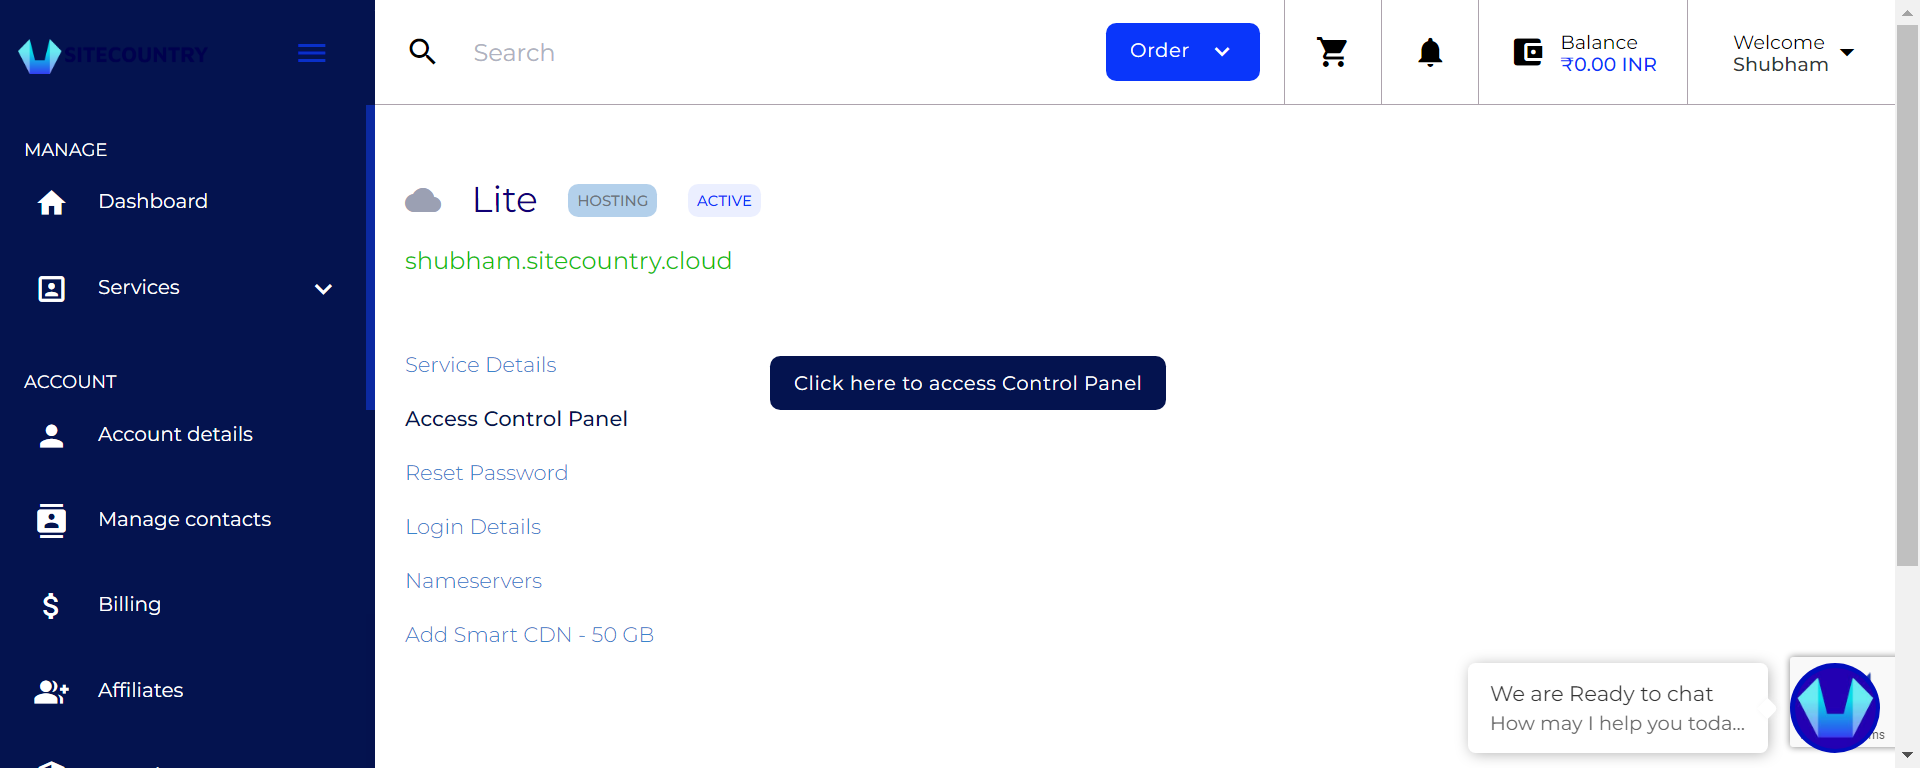
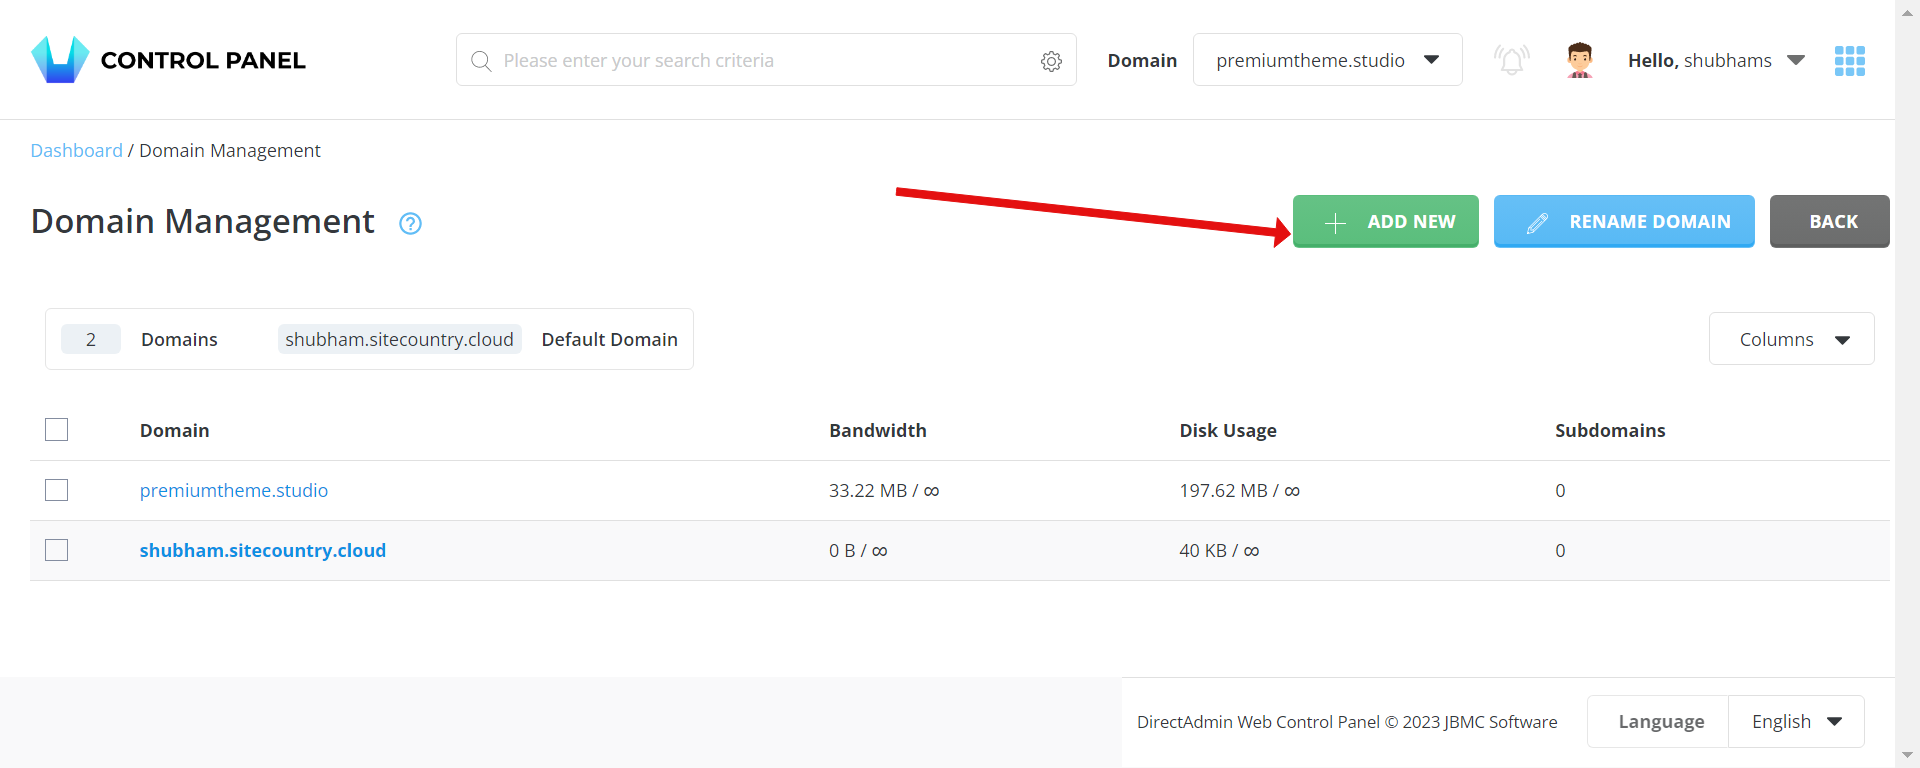
Step 1 ) Login to your SiteCountry's control panel, then go to domains and add the domain in the panel which you wish to migrate.
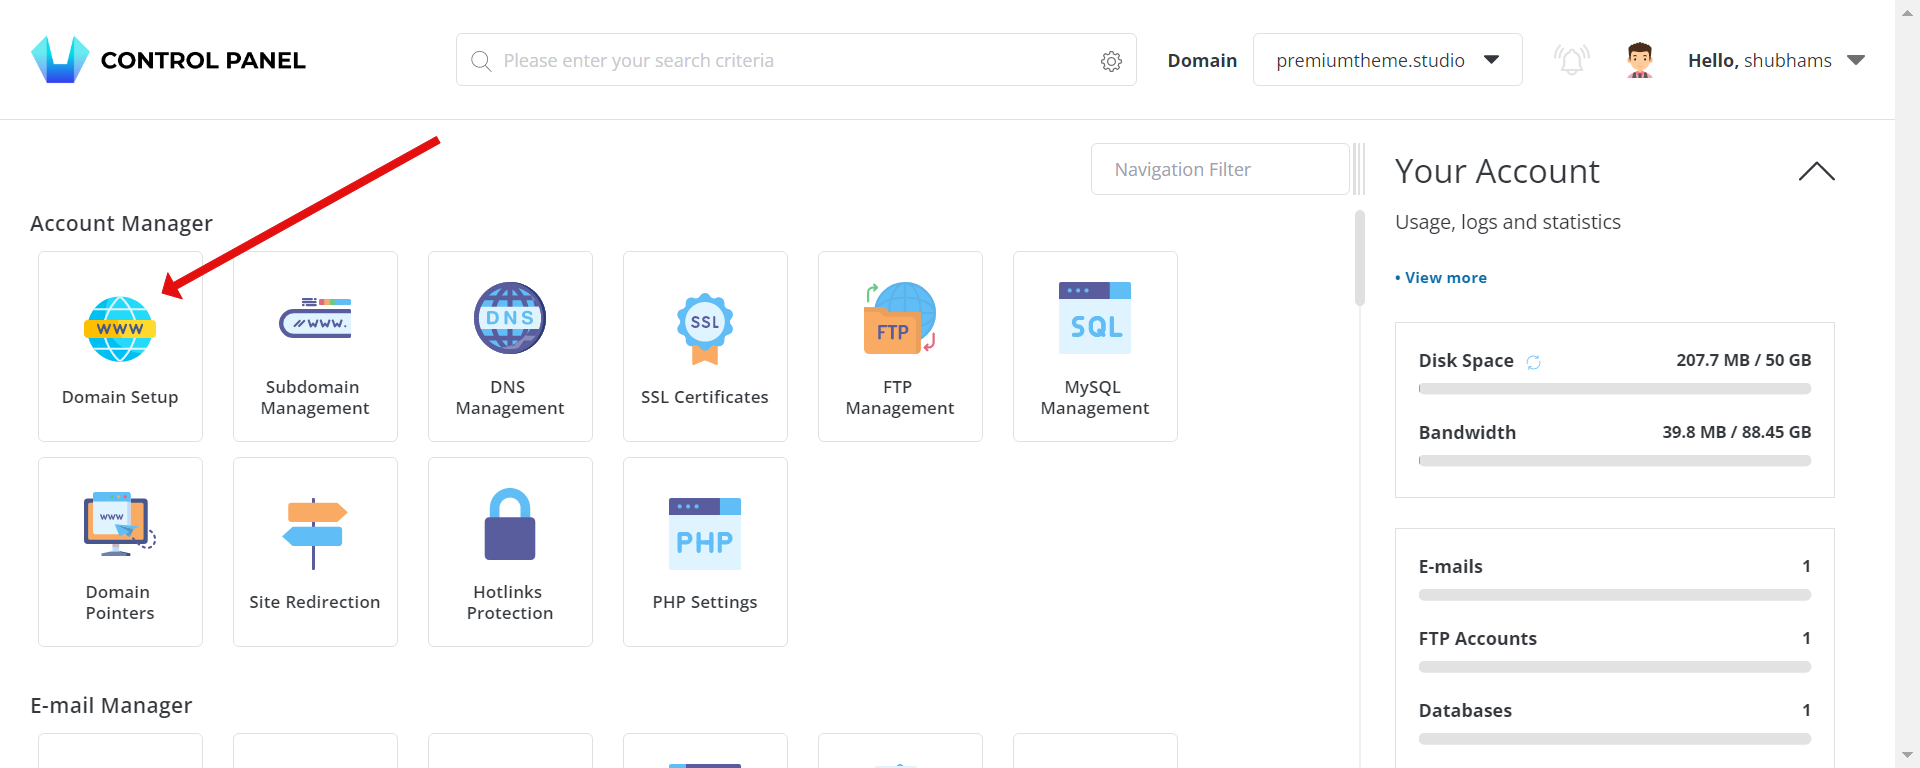
Click on domain setup
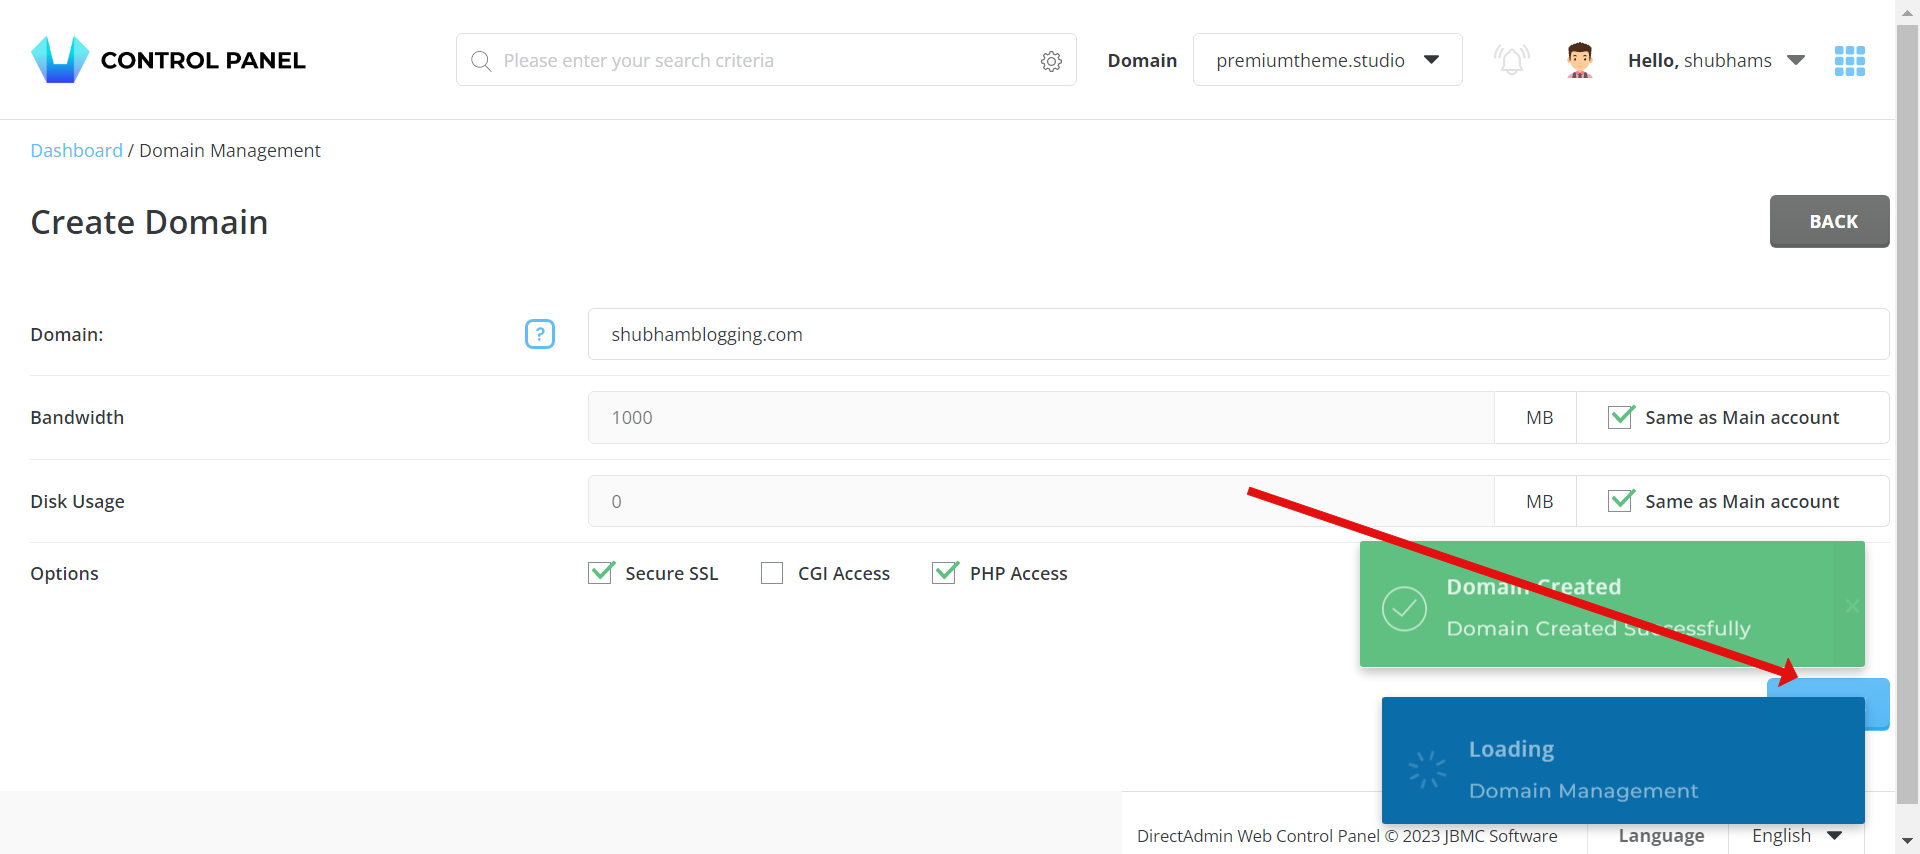
Click on add new and add the domain
Click on create and that should create the domain in your account.
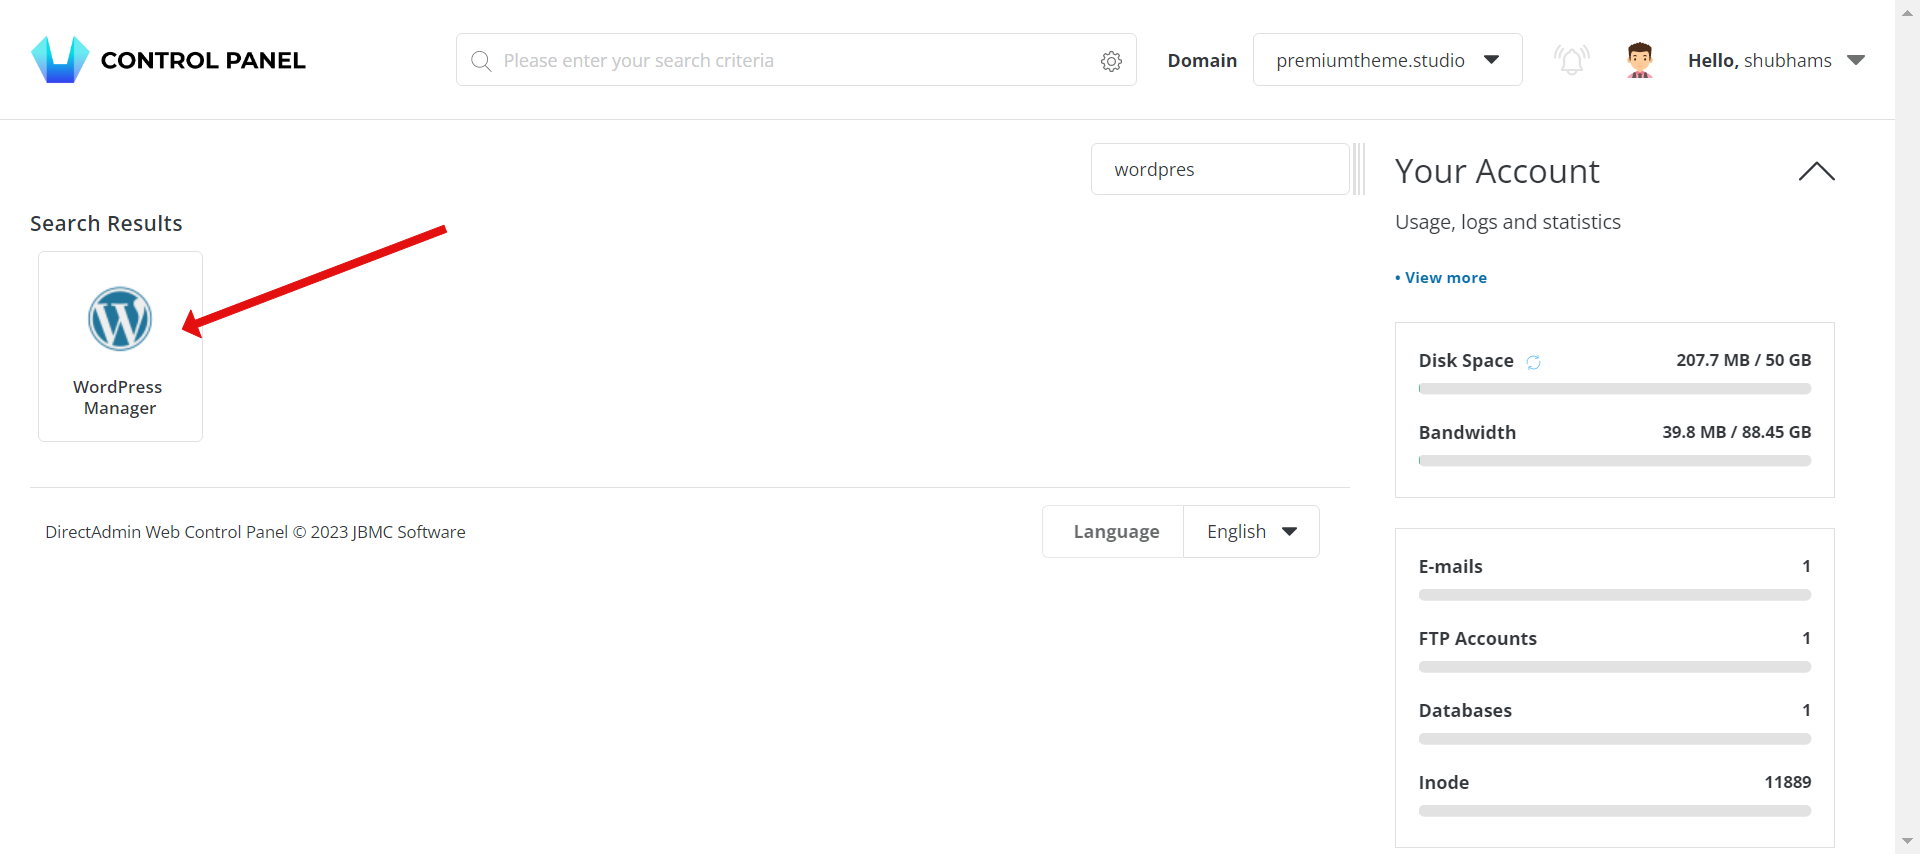
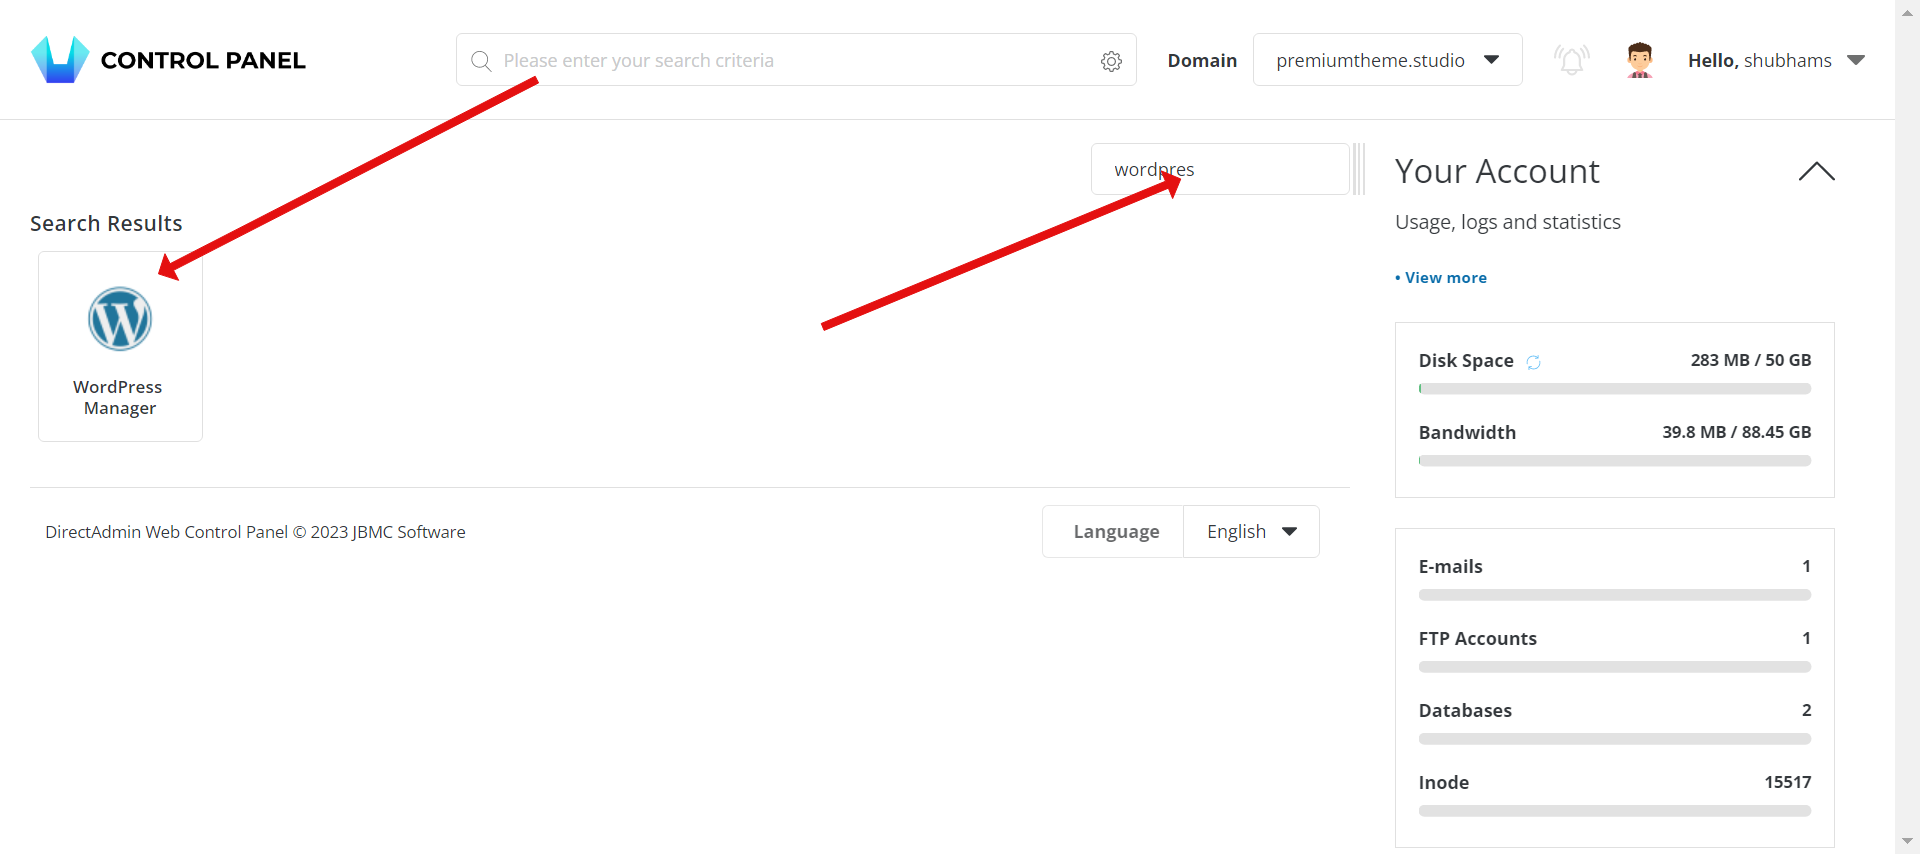
Search for Wordpress in the Panel and click on The wordpress manager.
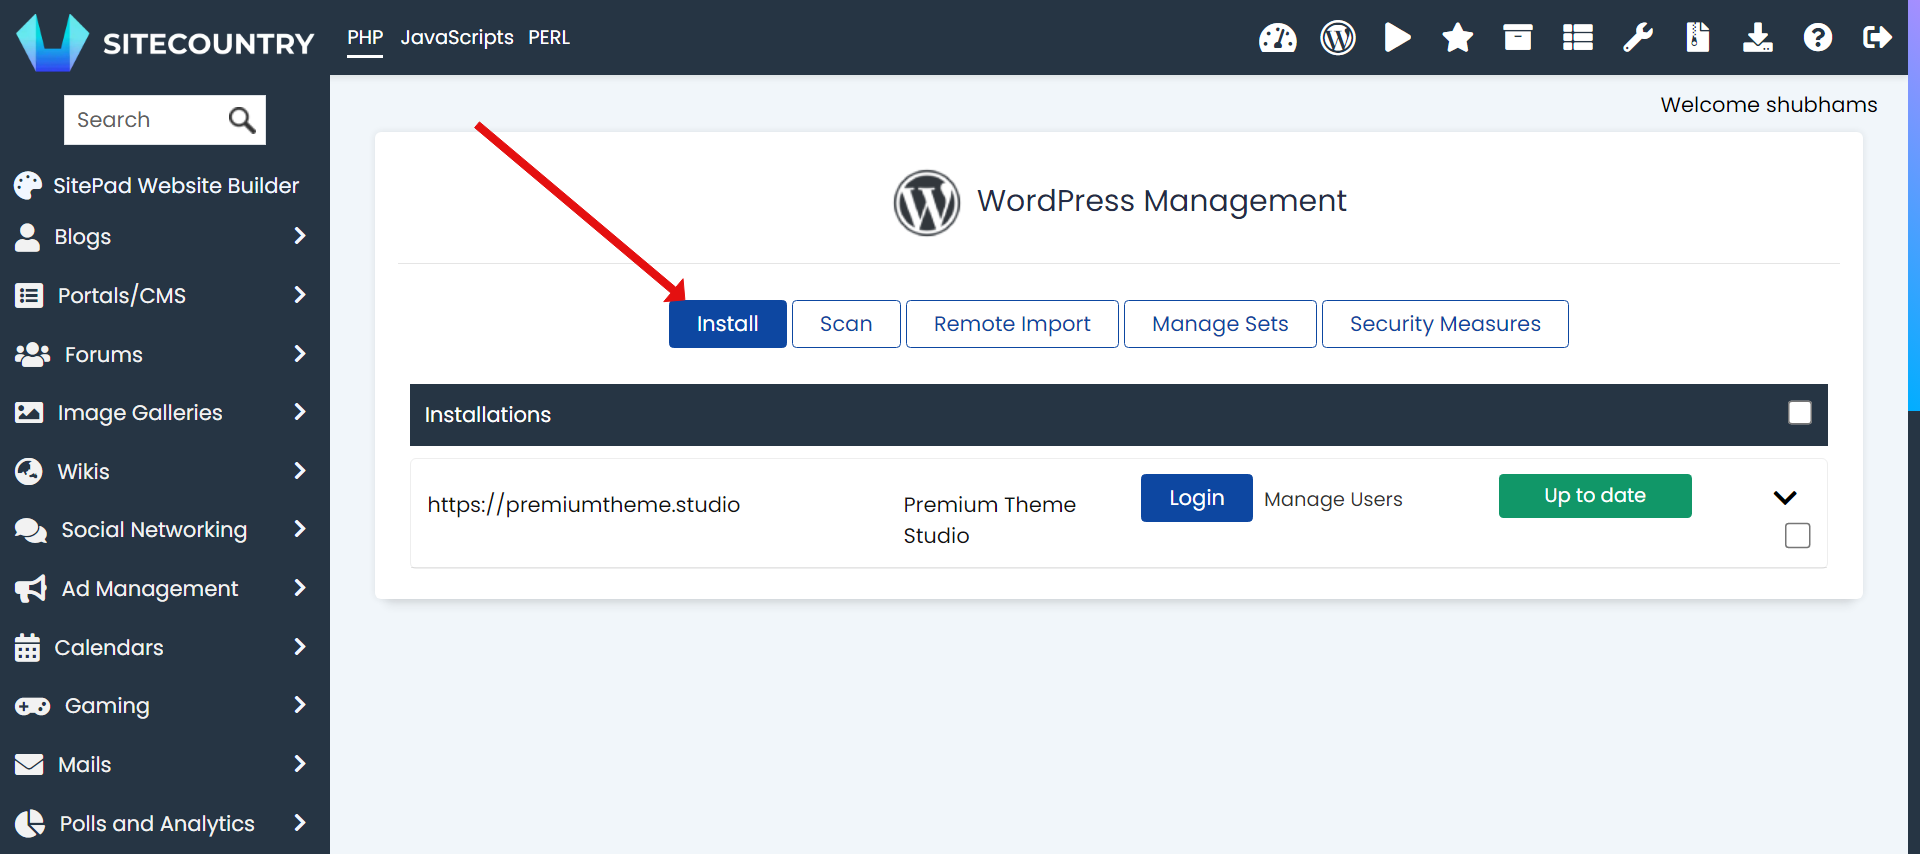
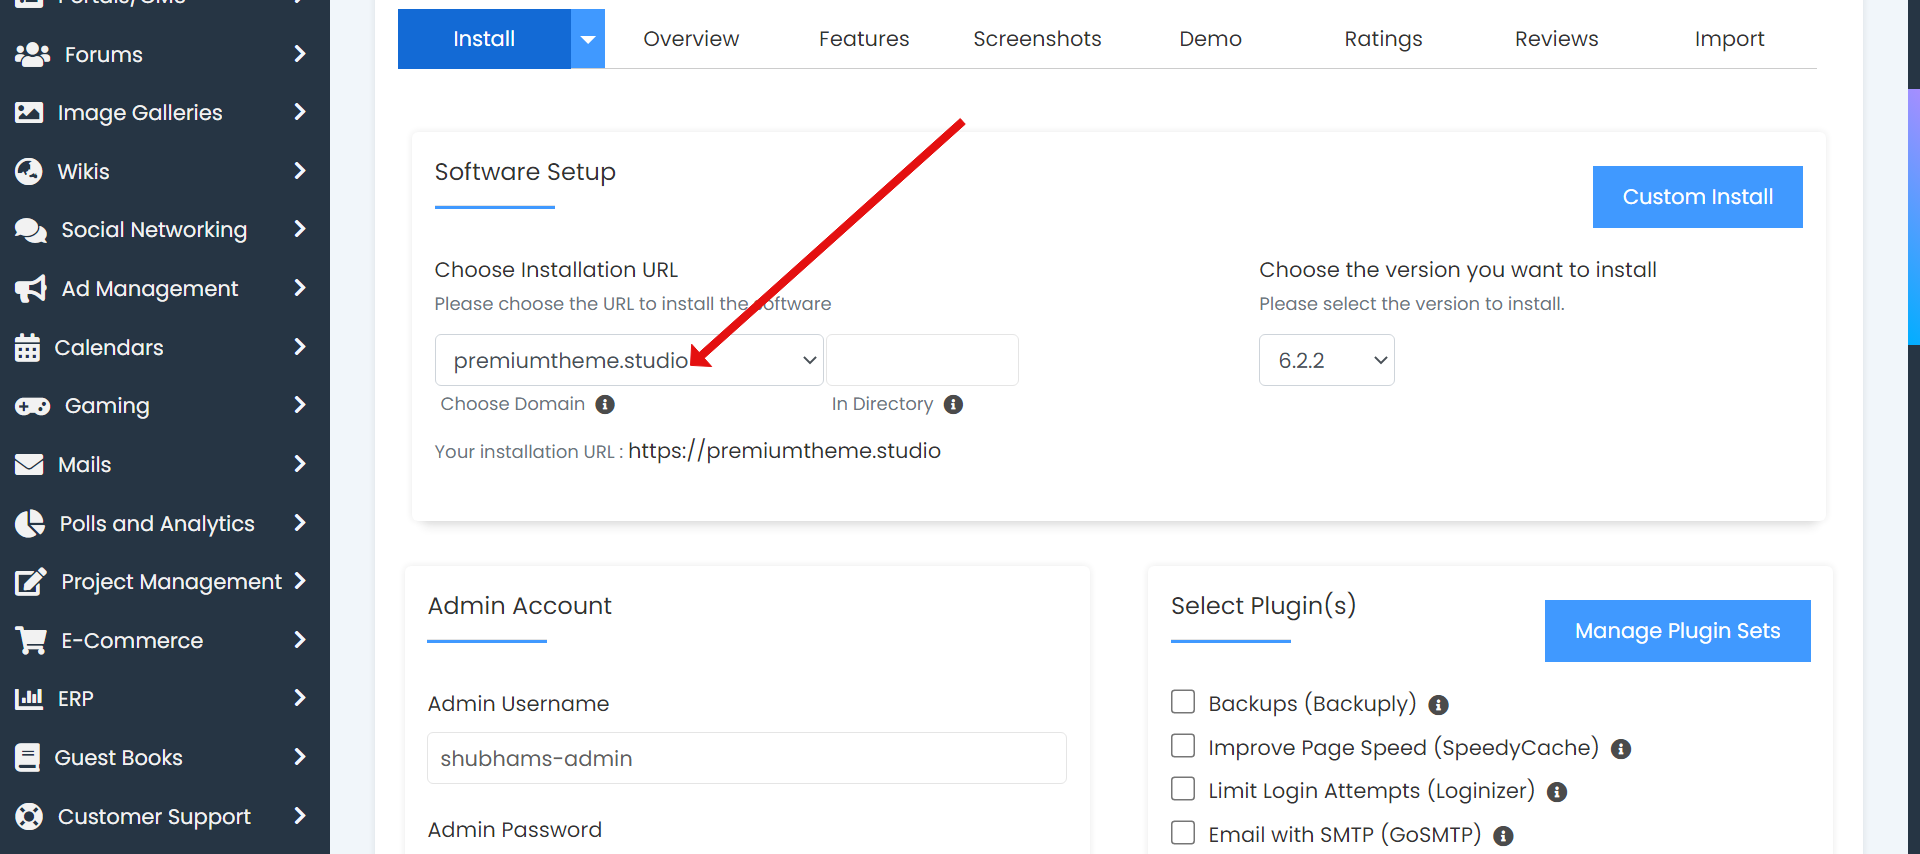
Now click on install
Select the domain which was to be migrated here.
Make sure to tick this option.
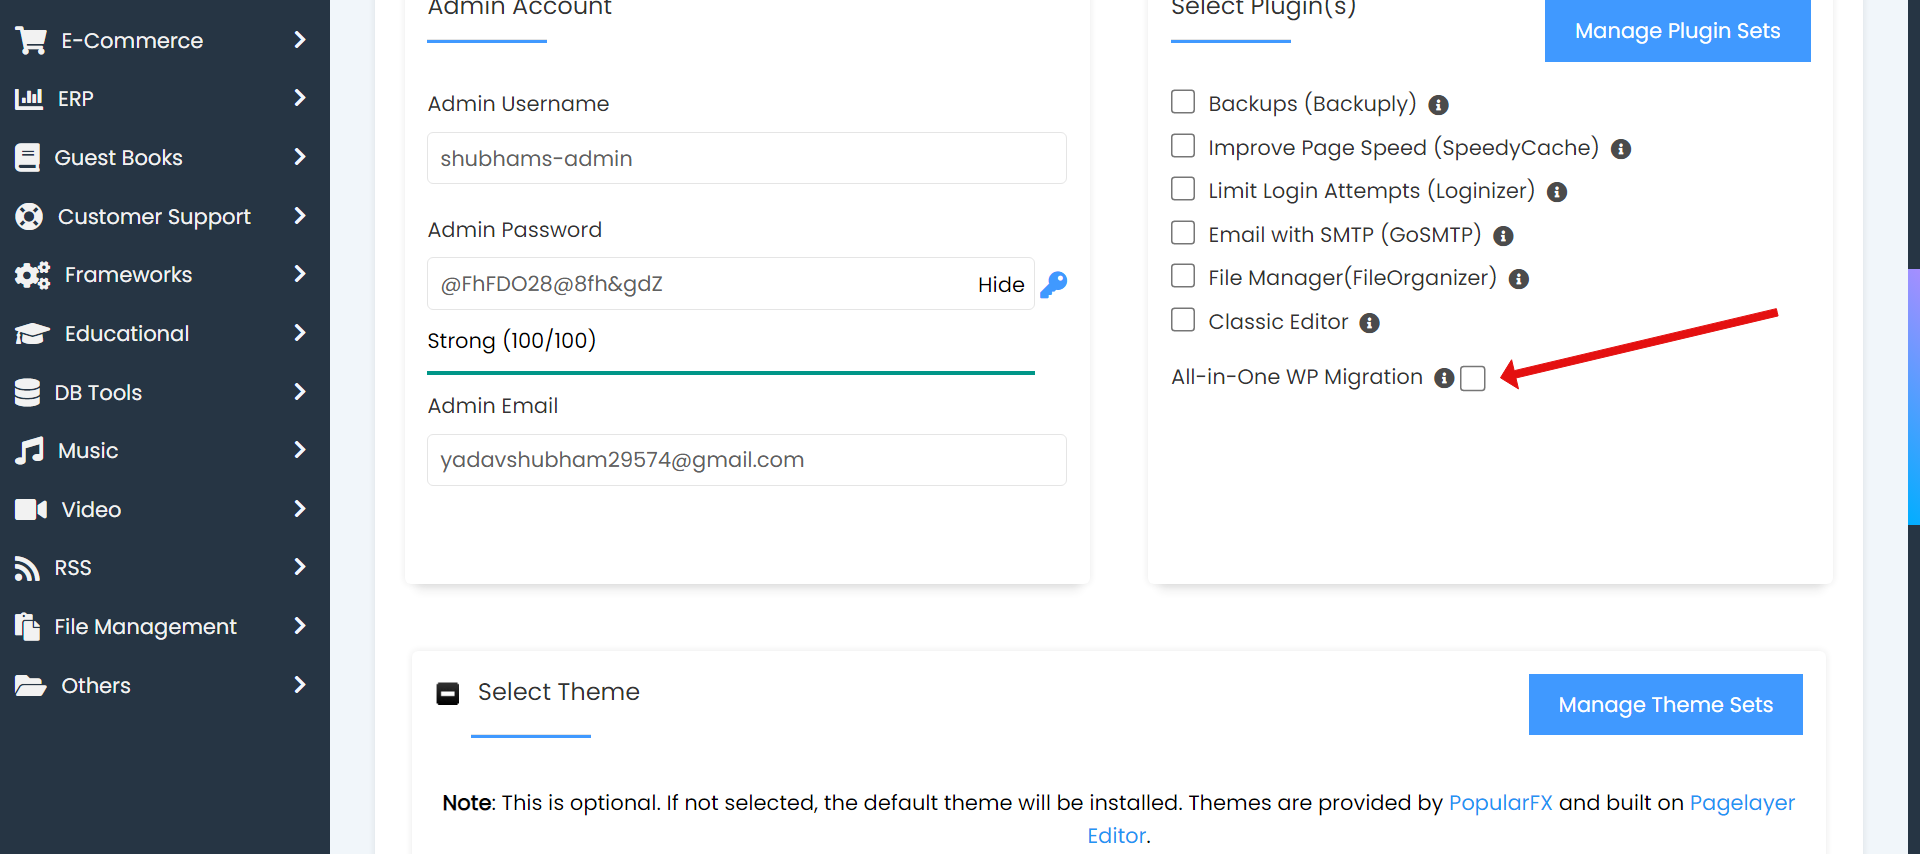
Now, press the install now button and wait for it to finish.
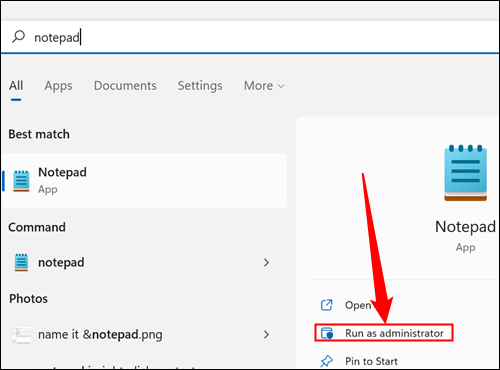
After its done, open notepad in your pc, as an administrator.
Now, accept the prompt and then press Ctrl + O in notepad to open the OPEN FILE DIALOG BOX.
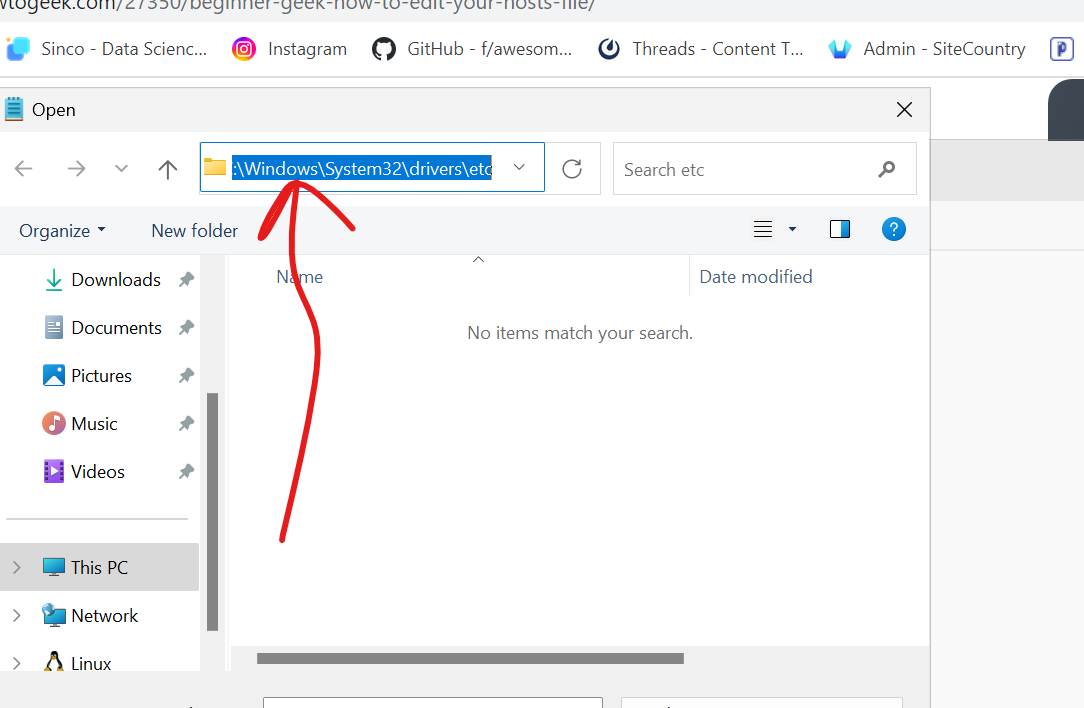
Copy Paste this path here : C:\Windows\System32\drivers\etc
Press enter. after that click on all files as show in screenshot.
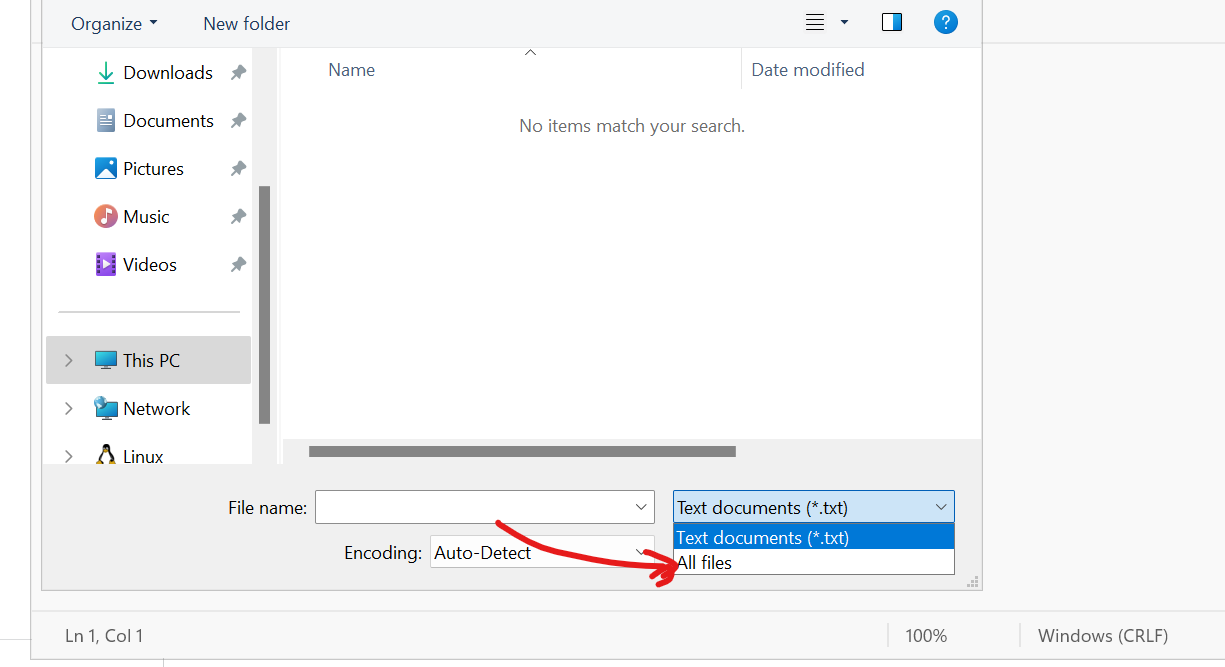
Then it will show up 5 files, open the file named hosts which will appear on the top.
File shoudl look this :
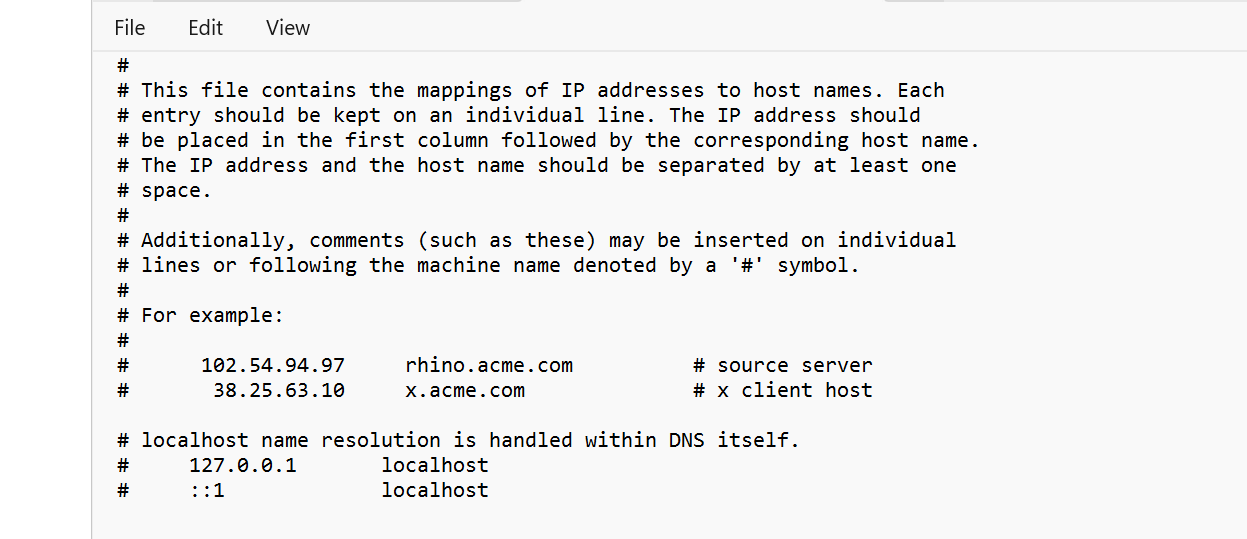
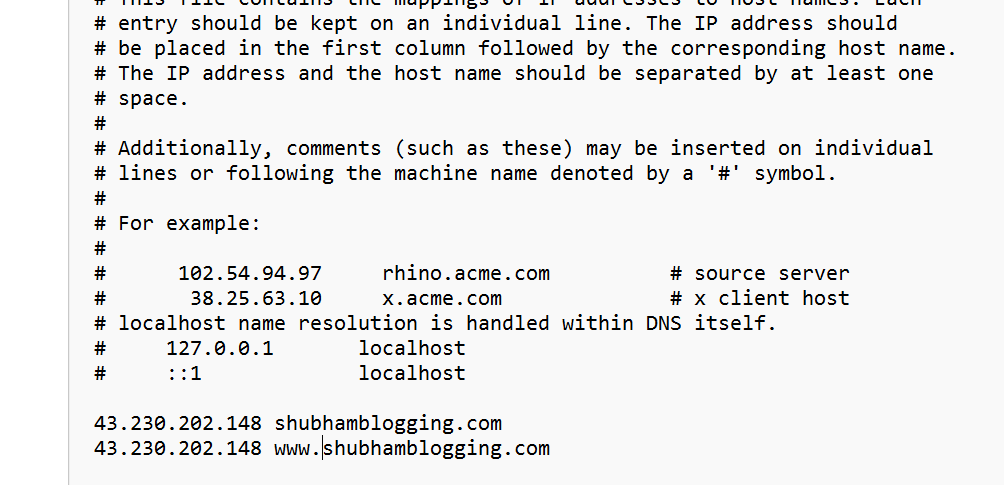
In this file scroll to the bottom and add the Server IP and give 5-6 spaces and add the domain name you migrated. Refer to below steps :
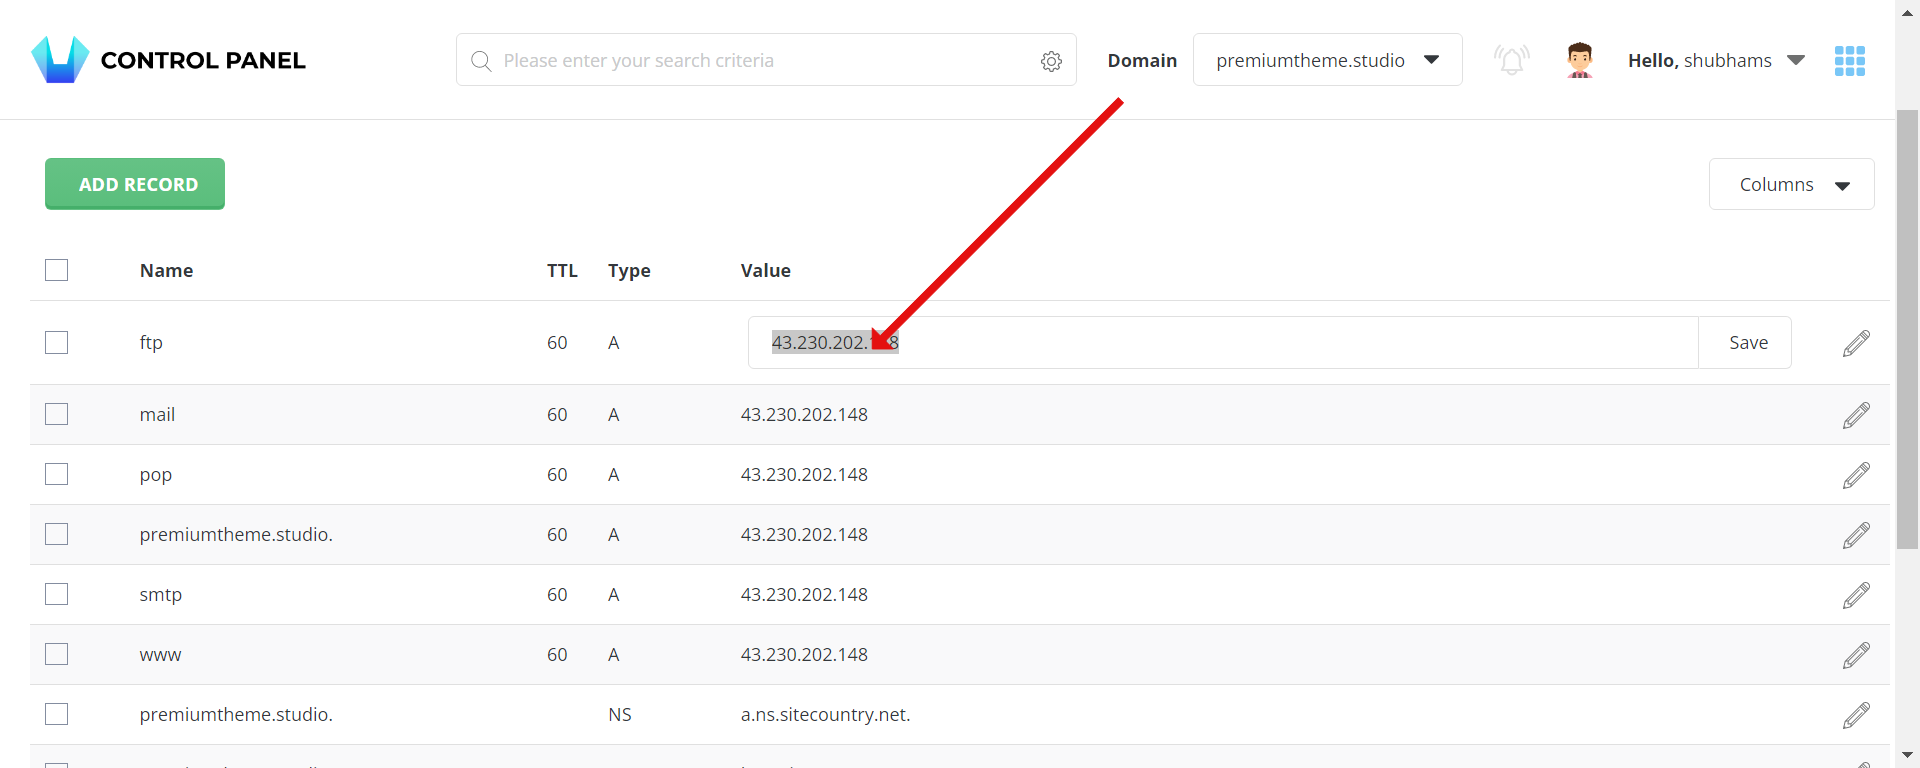
For obtaining the server IP, go to the control panel, search for DNS open DNS management,

Now, this is the server IP as shown in screenshot.
Copy the same into the notepad, and after the IP give 4-5 spaces and add the domain name being migrated as shown. ( do not add # before the IP else it will not work) .
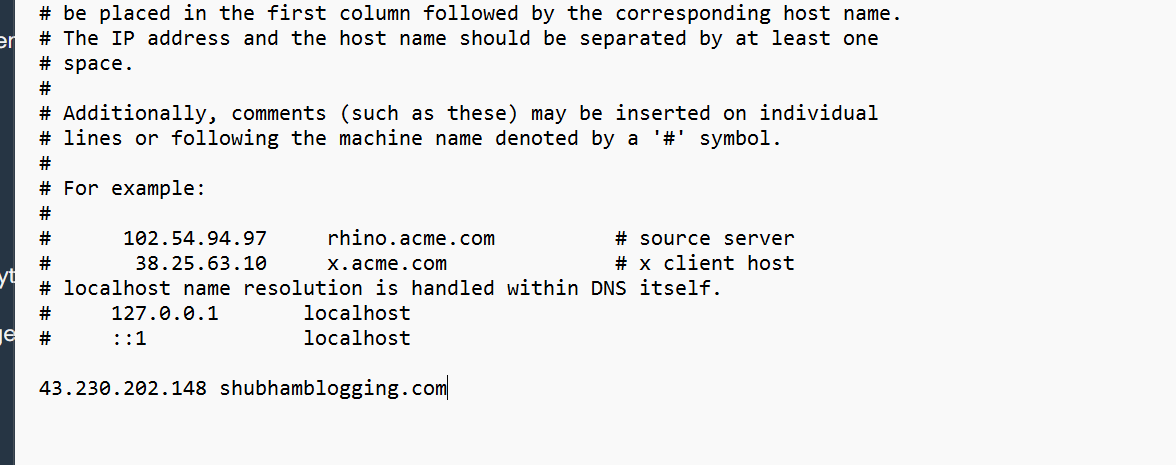
Add another line, only change the domain by adding www. in front of it as shown
Now, Press Ctrl + S and then go back to WordPress installer window.
Finally, click on this URL >
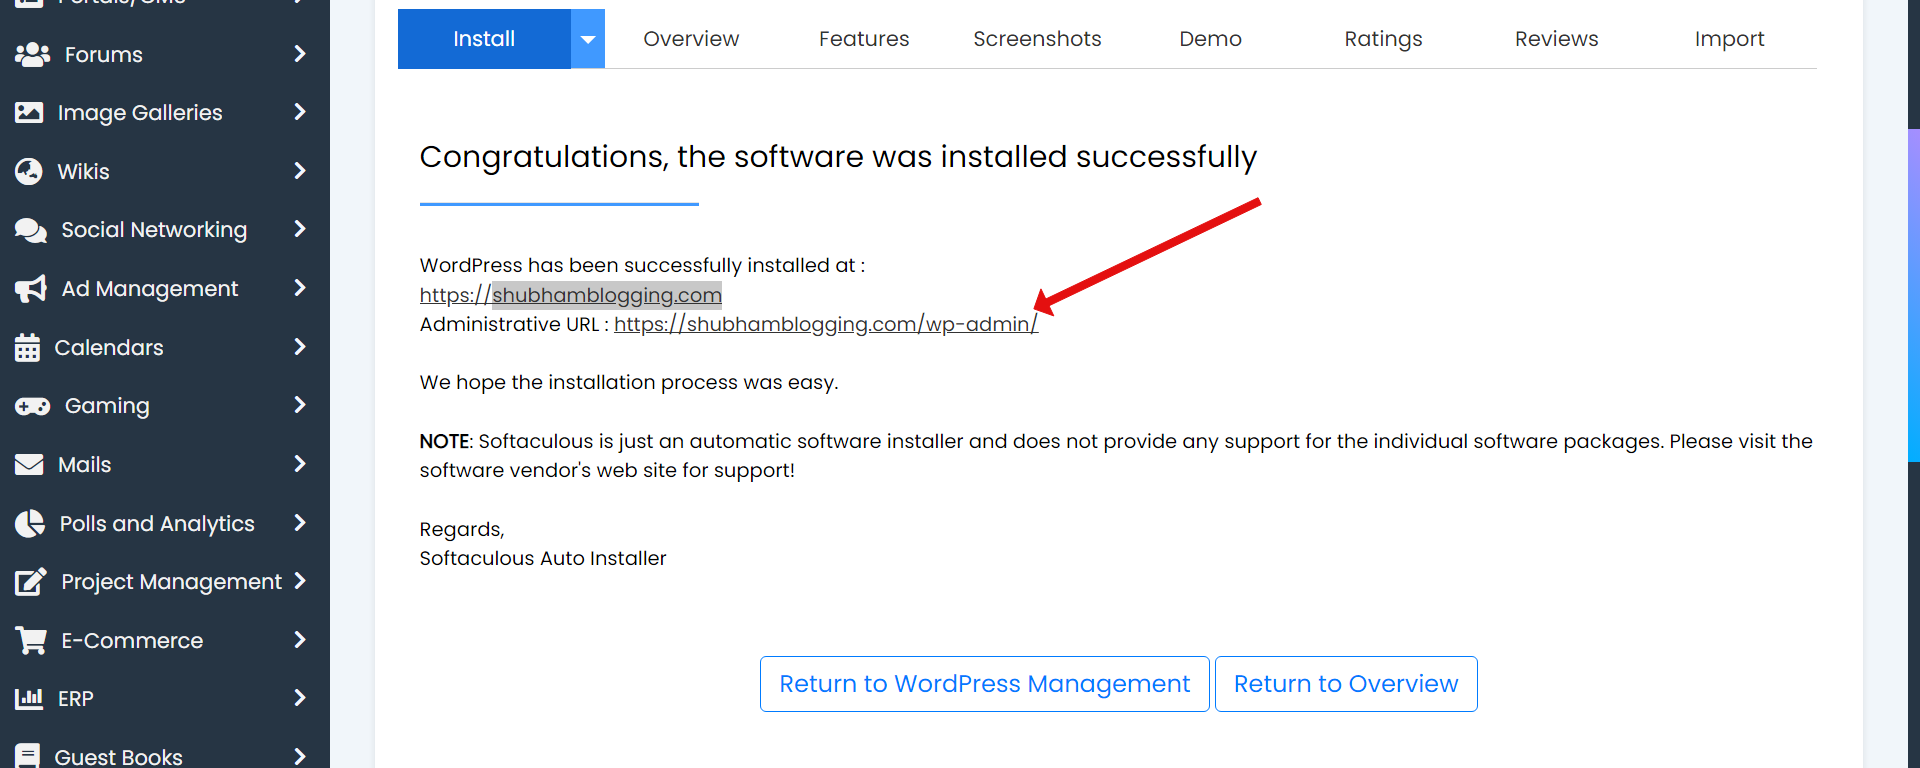
It will show a warning, accept it, and move ahead.
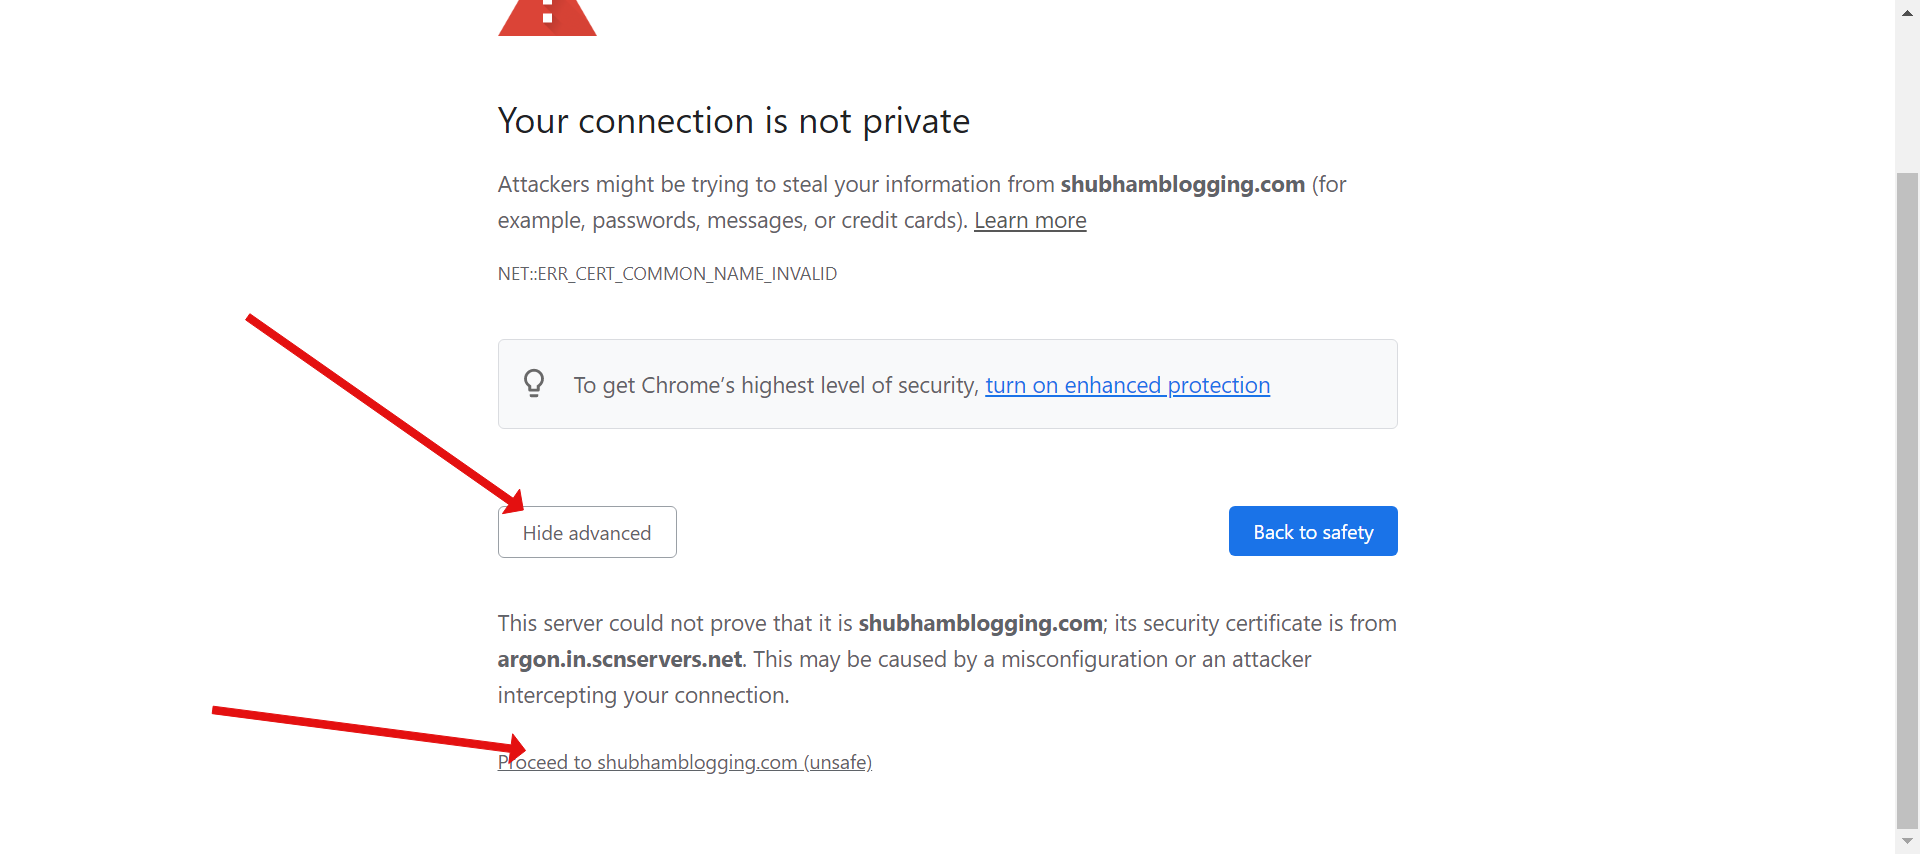
Now you should be logged in to the WP admin dashboard of your site serving from SiteCountry's server IP.
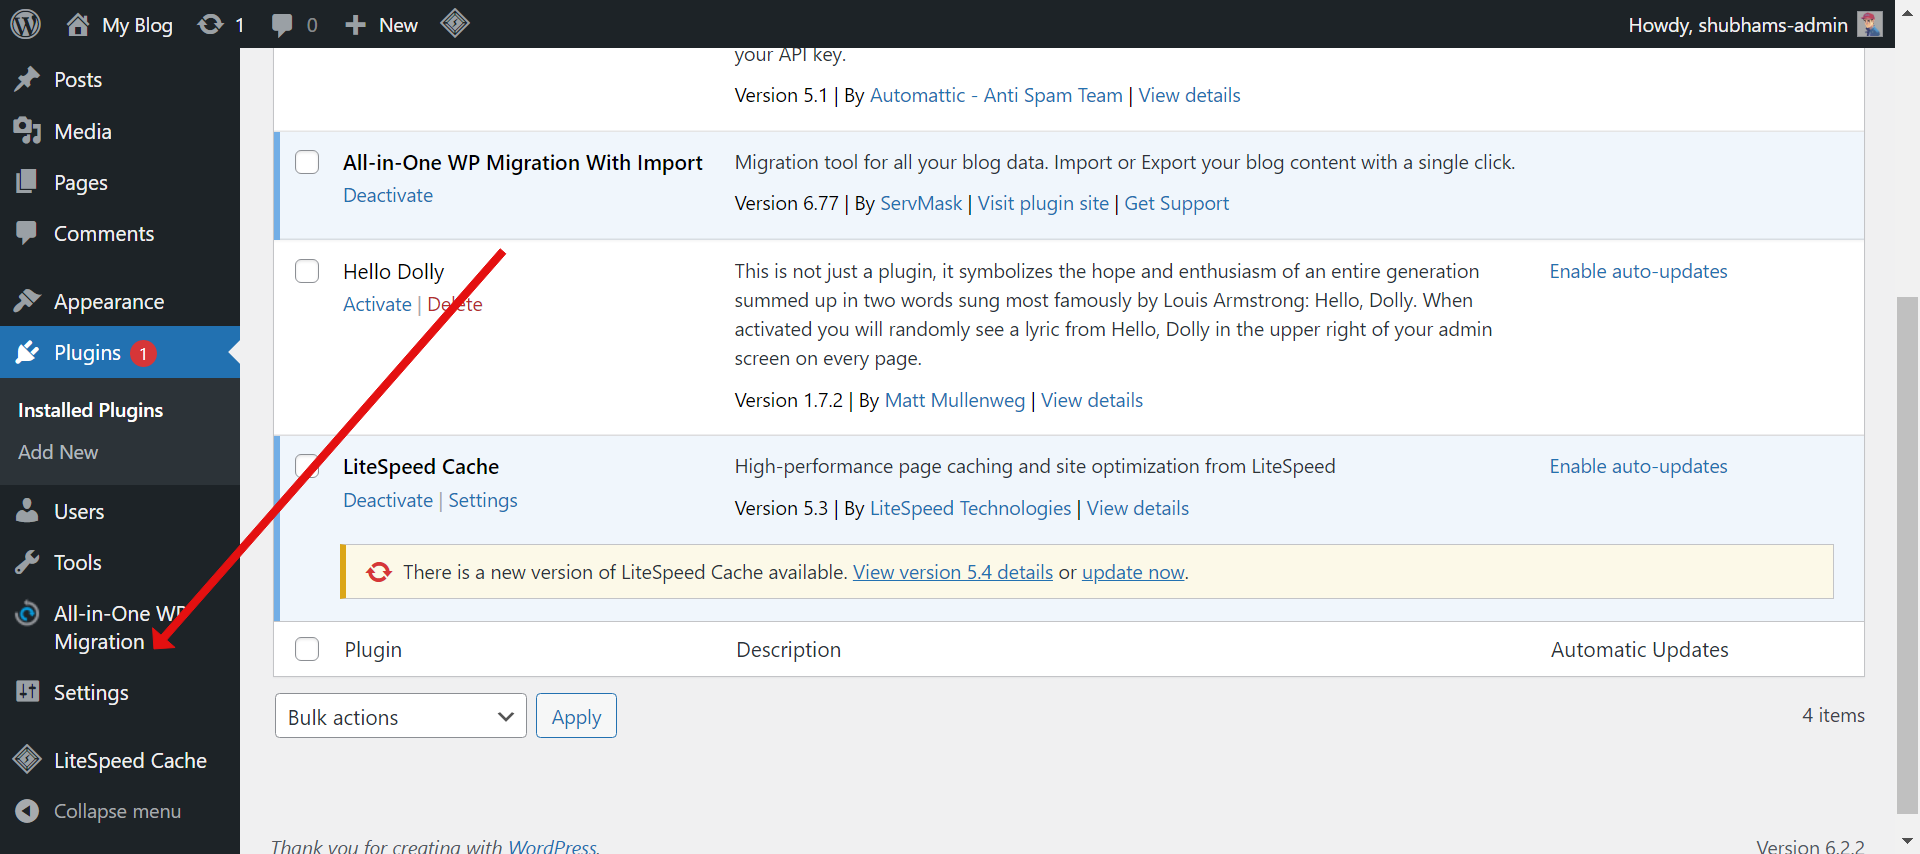
If you do not see the all in one wp migraiton option, then install it the same way as it was done in part 1.
Download link for plugin attached below :
Now, go to import, import from file and upload the file downloaded in the part 1.
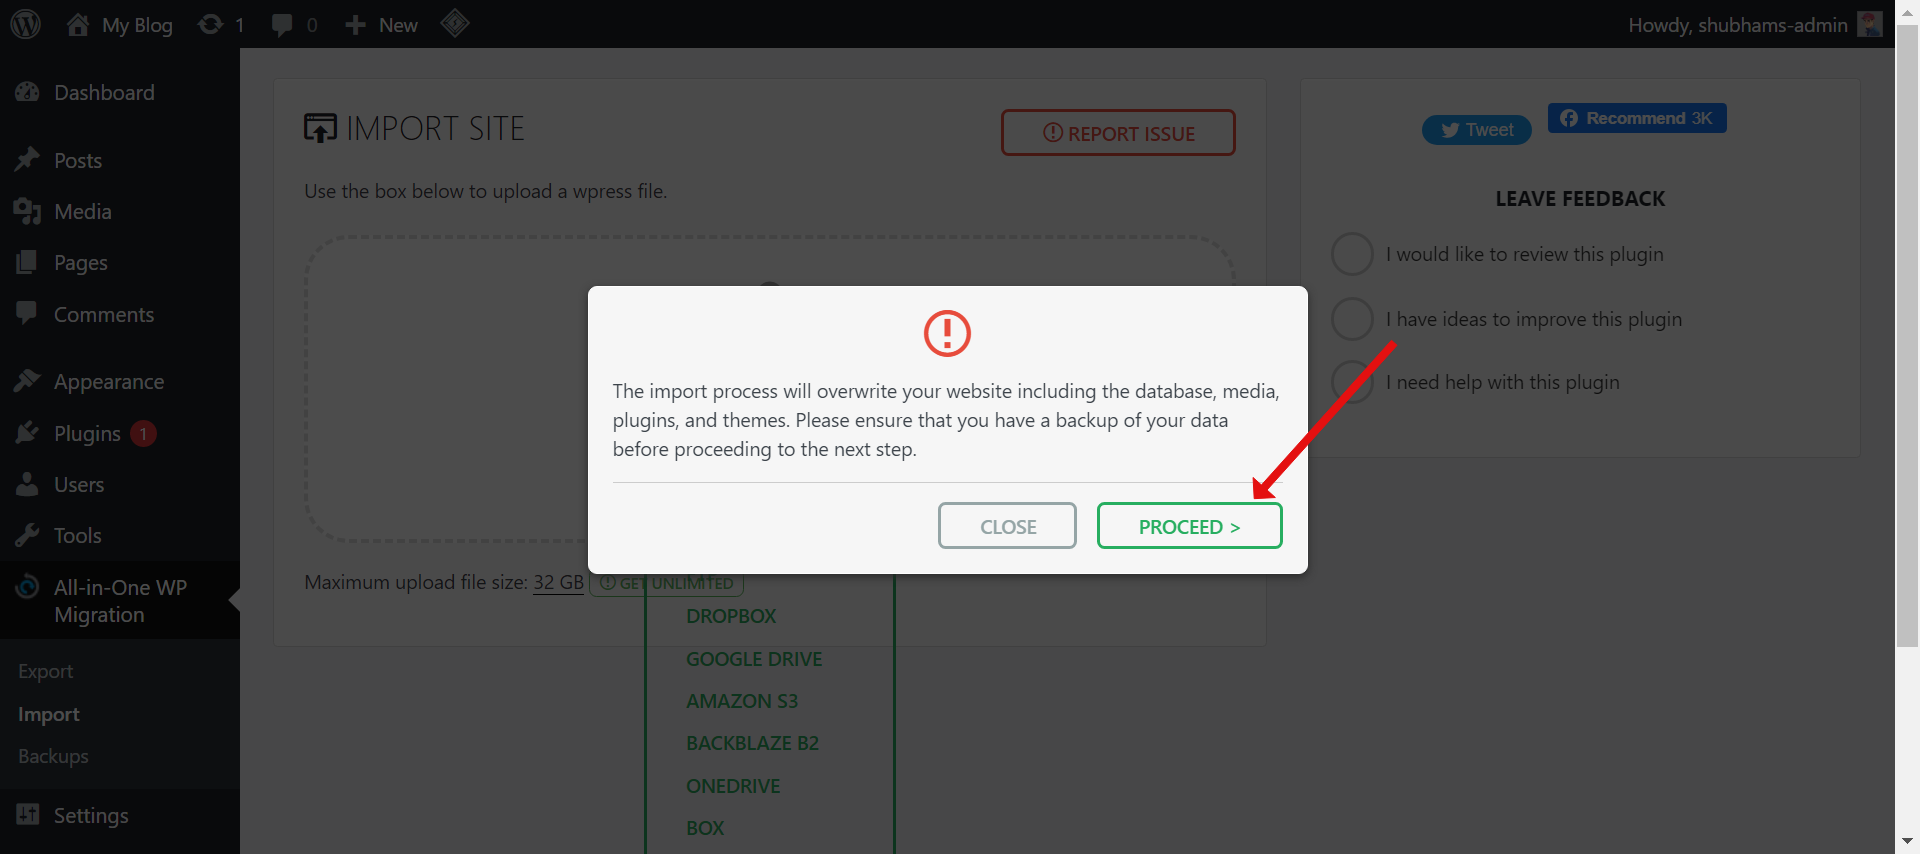
Once uploaded it will ask for confirmation.
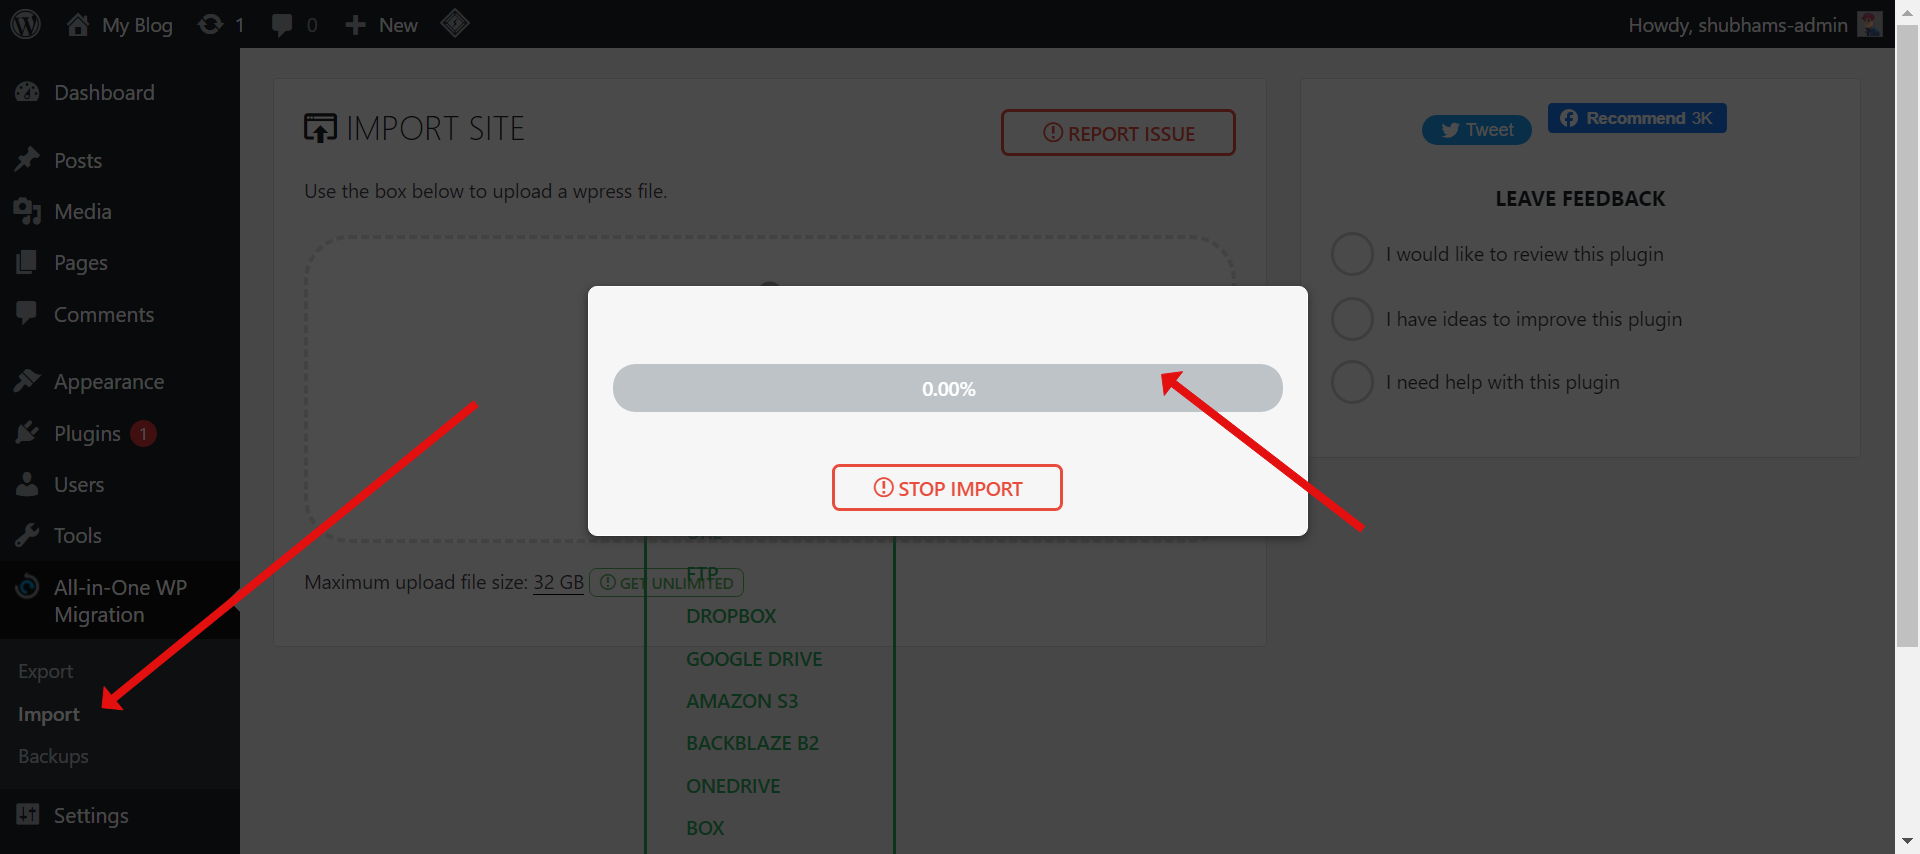
After confirmation, extraction will start.
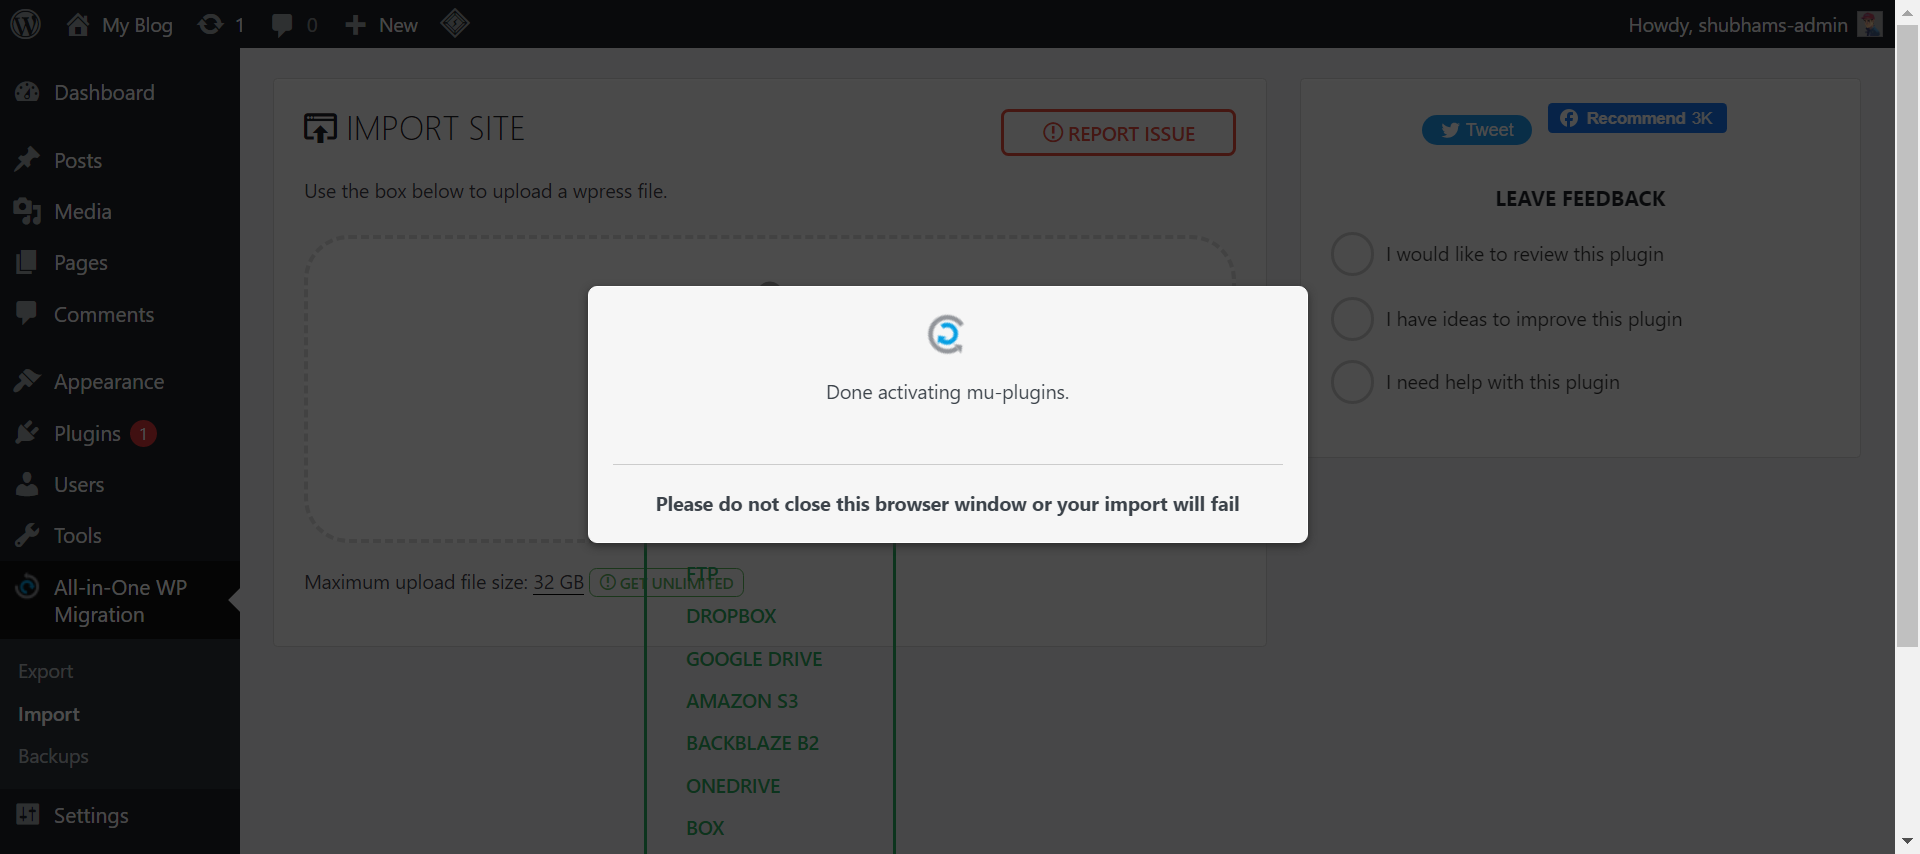
Let the import finish, and then it will import the website into our server.
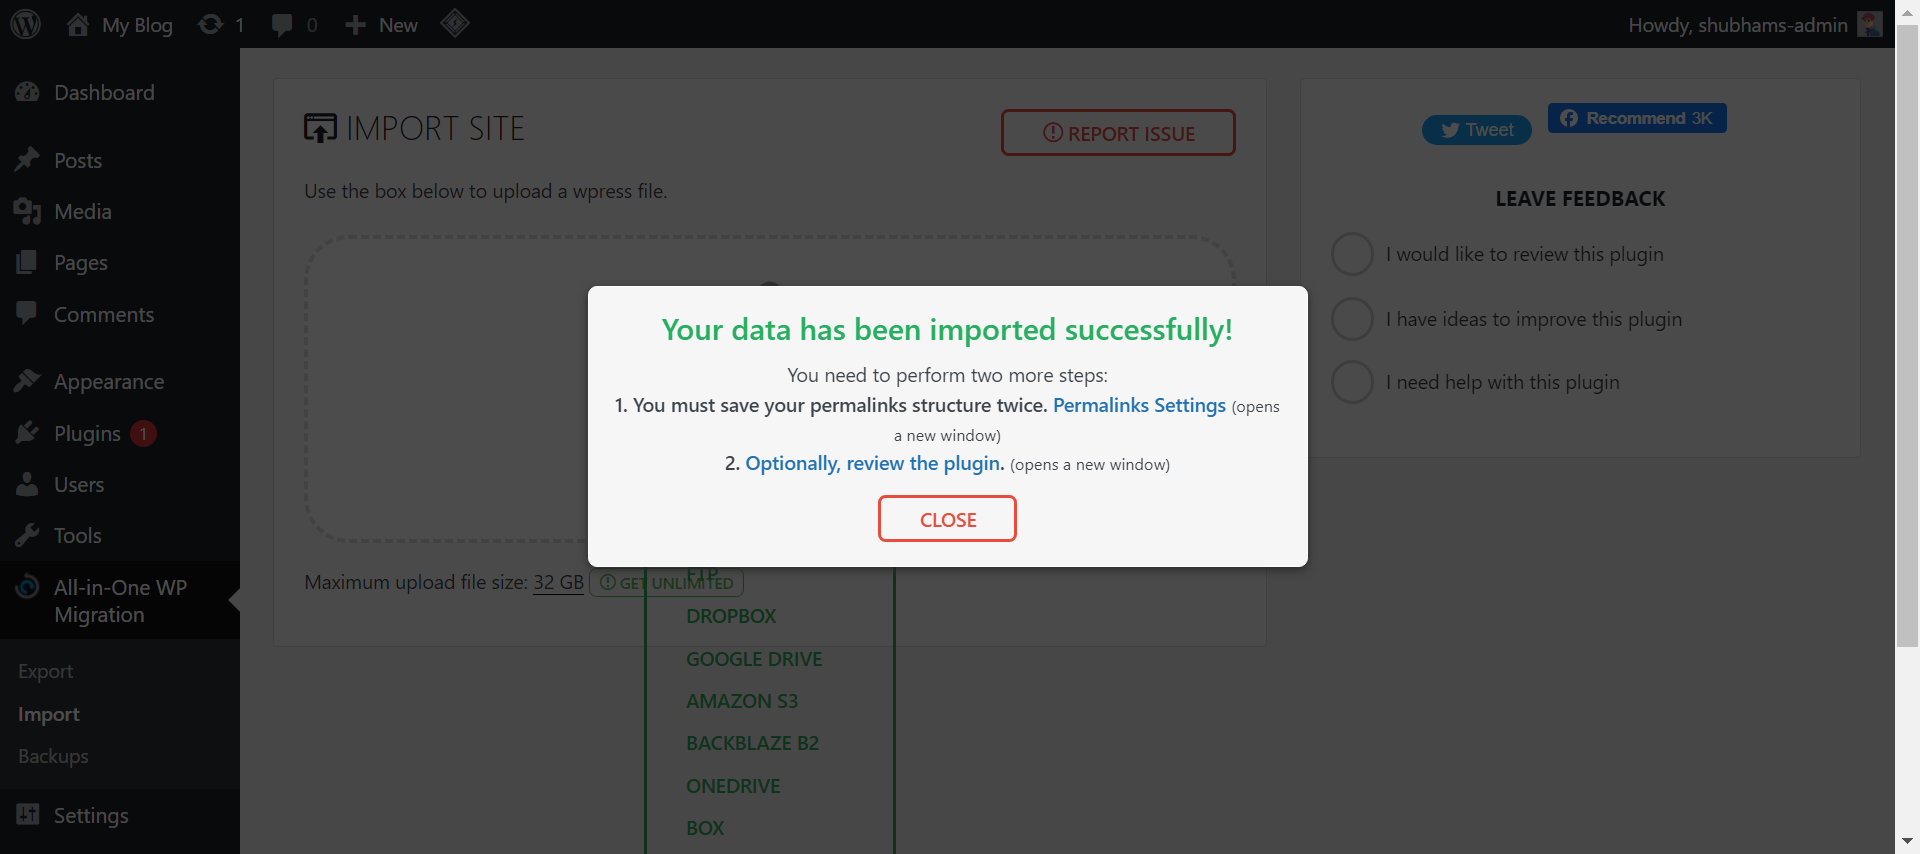
After the import if finished, you will see a success message like this.
Note: If the import does not work, then only follow the next 2 steps, else skip them
Step 1: Search for file manager in control panel, and click on it.
Step 2 Go to domains> concerned domain> public_html >wp-content> ai1wn-backups and upload the file there which you downloaded, then go to plugin in wordpress dashboard < backups and then restore it.
Now, the site is migrated successfully, all you need to do now is regenerate the htaccess file.
To do so, go to the WordPress manager in the control panel > open it.
Now look out for the domain which you have just migrated.
Expand it by clicking on the arrow button :
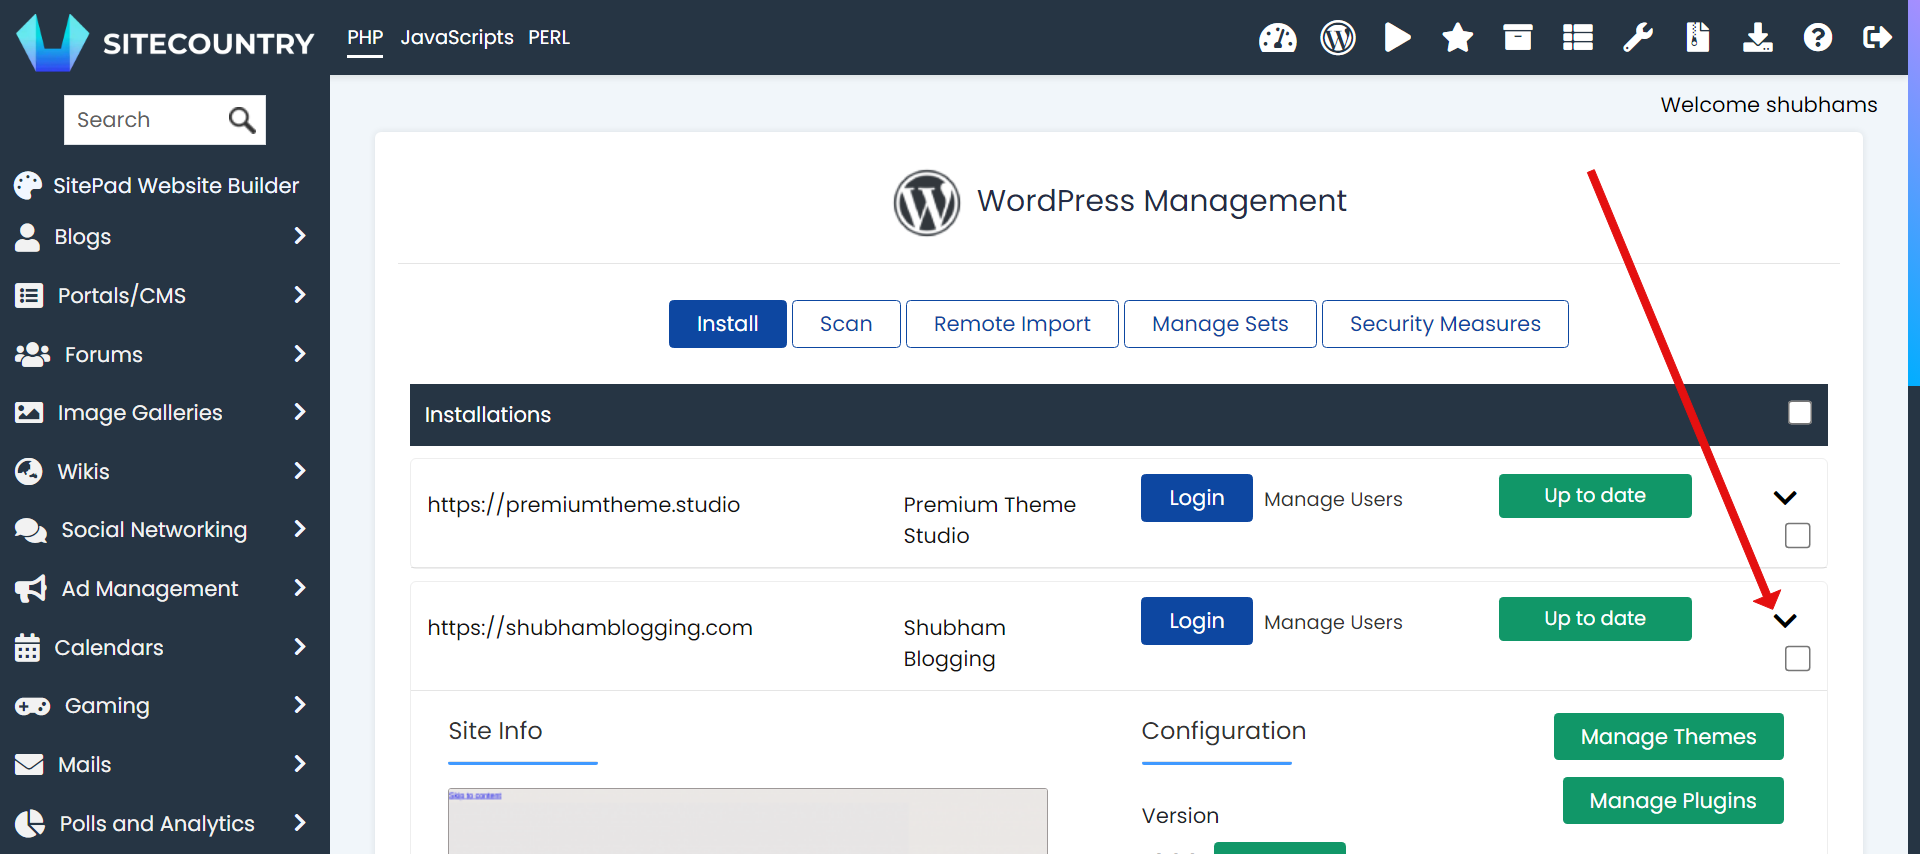
Scroll a little down until you see the remove button
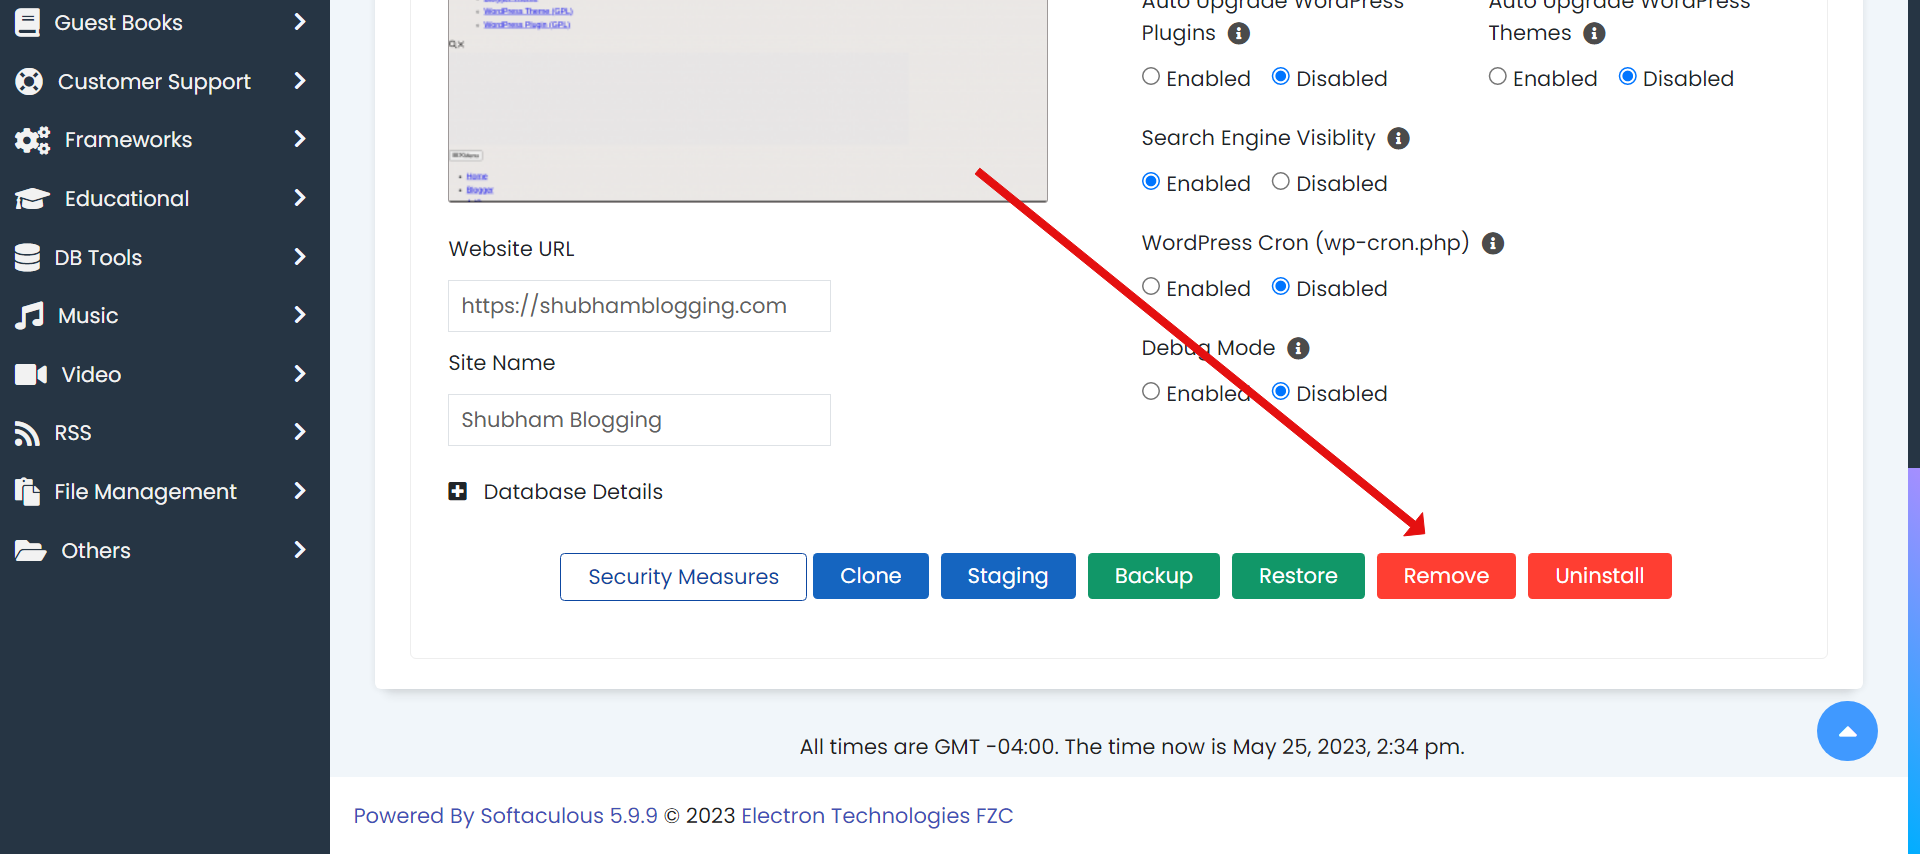
NOTE: THIS IS A VERY RISKY STEP, SO PLEASE ATTENTIVELY CHECK THAT THE DOMAIN YOU ARE REMOVING IS THE DOMAIN FOR WHICH YOU HAVE REQUESTED THE MIGRATION. MAKE SURE YOU ARE NOT REMOVING ANY OTHER DOMAIN.
Click on the remove button.
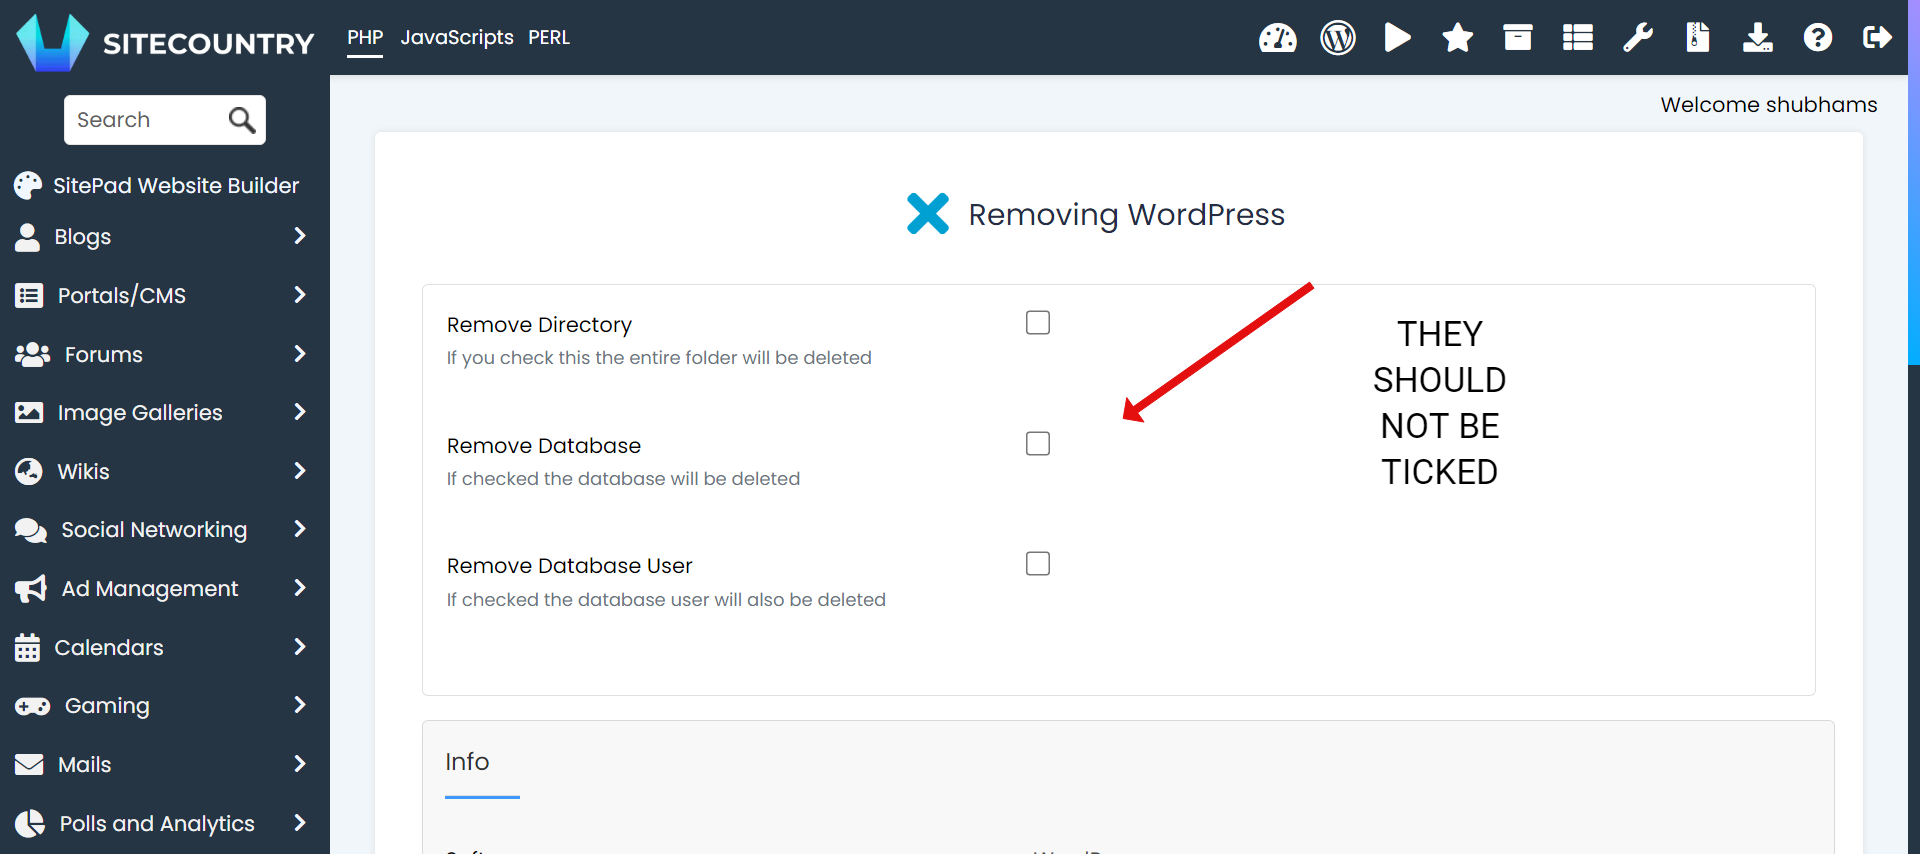
Scroll down and click on the remove installation button.
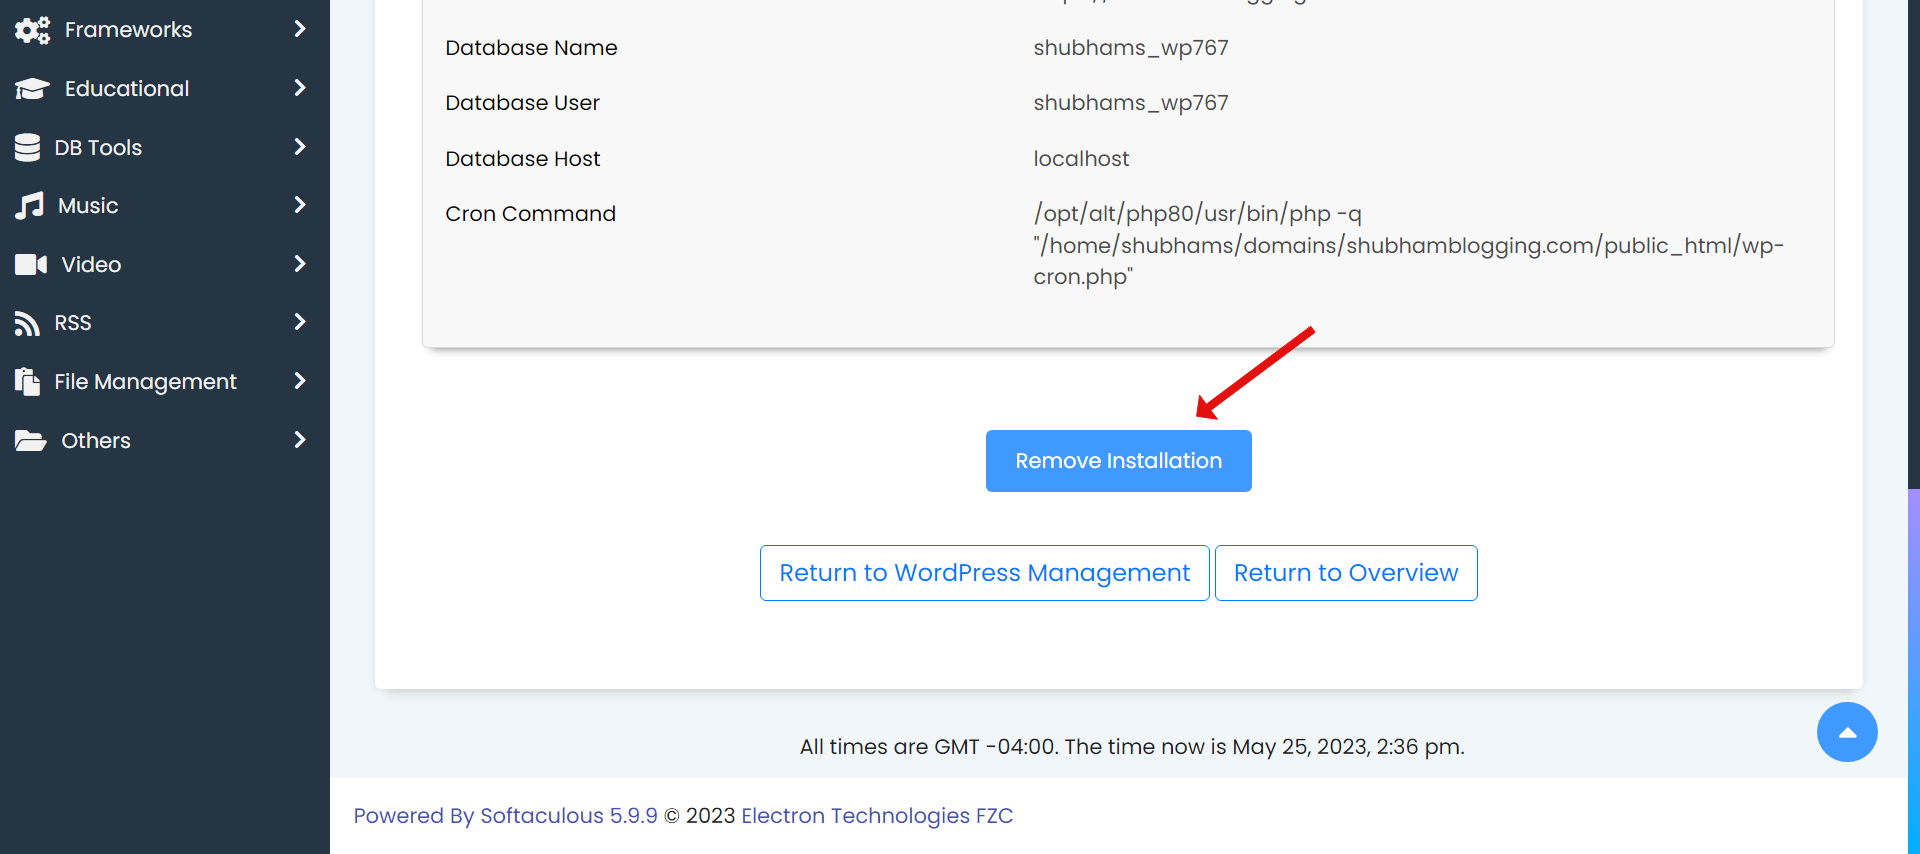
Press OK for confirmation when asked.
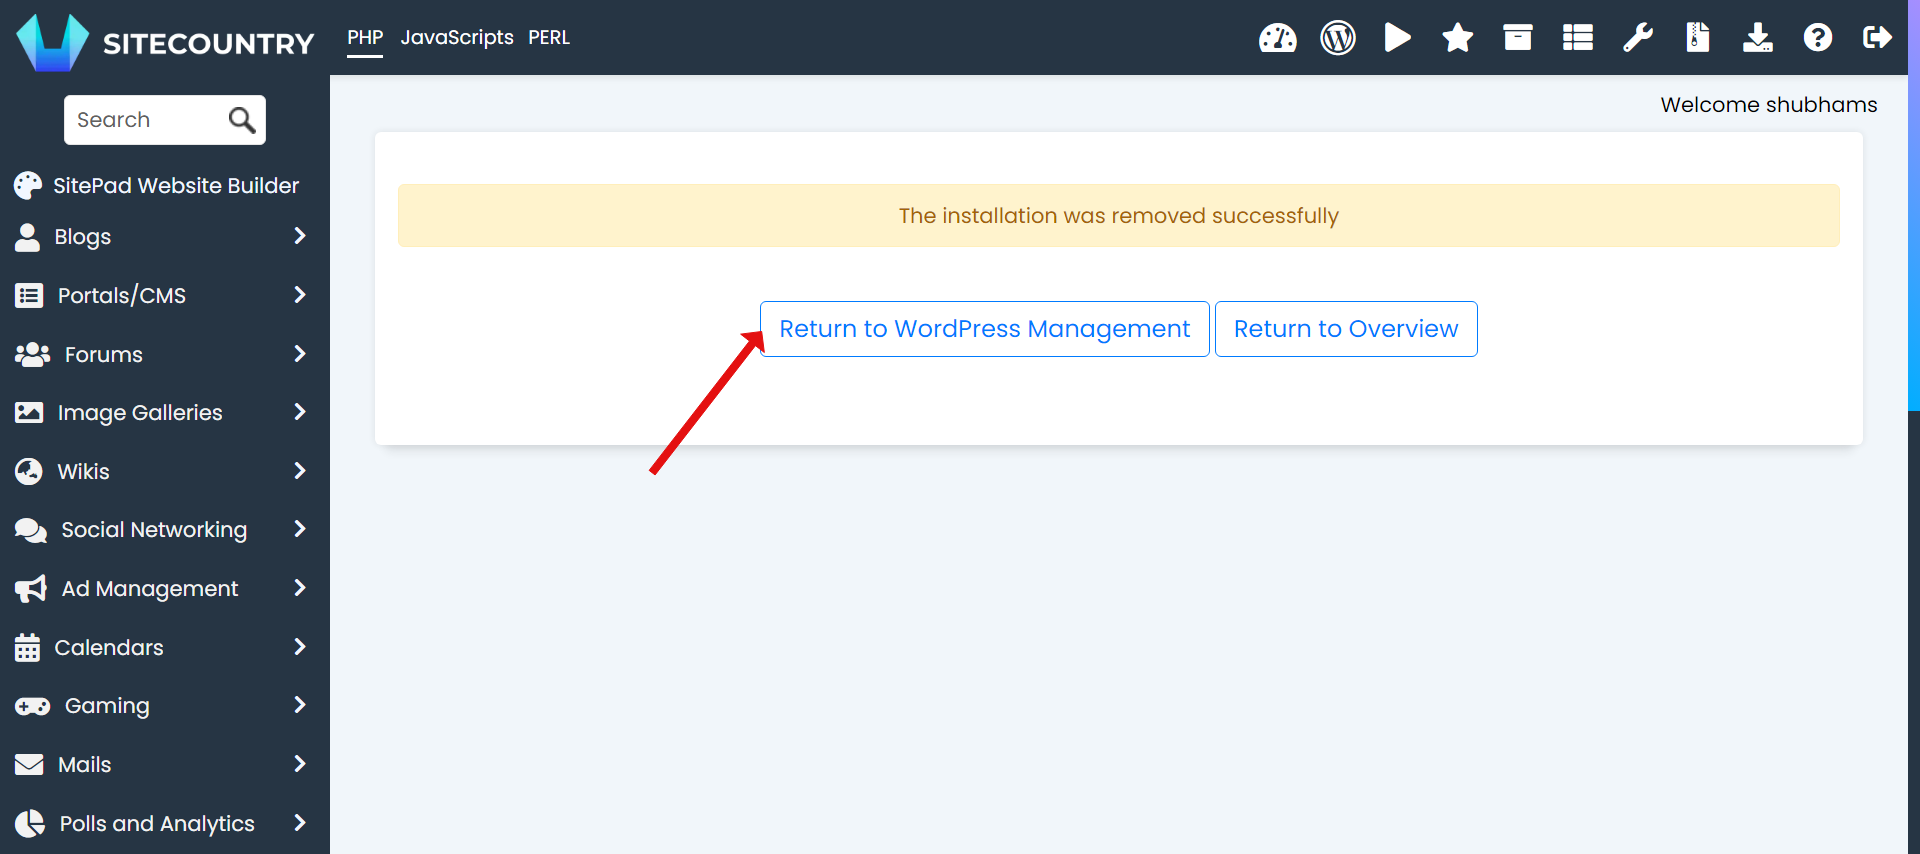
Now click on the Return button.
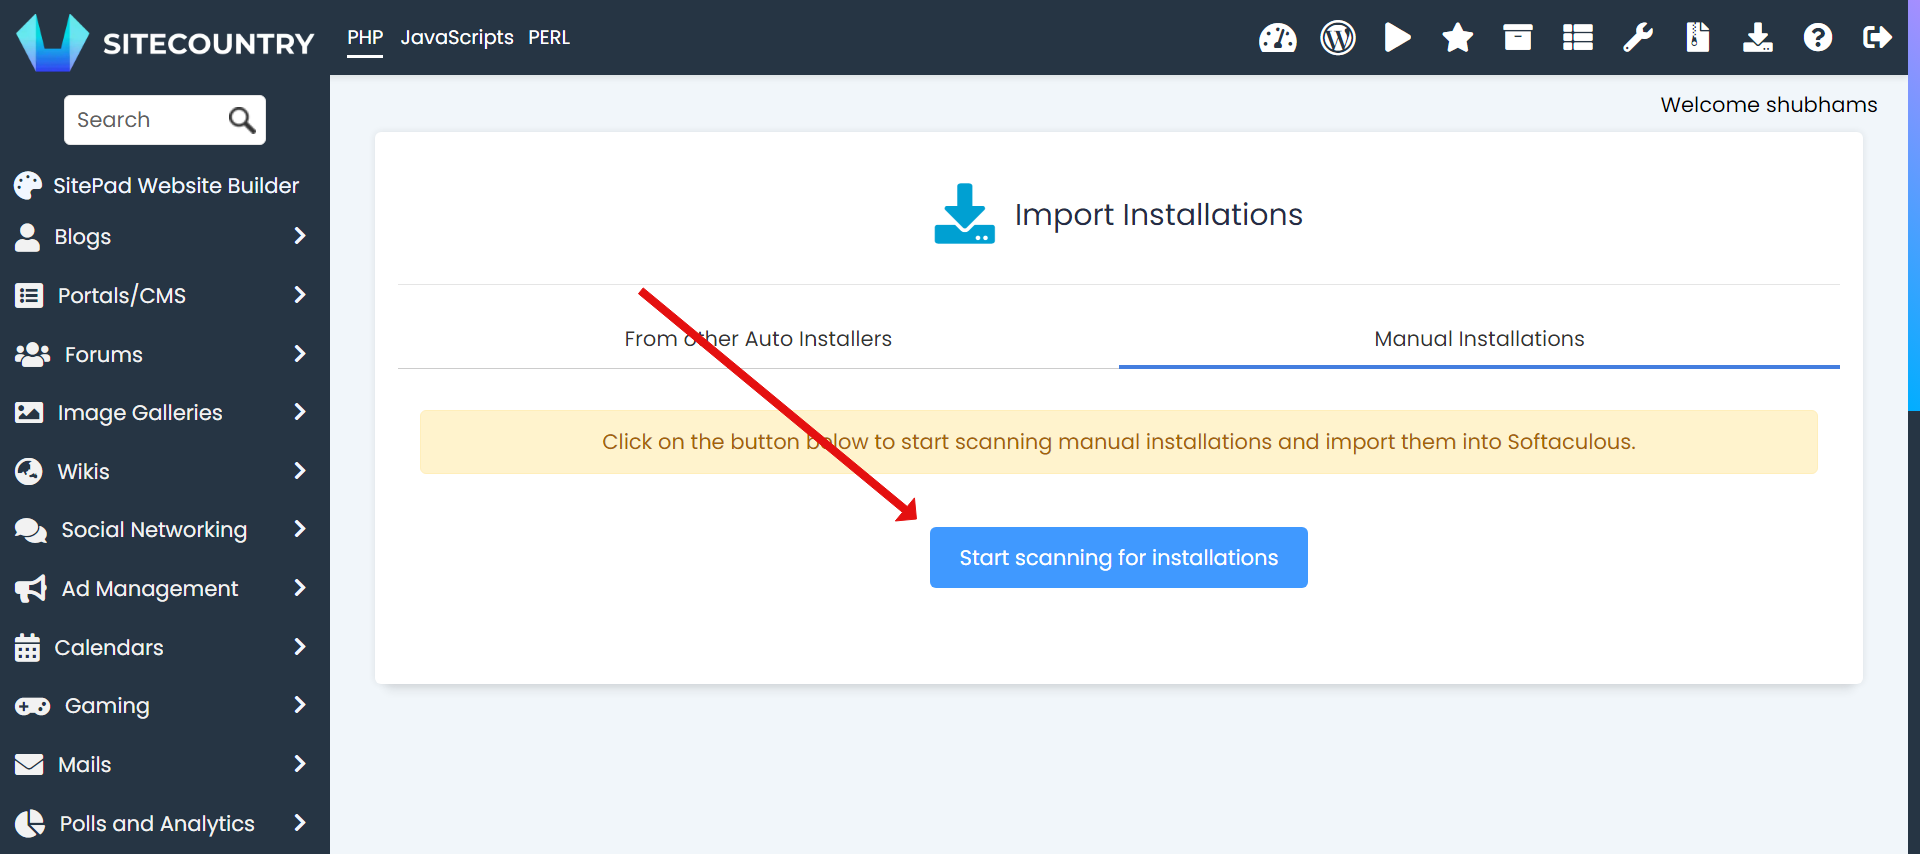
Now click on the scan button to scan for existing installations :

Then click on start scanning for installations.
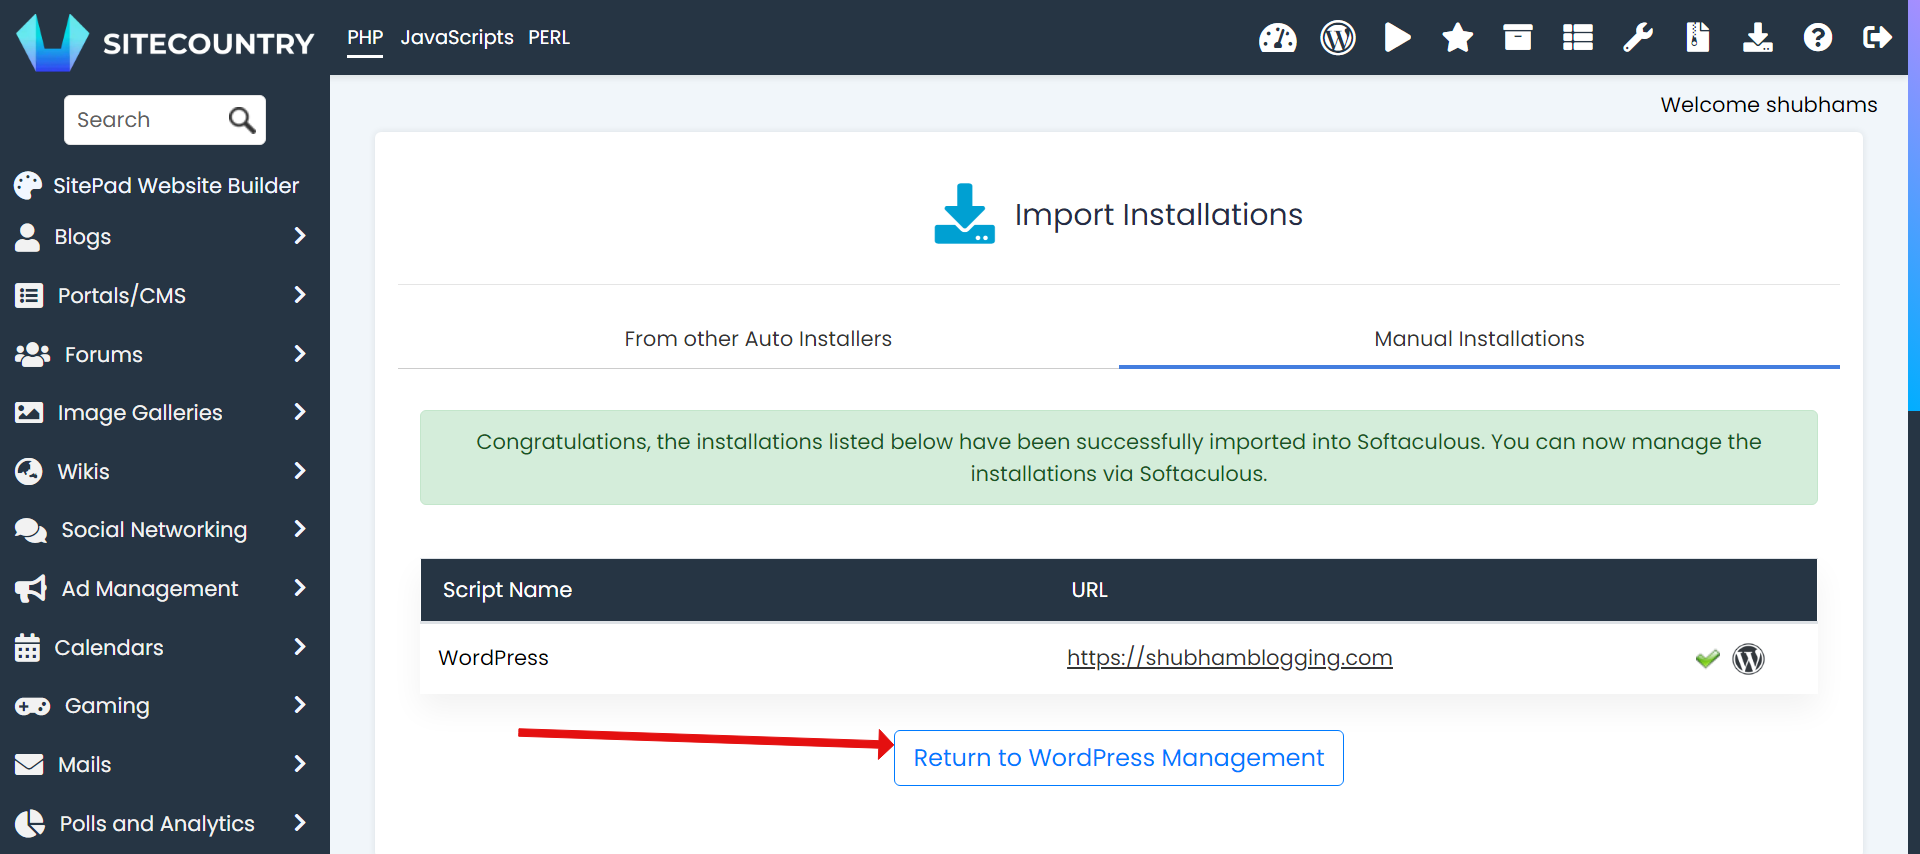
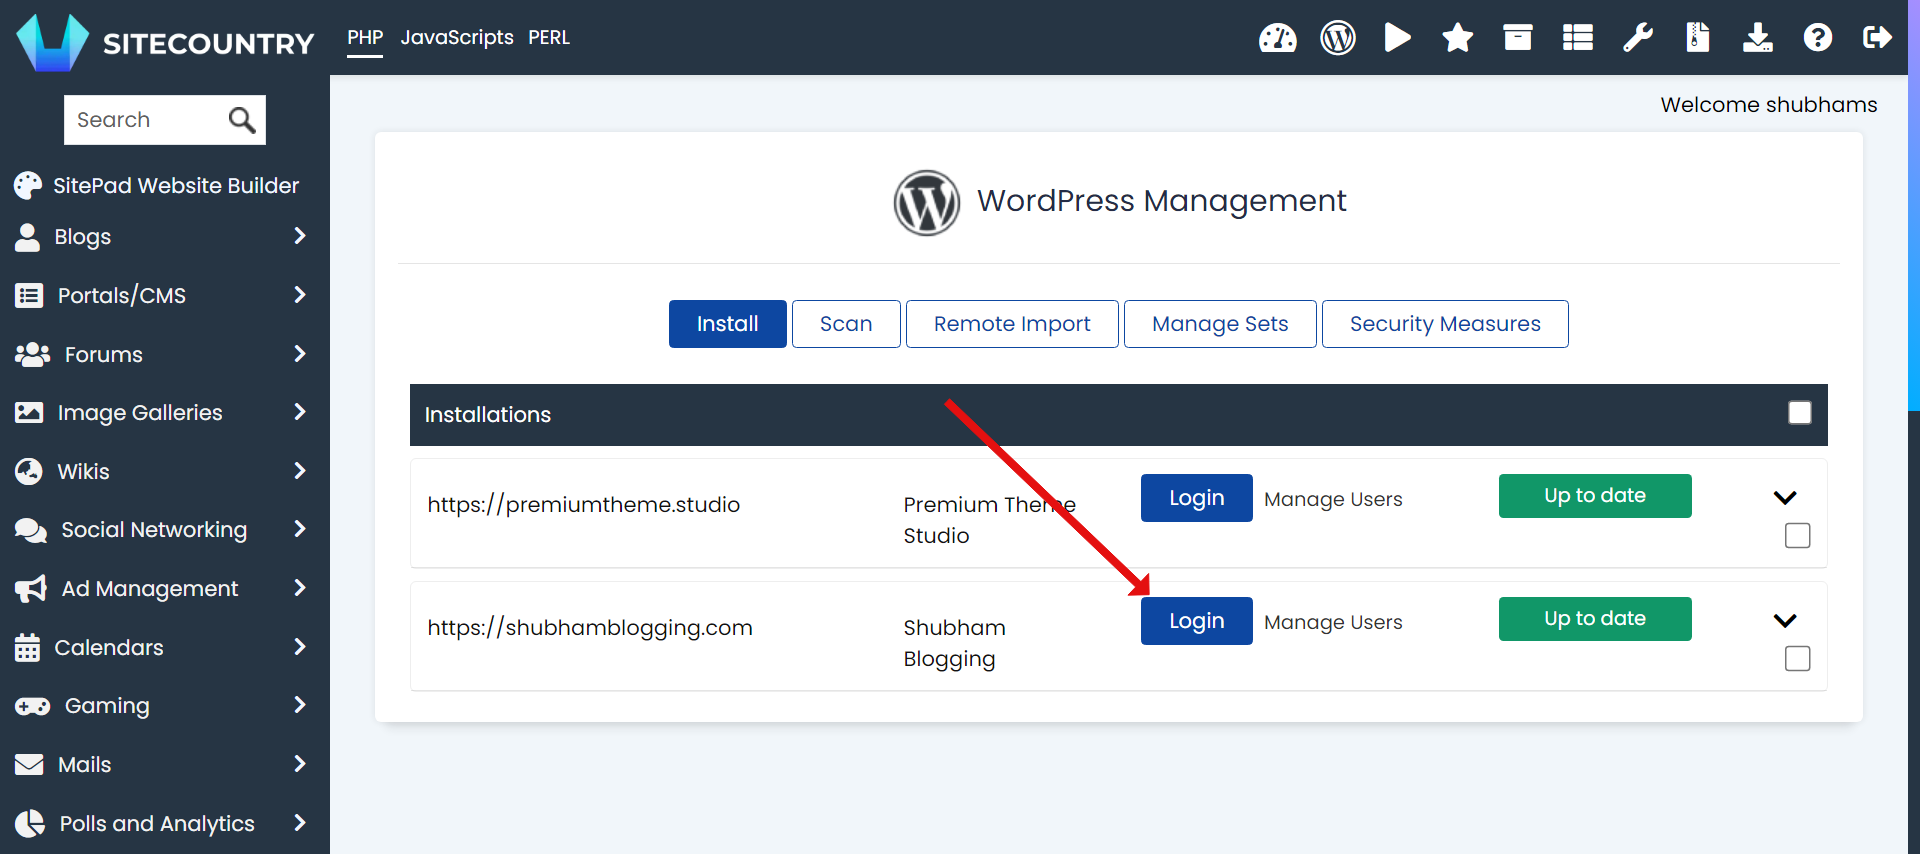
A success message as shown should be displayed. Next, again return to WordPress Management.
Click on the login button adjacent to the site which you have migrated.
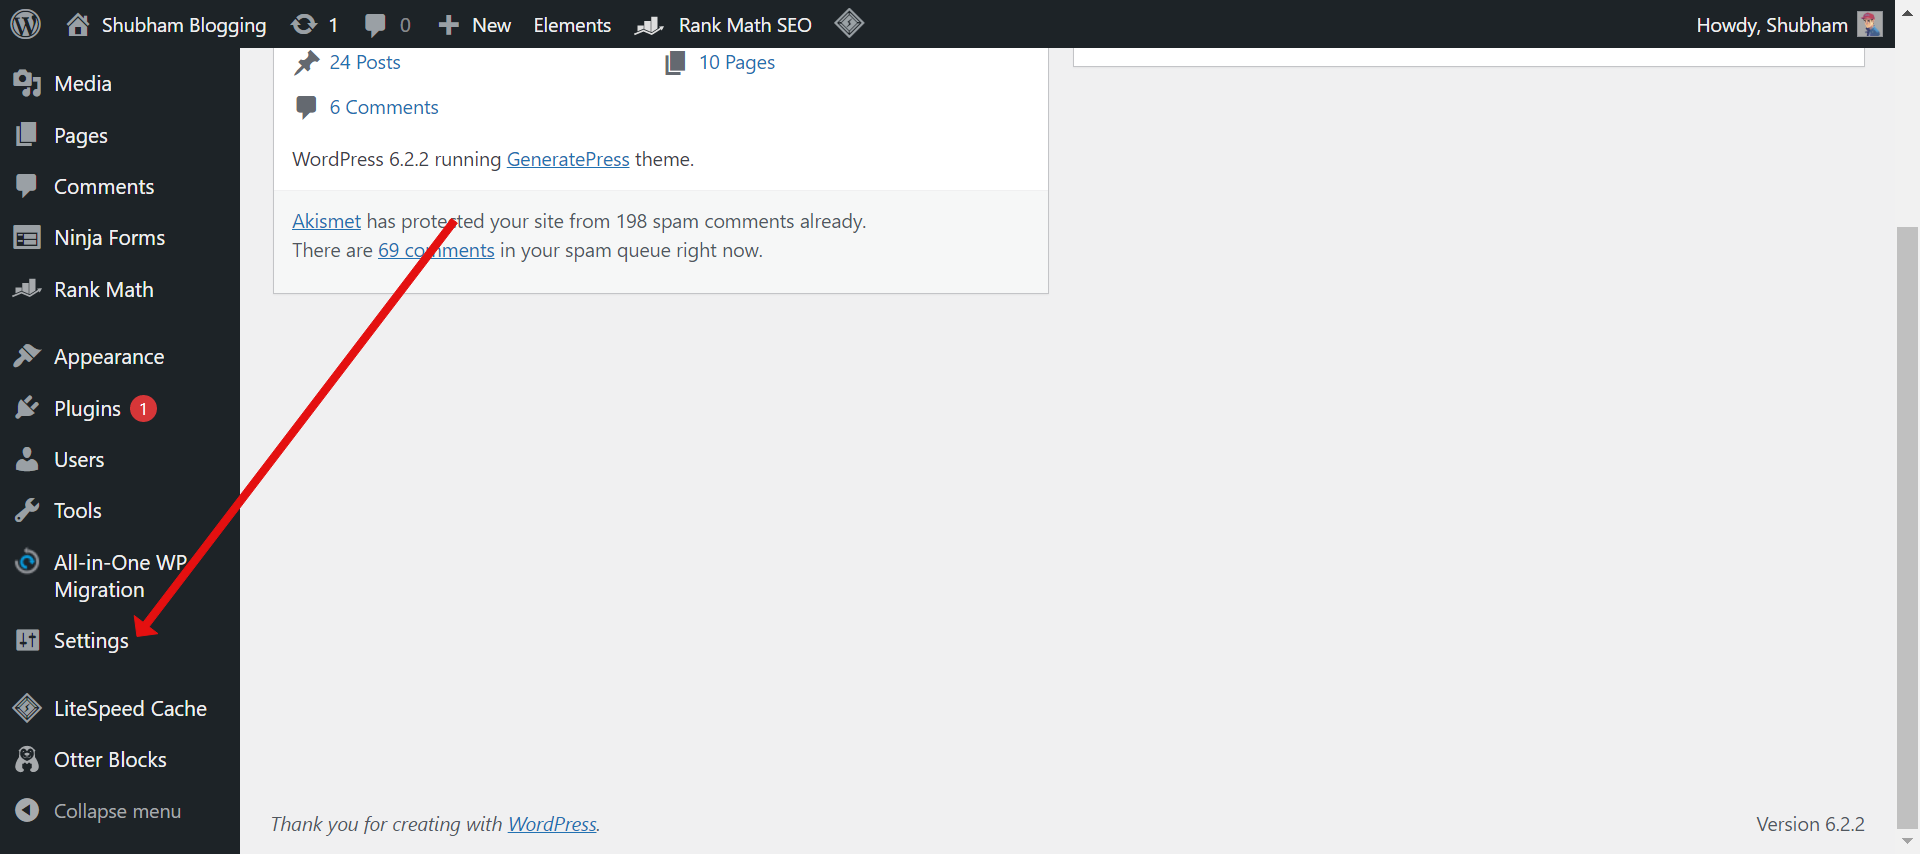
WordPress interface should open, click on settings.
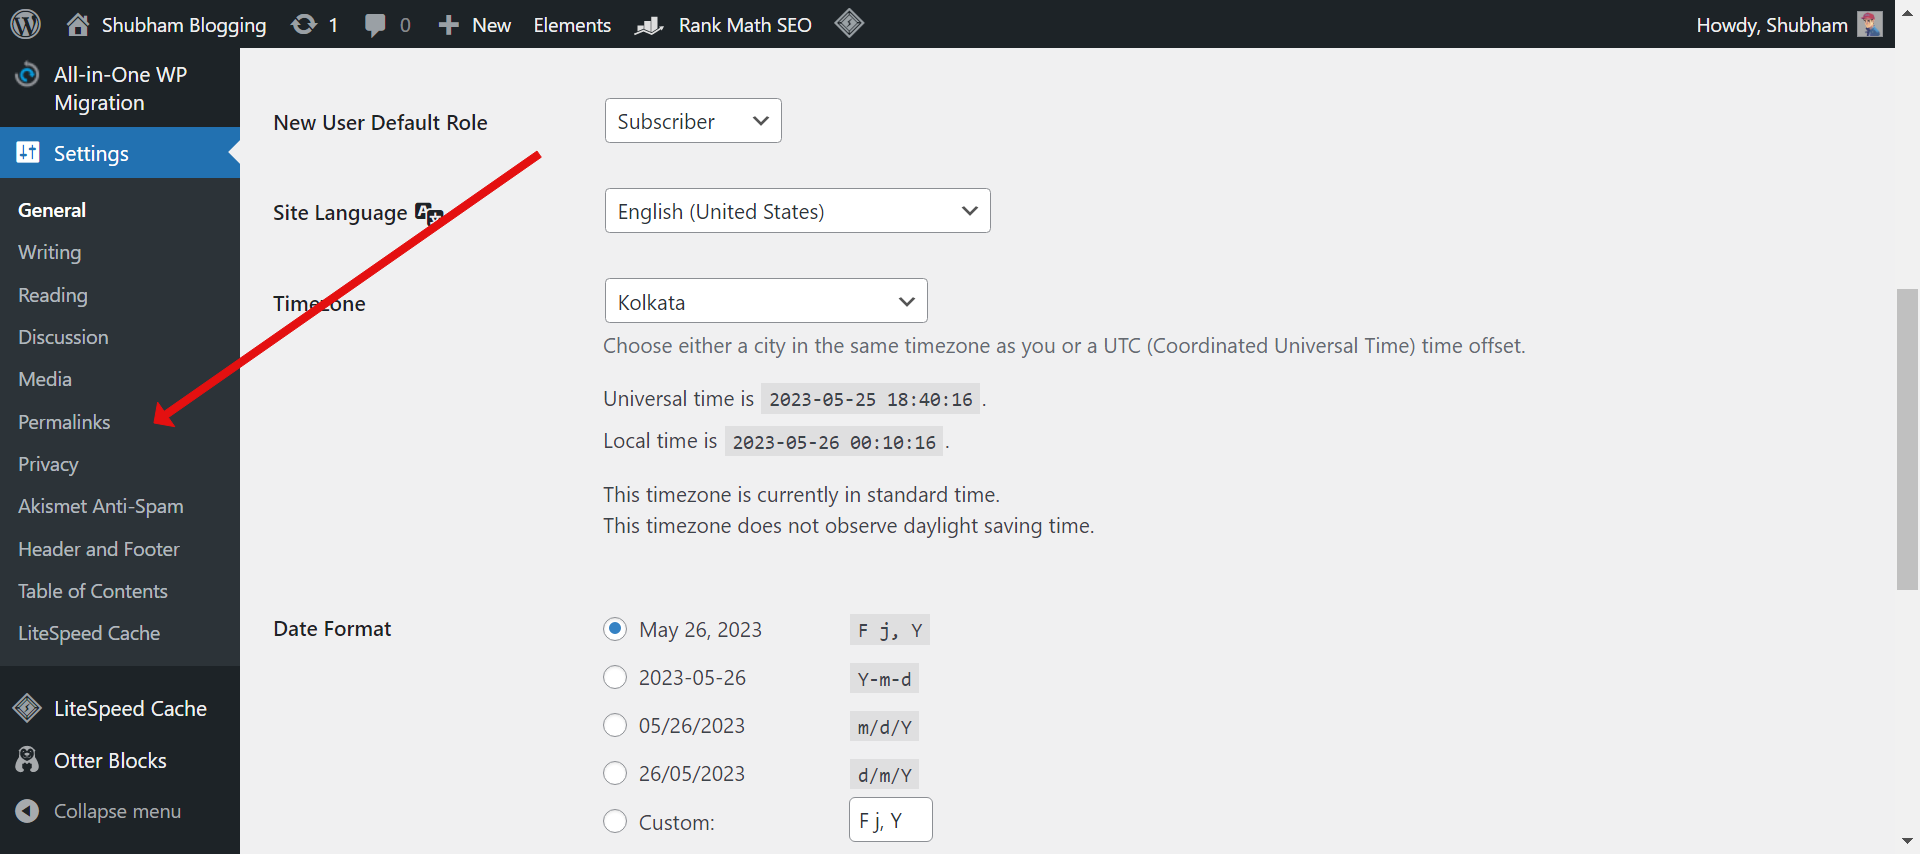
Go to the Permalinks option.
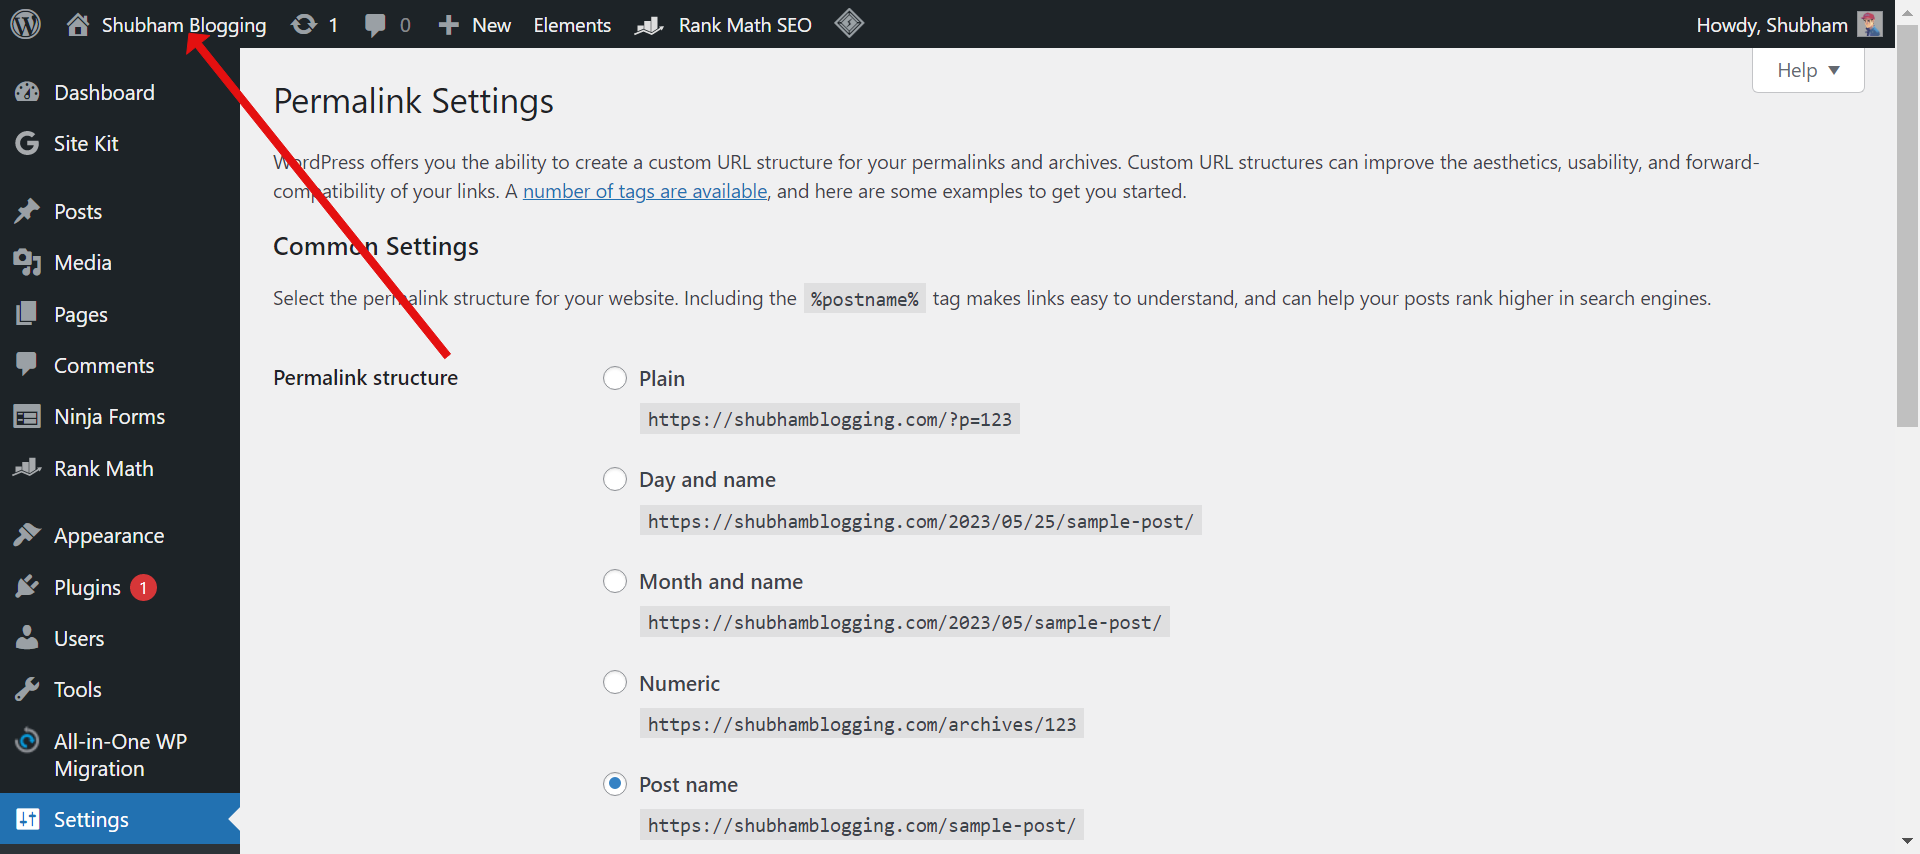
Click on Save Changes

The htacess file should now have been successfully generated for your domain.
Now, open the site by clicking on the home button to check if the site is working fine after the migration.
Open any post on the website to make sure that htaccess file is successfully created.
If the post opens, then the migration is successfully done.